We have two security groups in Active Directory, and we want to compare the members…
Add Domain Controller to existing domain
You have a Domain Controller running in the organization. But only one DC running in the organization is asking for trouble. Because when the DC is offline, the users can’t authenticate with the DC and can’t sign in. That’s a critical failure. So it’s always recommended to have at least two DCs running in the organization. In this article, you will learn how to add a secondary Domain Controller to an existing domain step by step.
Table of contents
Domain Controllers best practice
- Each domain should have at least two functioning writeable Domain Controllers to provide fault tolerance. If a domain has only one Domain Controller and this Domain Controller fails, users will not be able to log on to the domain or access any resources in the domain. And if you have only one writable domain controller in your domain and this Domain Controller fails, you won’t be able to perform any AD DS management tasks.
- Domain Controllers should be dedicated servers that are used only for hosting the AD DS and DNS Server roles. Their full attention should be directed to performing their main job, which is authenticating users and computers for client logons and for accessing network resources.
Important: Only install monitoring and backup software on a Domain Controller and no other software.
Before you start
There needs to be a Domain Controller in the organization. If not, go through the articles:
- Install Windows Server
- Windows Server post-installation configuration
- Install Active Directory Domain Services on Windows Server
Once the above is set up, proceed further.
Add secondary Domain Controller
To add an additional Domain Controller to an existing domain, follow the below steps.
Note: The steps will work for Windows Server 2012/2016/2019/2022.
Install Windows Server
You must have a Windows Server installed and joined to the domain (member server) before installing the Active Directory Domain Services role.
Note: Ensure that the date and time are set correctly on the Windows Server to prevent any errors.
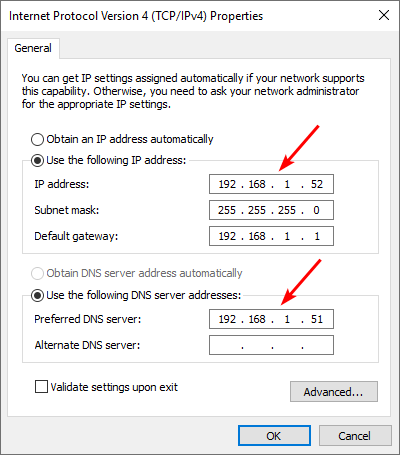
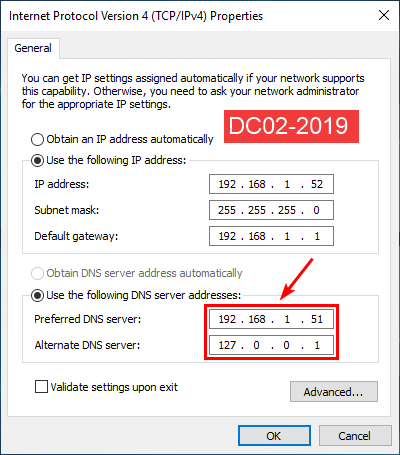
In our example, the new Domain Controller that we will add to the existing domain is DC02-2019 and is already joined to the domain exoip.local. DC01-2019 is our first Domain Controller.
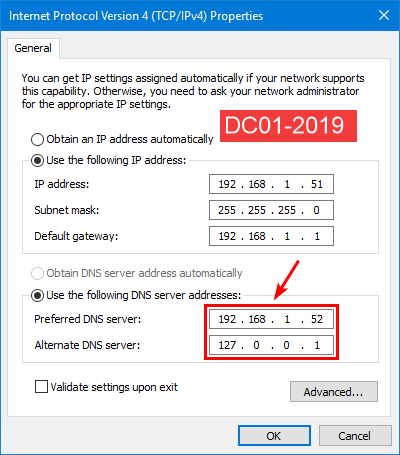
The below screen is what the IP setting looks like on DC02-2019. The preferred DNS server is DC01-2019.
Install Active Directory Domain Services role
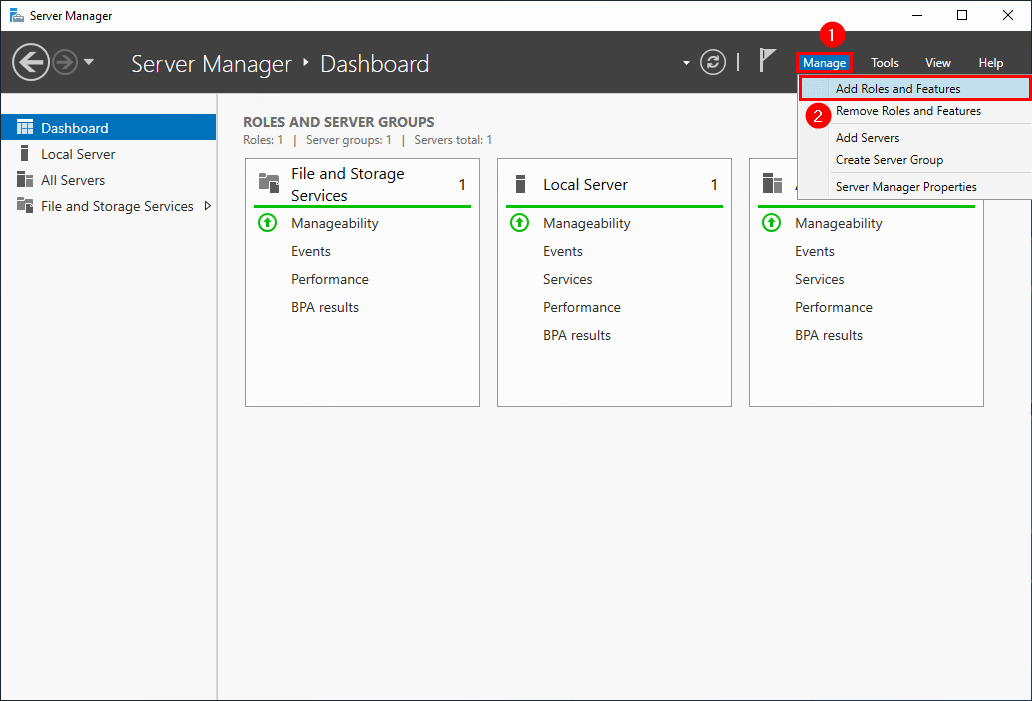
To install Active Directory Domain Services (AD DS) role on Windows Server, follow the below steps:
1. Start Server Manager.
2. Go to Dashboard > Manage > Add Roles and Features.
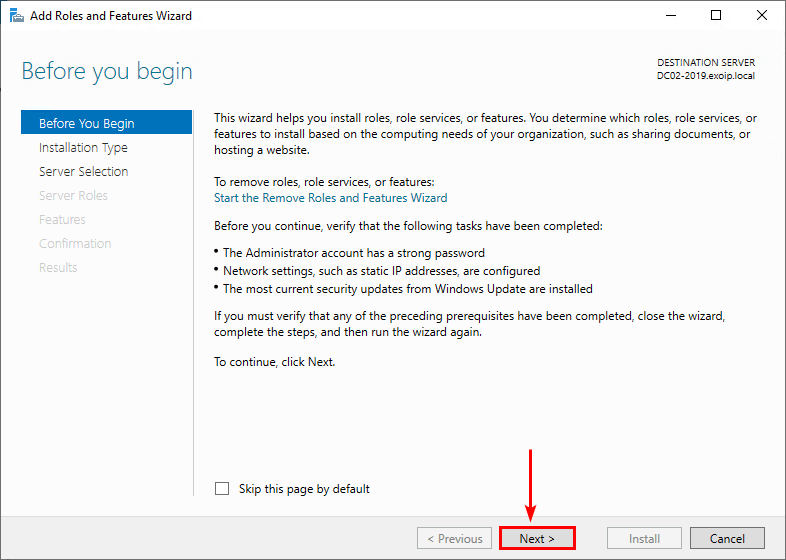
3. Click Next.
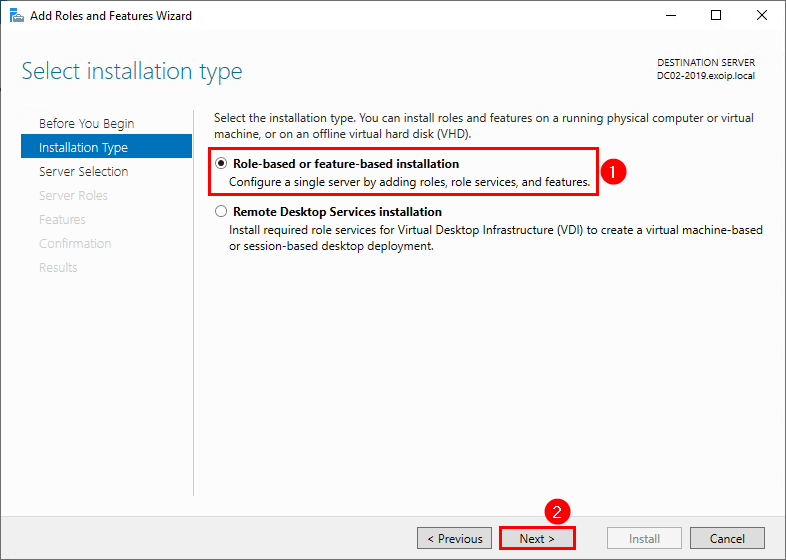
4. Select Role-based or feature-based installation. Click Next.
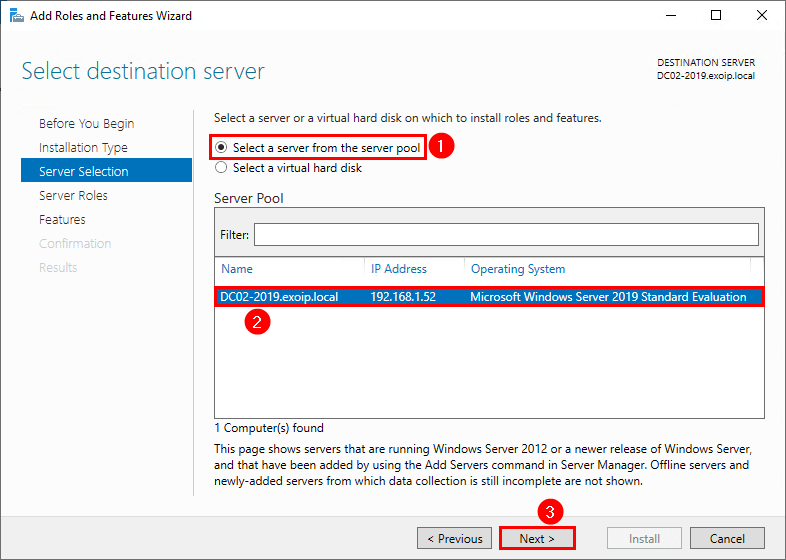
5. Select the server from the server pool. Click Next.
In our example, it’s Windows Server DC02-2019 with a fixed IP address 192.168.1.52.
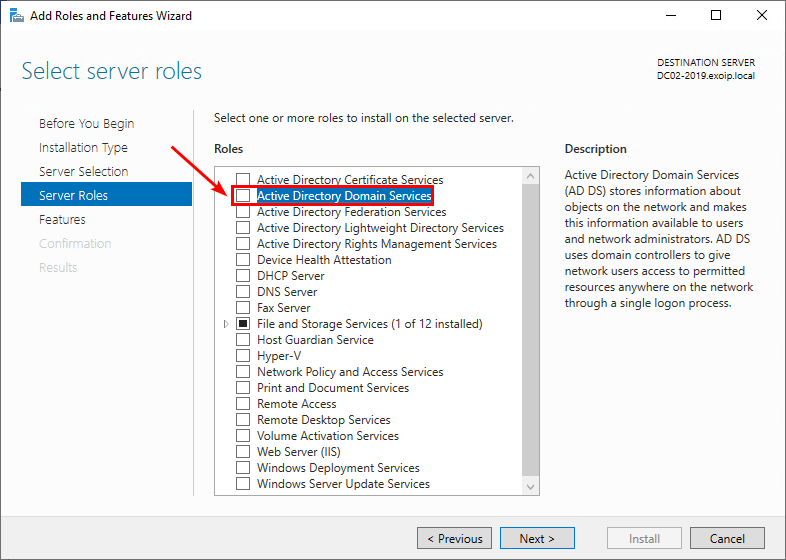
6. Check the checkbox Active Directory Domain Services.
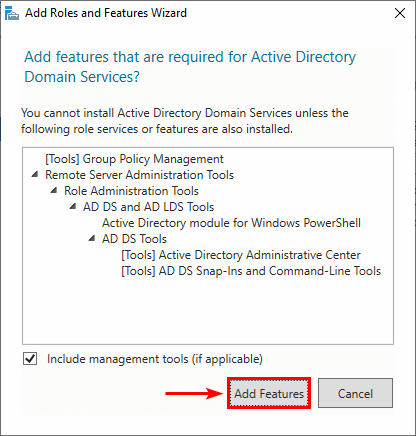
7. A window will show that it will add features that are required for Active Directory Domain Services. Click Add Features.
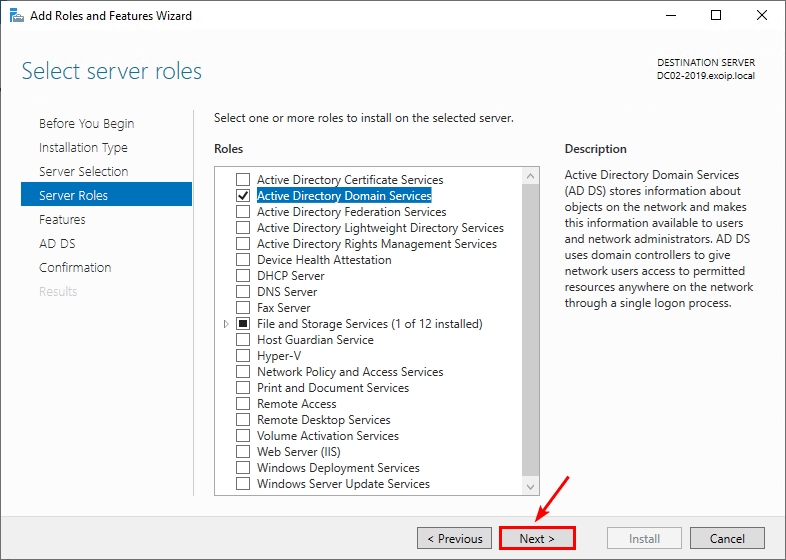
8. Click Next.
9. You don’t need to select any features. Click Next.
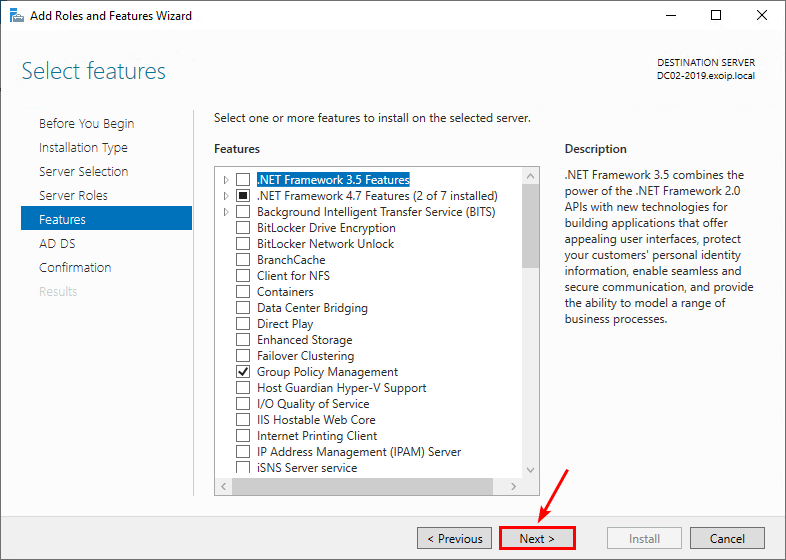
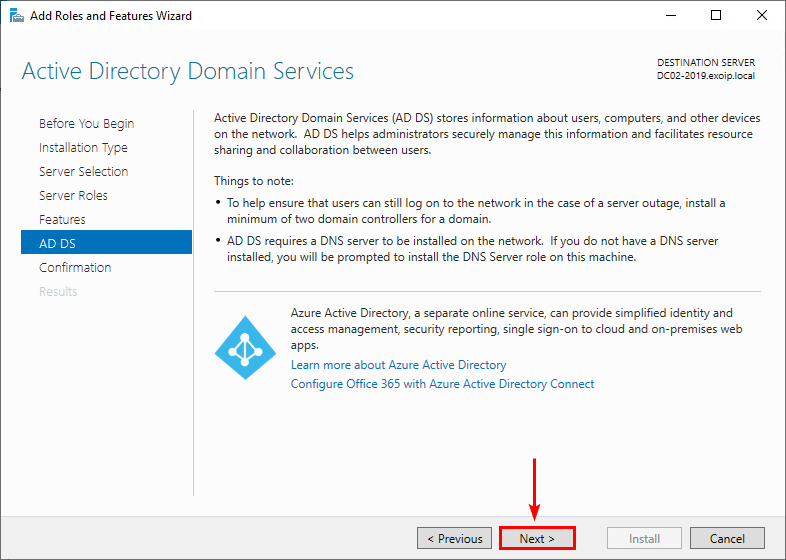
10. Click Next.
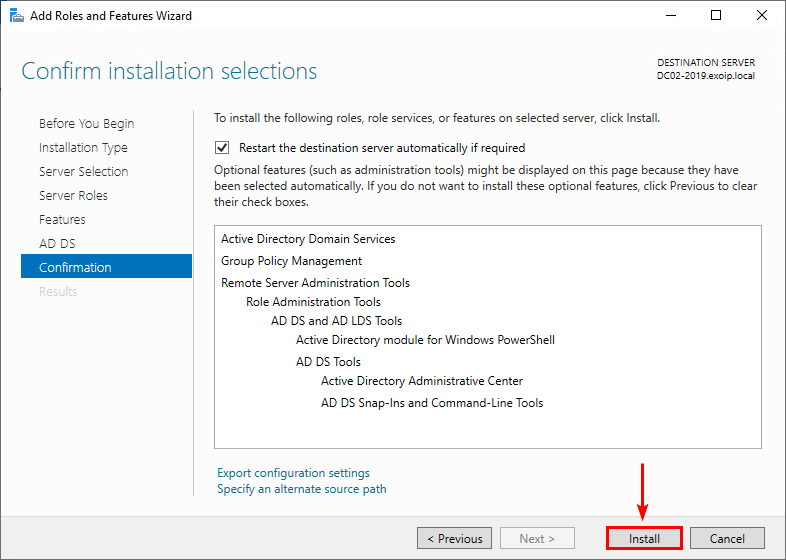
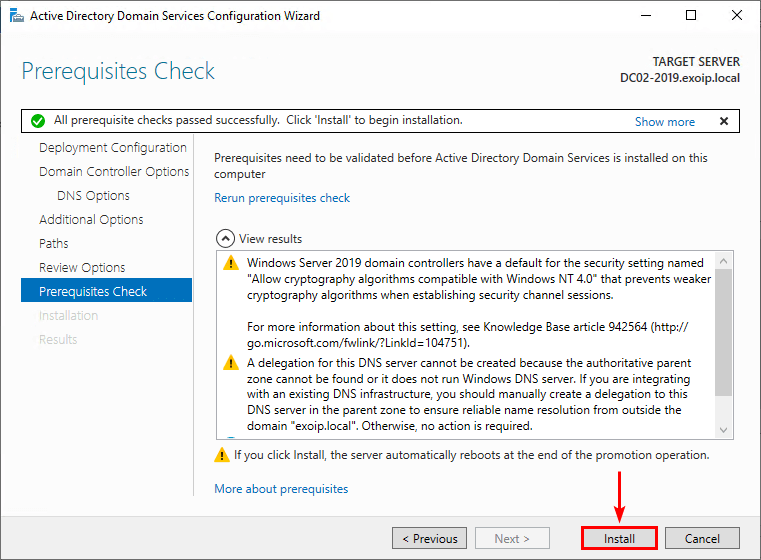
10. Click Install.
11. The installation will start and the progress appears.
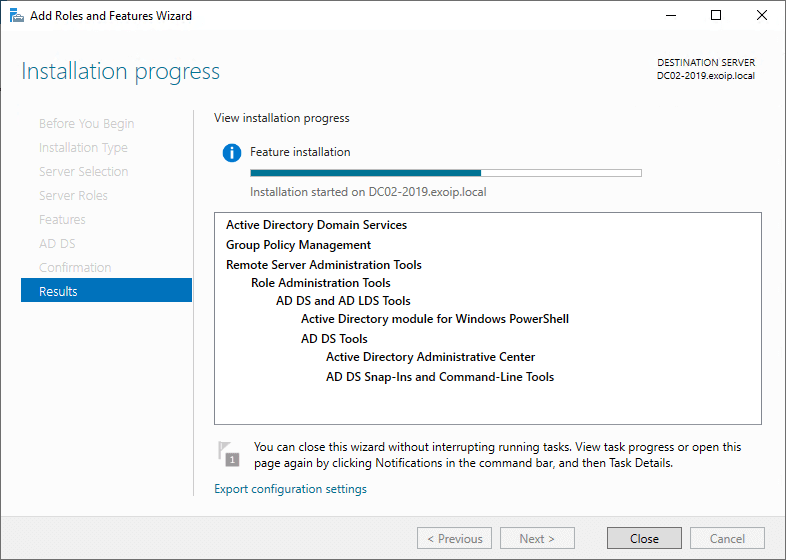
In the next step, we will promote the server DC02-2019 to a Domain Controller.
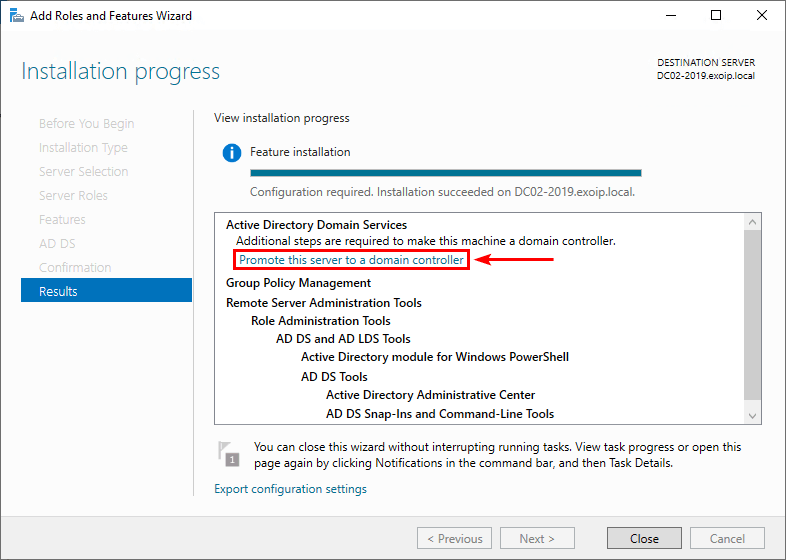
Promote server to Domain Controller
Now that the Active Directory Domain Services feature installation is completed on Windows Server, additional steps are required to make this machine a domain controller.
1. Click on Promote this server to a domain controller.
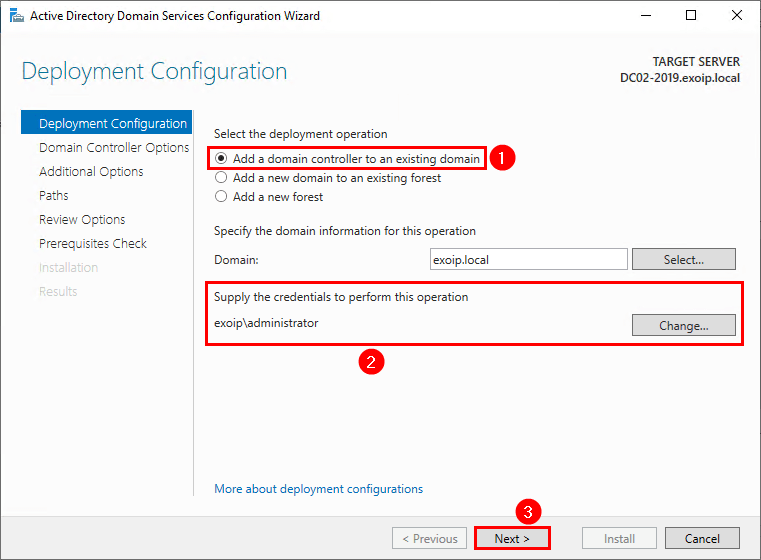
2. Select Add a domain controller to an existing domain and fill in the administrator credentials. Click Next.
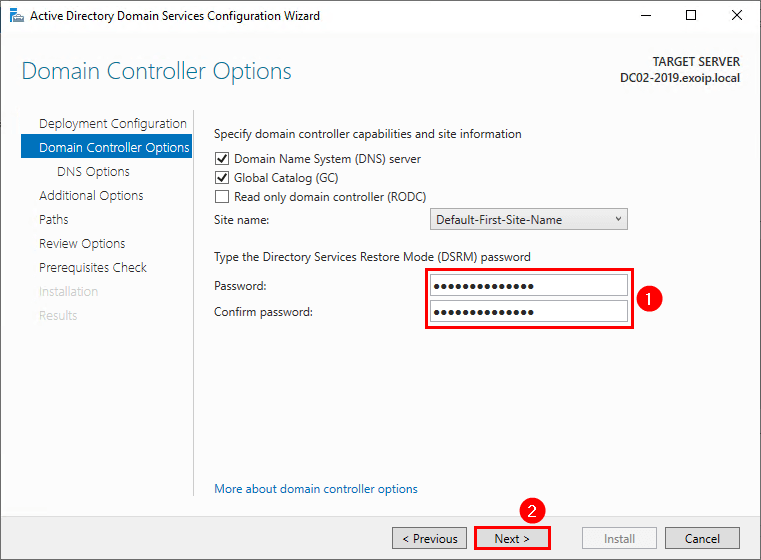
3. Type the Directory Services Restore Mode (DRSM) password twice. Click Next.
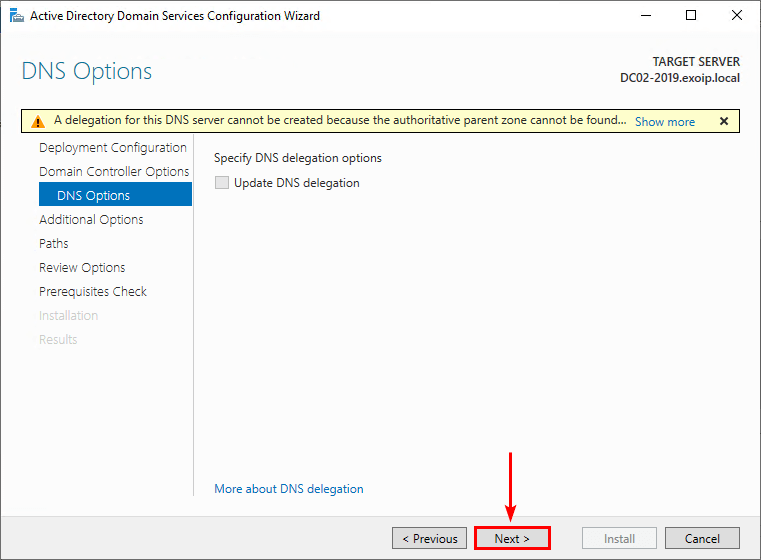
4. Ignore the delegation warning at the top. Click Next.
5. You can select from which Domain Controller you want to replicate.
In our example, only DC01-2019 is a Domain Controller.
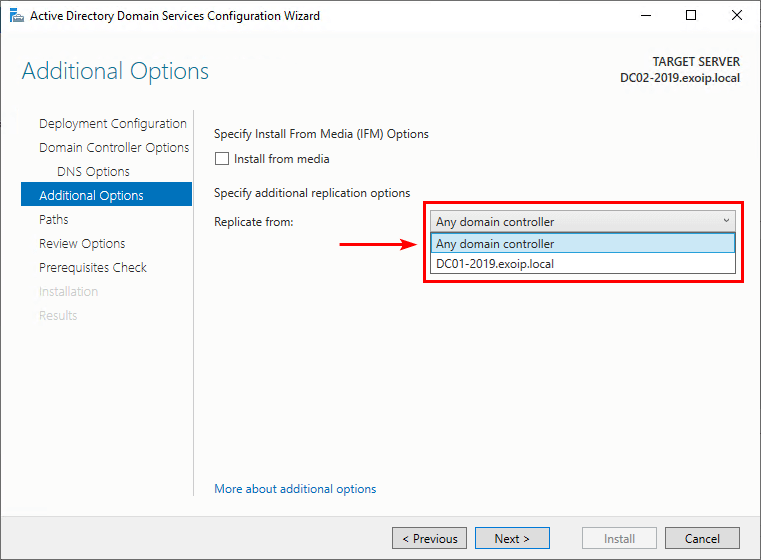
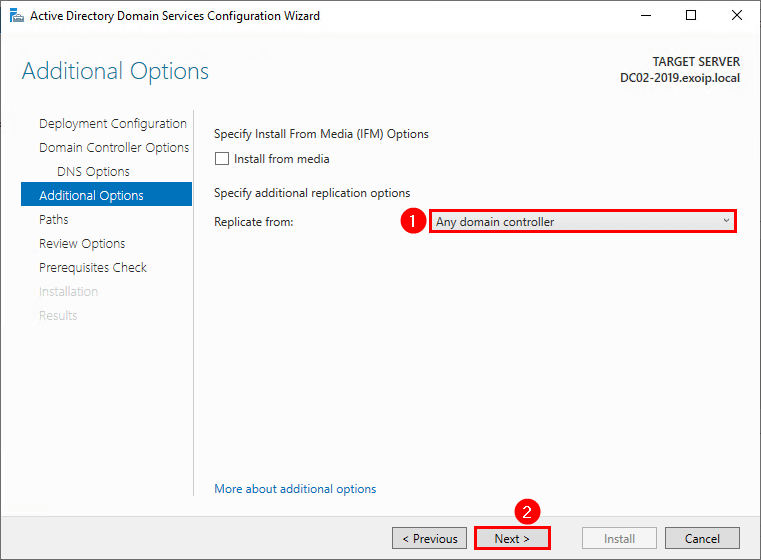
6. Select a Domain Controller or select Any domain controller to replicate from. Click Next.
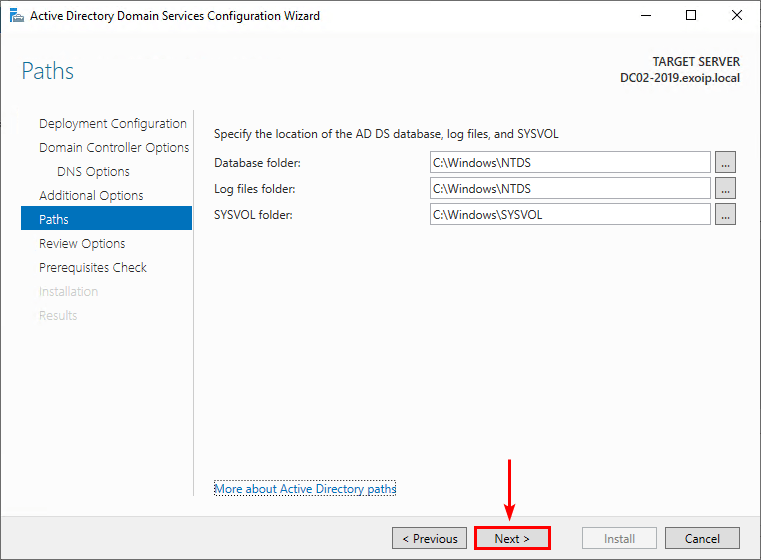
7. Click Next.
8. Click Next.
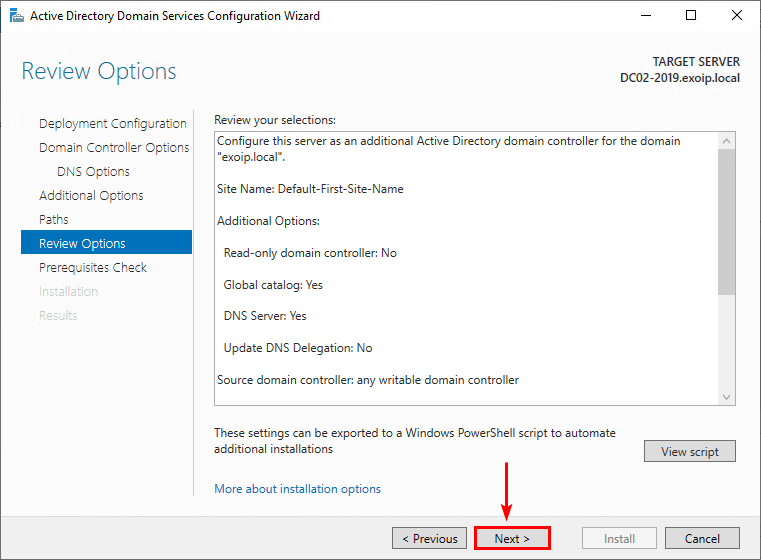
9. Click Install.
10. The Domain Controller promotion and replication is in progress.
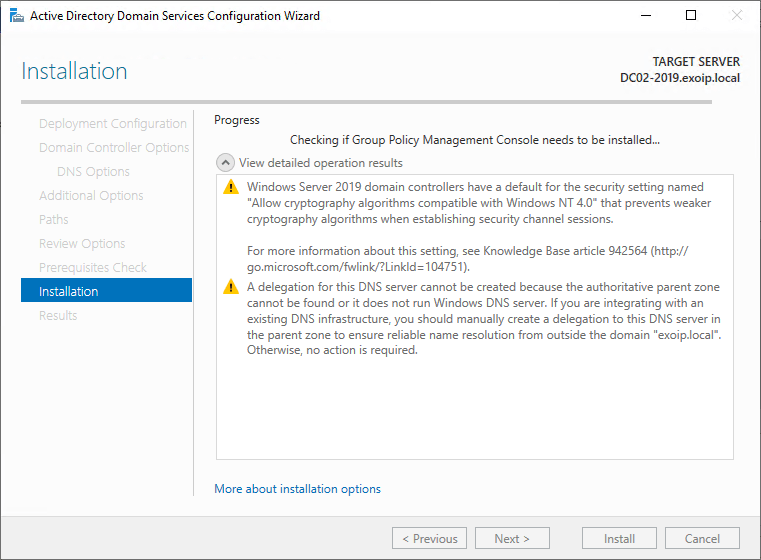
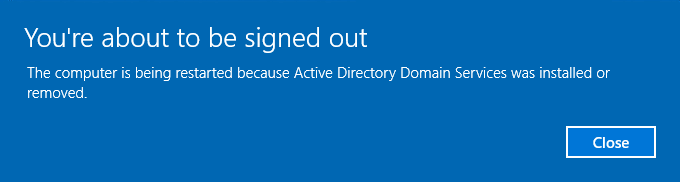
11. A reboot will automatically occur at the end of the promotion and replication operation.
Check new Domain Controller configuration
Now that there are two Domain Controllers up and running in the organization, it’s essential to check the Domain Controllers configuration.
DNS server addresses setting
Go to DC02-2019 IP settings and check the DNS server addresses:
- Preferred DNS: Domain controller DC01-2019 (192.168.1.51)
- Alternate DNS: Loopback address (127.0.0.1)
Go to DC01-2019 IP settings and configure the DNS server addresses:
- Preferred DNS: Domain controller DC02-2019 (192.168.1.52)
- Alternate DNS: Loopback address (127.0.0.1)
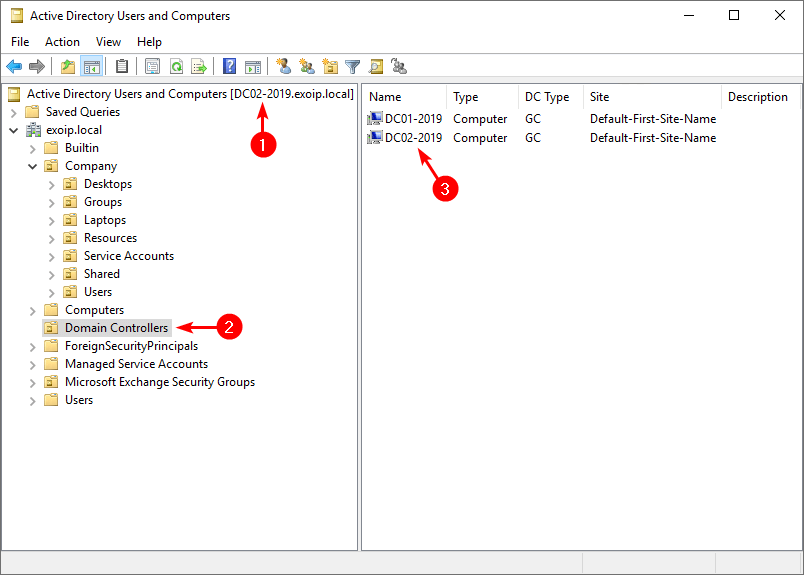
Active Directory Users and Computers
Start Active Directory Users and Computers and check that it’s connected to the Domain Controller DC02-2019.
Click on the OU Domain Controllers and verify that both Domain Controllers are shown.
Suppose you want to know how many Domain Controllers are running in the organization. An excellent way is to list all Domain Controllers with PowerShell.
Active Directory replication status
Run PowerShell as administrator and run the below command to get the current replication status for all Domain Controllers.
repadmin /showrepl *The PowerShell output appears.
Repadmin: running command /showrepl against full DC DC01-2019.exoip.local
Default-First-Site-Name\DC01-2019
DSA Options: IS_GC
Site Options: (none)
DSA object GUID: b44dc8cf-ce37-4046-b908-8504ff700efe
DSA invocationID: b44dc8cf-ce37-4046-b908-8504ff700efe

==== INBOUND NEIGHBORS ======================================

DC=exoip,DC=local
    Default-First-Site-Name\DC02-2019 via RPC
        DSA object GUID: f8ad96fb-5590-47ae-af10-13322b2c8663
        Last attempt @ 2023-01-06 11:56:10 was successful.

CN=Configuration,DC=exoip,DC=local
    Default-First-Site-Name\DC02-2019 via RPC
        DSA object GUID: f8ad96fb-5590-47ae-af10-13322b2c8663
        Last attempt @ 2023-01-06 11:56:38 was successful.

CN=Schema,CN=Configuration,DC=exoip,DC=local
    Default-First-Site-Name\DC02-2019 via RPC
        DSA object GUID: f8ad96fb-5590-47ae-af10-13322b2c8663
        Last attempt @ 2023-01-06 11:56:08 was successful.

DC=DomainDnsZones,DC=exoip,DC=local
    Default-First-Site-Name\DC02-2019 via RPC
        DSA object GUID: f8ad96fb-5590-47ae-af10-13322b2c8663
        Last attempt @ 2023-01-06 11:56:10 was successful.

DC=ForestDnsZones,DC=exoip,DC=local
    Default-First-Site-Name\DC02-2019 via RPC
        DSA object GUID: f8ad96fb-5590-47ae-af10-13322b2c8663
        Last attempt @ 2023-01-06 11:56:10 was successful.

Repadmin: running command /showrepl against full DC DC02-2019.exoip.local
Default-First-Site-Name\DC02-2019
DSA Options: IS_GC
Site Options: (none)
DSA object GUID: f8ad96fb-5590-47ae-af10-13322b2c8663
DSA invocationID: c54f30d3-017f-4576-a000-5529e53d4e74

==== INBOUND NEIGHBORS ======================================

DC=exoip,DC=local
    Default-First-Site-Name\DC01-2019 via RPC
        DSA object GUID: b44dc8cf-ce37-4046-b908-8504ff700efe
        Last attempt @ 2023-01-06 12:04:34 was successful.

CN=Configuration,DC=exoip,DC=local
    Default-First-Site-Name\DC01-2019 via RPC
        DSA object GUID: b44dc8cf-ce37-4046-b908-8504ff700efe
        Last attempt @ 2023-01-06 11:56:23 was successful.

CN=Schema,CN=Configuration,DC=exoip,DC=local
    Default-First-Site-Name\DC01-2019 via RPC
        DSA object GUID: b44dc8cf-ce37-4046-b908-8504ff700efe
        Last attempt @ 2023-01-06 11:46:08 was successful.

DC=DomainDnsZones,DC=exoip,DC=local
    Default-First-Site-Name\DC01-2019 via RPC
        DSA object GUID: b44dc8cf-ce37-4046-b908-8504ff700efe
        Last attempt @ 2023-01-06 11:56:26 was successful.

DC=ForestDnsZones,DC=exoip,DC=local
    Default-First-Site-Name\DC01-2019 via RPC
        DSA object GUID: b44dc8cf-ce37-4046-b908-8504ff700efe
        Last attempt @ 2023-01-06 11:56:29 was successful.
Run the below command to get a replication summary on the current replication state.
repadmin /replsummaryThe PowerShell output appears.
Replication Summary Start Time: 2023-01-06 12:05:14

Beginning data collection for replication summary, this may take awhile:
  .....


Source DSA          largest delta    fails/total %%   error
 DC01-2019                 19m:06s    0 /   5    0
 DC02-2019                 09m:06s    0 /   5    0


Destination DSA     largest delta    fails/total %%   error
 DC01-2019                 09m:05s    0 /   5    0
 DC02-2019                 19m:06s    0 /   5    0
Note: The best way to check the AD health is to run the Active Directory Health checker script. This will show the Active Directory information and health status, including the replication state, in an easy-to-read report.
Read more: Secure Active Directory passwords from breaches »
Conclusion
You learned how to add an additional Domain Controller to an existing domain. First, ensure that you meet the prerequisites. After that, install the Active Directory Domain Services (AD DS) feature. As of last, replicate from another Domain Controller and promote the server to a Domain Controller.
Remember to check the new Domain Controller configuration. The AD objects in Active Directory Users and Computers must be replicated to the new Domain Controller. Also, the replication health should pass and not show any errors.
Did you enjoy this article? You may also like Get Active Directory count with PowerShell. Don’t forget to follow us and share this article.
What Others Are Reading

Hi Ali,
Nice Work. I have a question.
Having a second DC is a good Idea. But why when a FSMO fails the Second DC does not take automatically all the rolls from FSMO (for Exampel like Exchange in High Availability)?.
It must be seized etc….
Or am i missing somthing here?
That’s correct, Ismail.
Unfortunately, there is no support for automatic seizing of FSMO roles.
Dear Tajran,
Thanks for your post.
Please advise if we have more than one site and Each site having DCs and RODCs like that means how will give IP DNS Settings for Preferred DNS Server IP and Alternative DNS Server IP for Example
We have 2 DC in HQ site and 3 DC’s in different Remote Sites so how will provide remote site DC’s
Preferred DNS IP and Alternative DNS IP like below,
Remote site:
DC IP : 192.168.1.121
S.M : 255.255.255.0
G.W : 192.168.1.254
Preferred DNS : 172.20.10.121 ( HQ DC1 )
Alternative DNS : 127.0.0.1
HQ DC1:
HQ DC IP : 172.20.10.121
S.M : 255.255.255.0
G.W : 172.20.10.254
Preferred DNS : 172.20.10.122 ( Second DC IP)
Alternative DNS : 127.0.0.1
HQ DC2:
HQ DC IP : 172.20.10.122
S.M : 255.255.255.0
G.W : 172.20.10.254
Preferred DNS : 172.20.10.121 ( First DC IP)
Alternative DNS : 127.0.0.1
Hi Ali,
thank You for your work.
On the first DC IP settings, do I have to set in the alternate DNS server the secondary DC’s IP?
When the first DC goes down, what are the steps to follow to make the users authenticate as expected?
Thank You
Alessandro
You’re welcome, Alessandro.
On the first DC IP settings, it should look like this:
Preferred DNS: Second DC IP address
Alternate DNS: 127.0.0.1
I updated the article with the information.