If you have thousands of mailboxes to migrate, you like to check which mailboxes are…
Add domain to Office 365 tenant
In the previous article, we did create an Office 365 tenant. In this step by step guide, we will add a domain to Office 365 and verify the domain. We do have an Exchange on-premises in production, and we will not add the DNS records in the last step yet as it will impact mail flow.
Table of contents
Add domain to Office 365
Before we can add a domain to Office 365, we need to sign in to Microsoft 365 admin center.
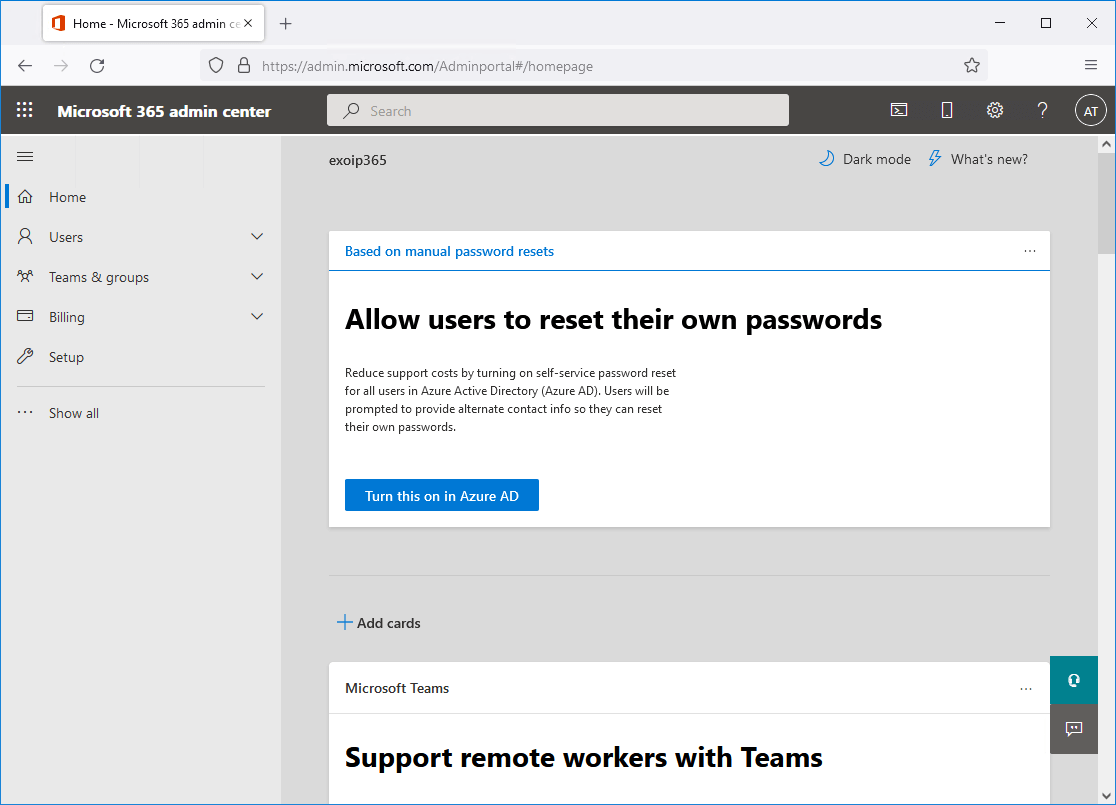
In a new Office 365 tenant, not all items are visible in the navigation pane unless we click on Show all.
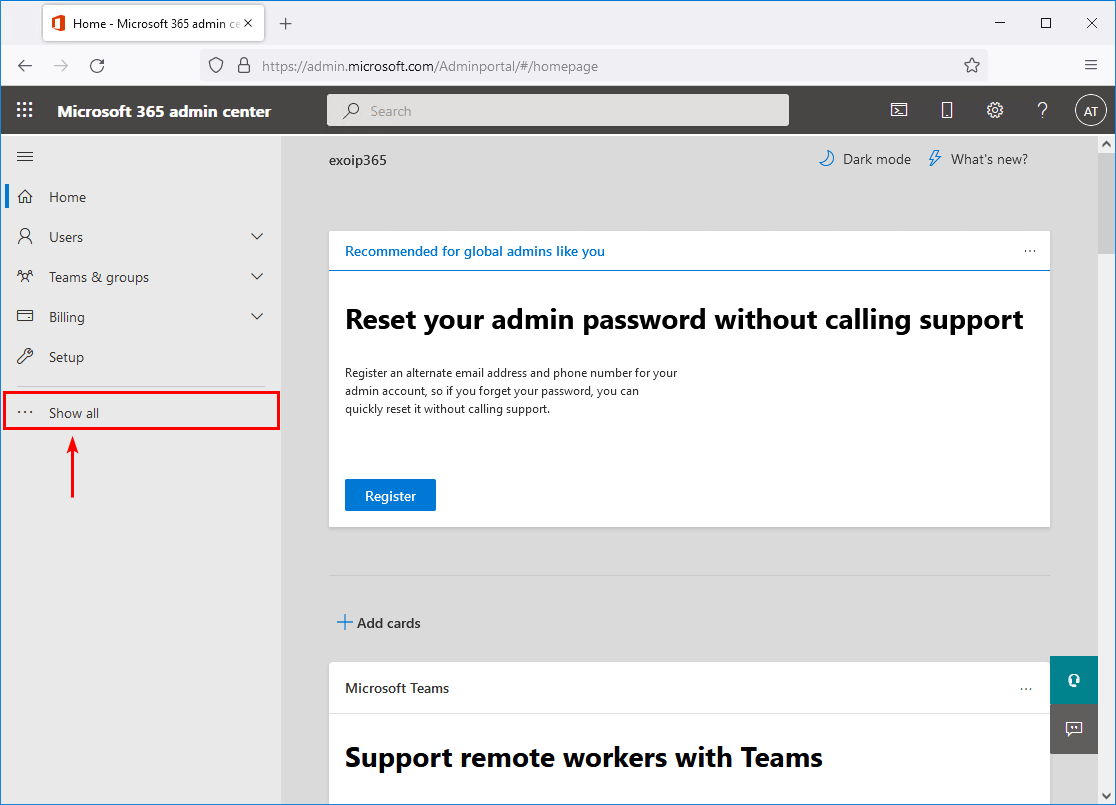
Now that we have all the items showing in the navigation pane, let’s proceed further.
Add domain
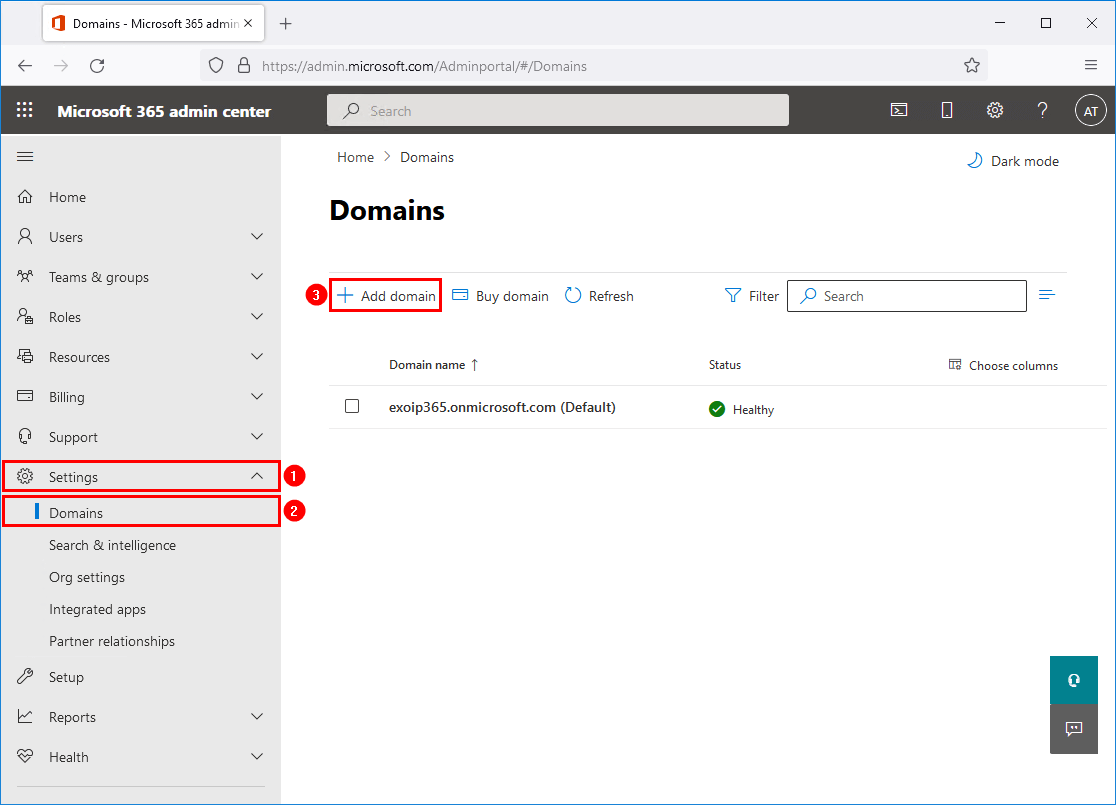
In the navigation pane, click on Settings > Domains. Click +Add domain.
Domain name
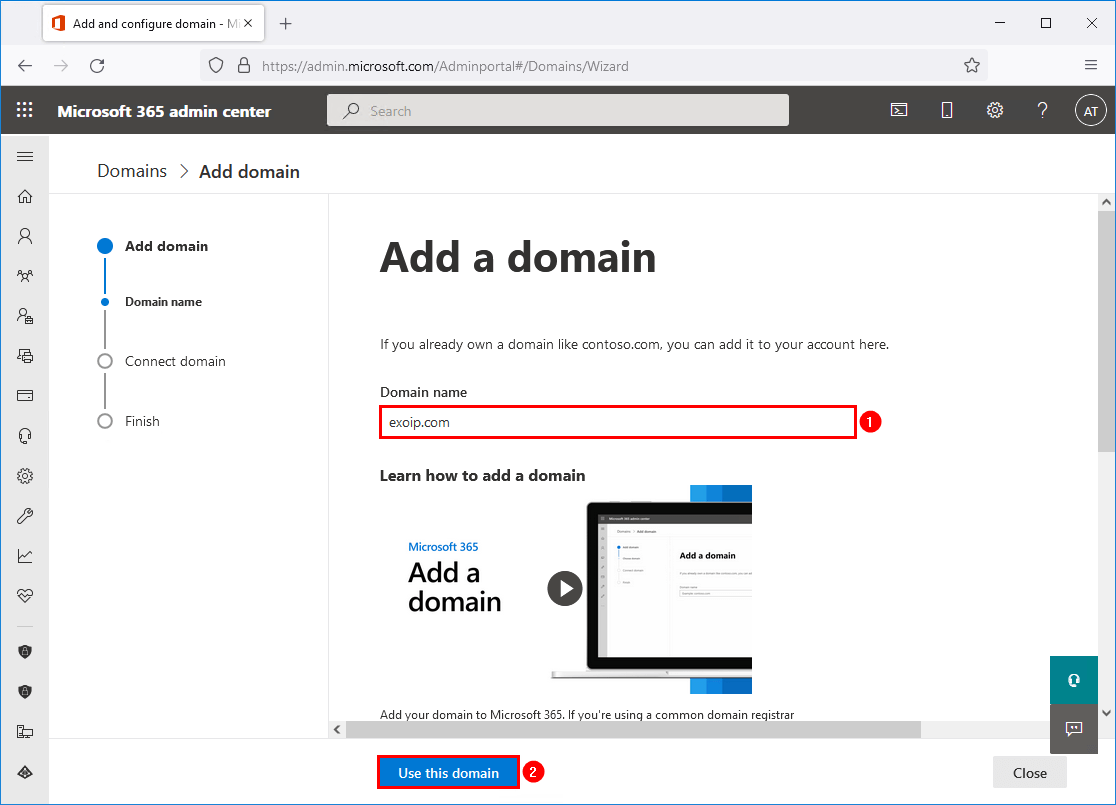
Add the domain name and click Use this domain.
In our example, we will add the domain exoip.com. The domain is already configured in Exchange on-premises, and the organization is sending and receiving emails from that domain.
Note: Suppose you have Exchange on-premises or Hosted Exchange, and you want to add that domain to the Microsoft 365 tenant. Add a registry key on the clients to prevent Outlook from connecting to Office 365.
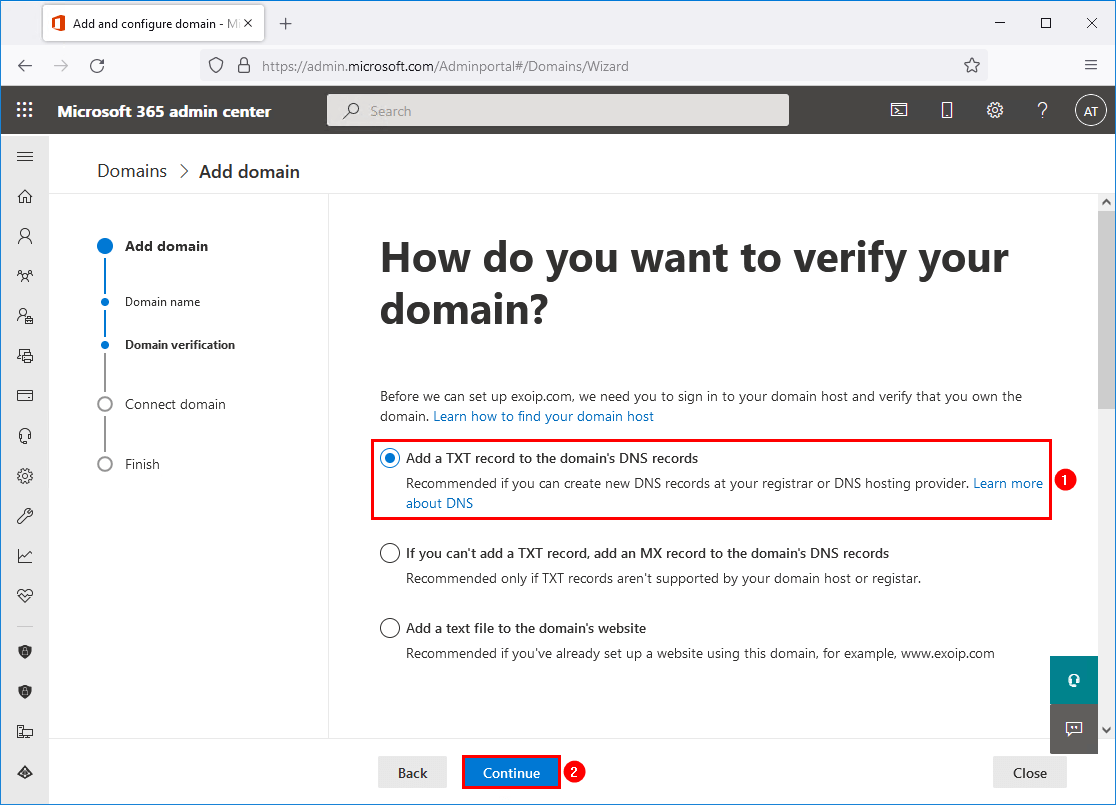
Domain verification
Select Add a TXT record to the domain’s DNS records. Click Continue.
Verify your domain
Copy the TXT value. In our example, it’s the TXT value MS=ms88184444.
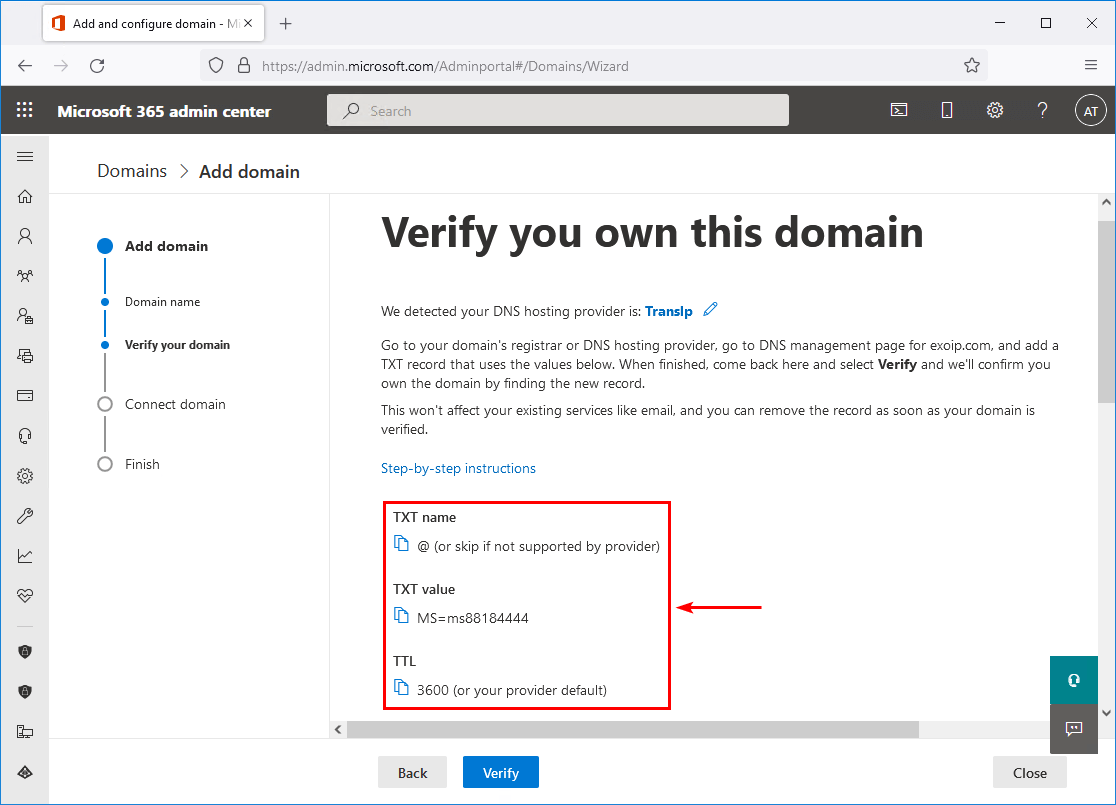
Sign in to the domain’s registrar or DNS hosting provider. Configure the Name, TTL, Type, and Value for the domain.
Note: The change can take up to 24 hours. In most cases, the change will apply within 5 to 10 minutes.
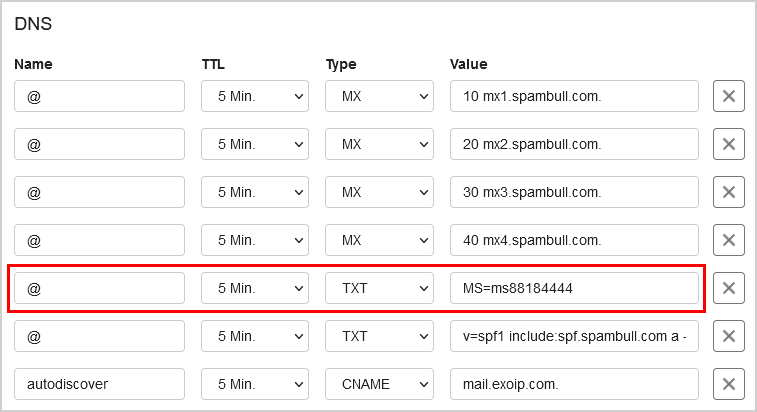
Note: We configure the SpamBull.com spam filter on all our environments. A cloud-based spam filter that protects the organization from sending and receiving spam messages.
Go back to the Office 365 admin portal to proceed. Click Verify.
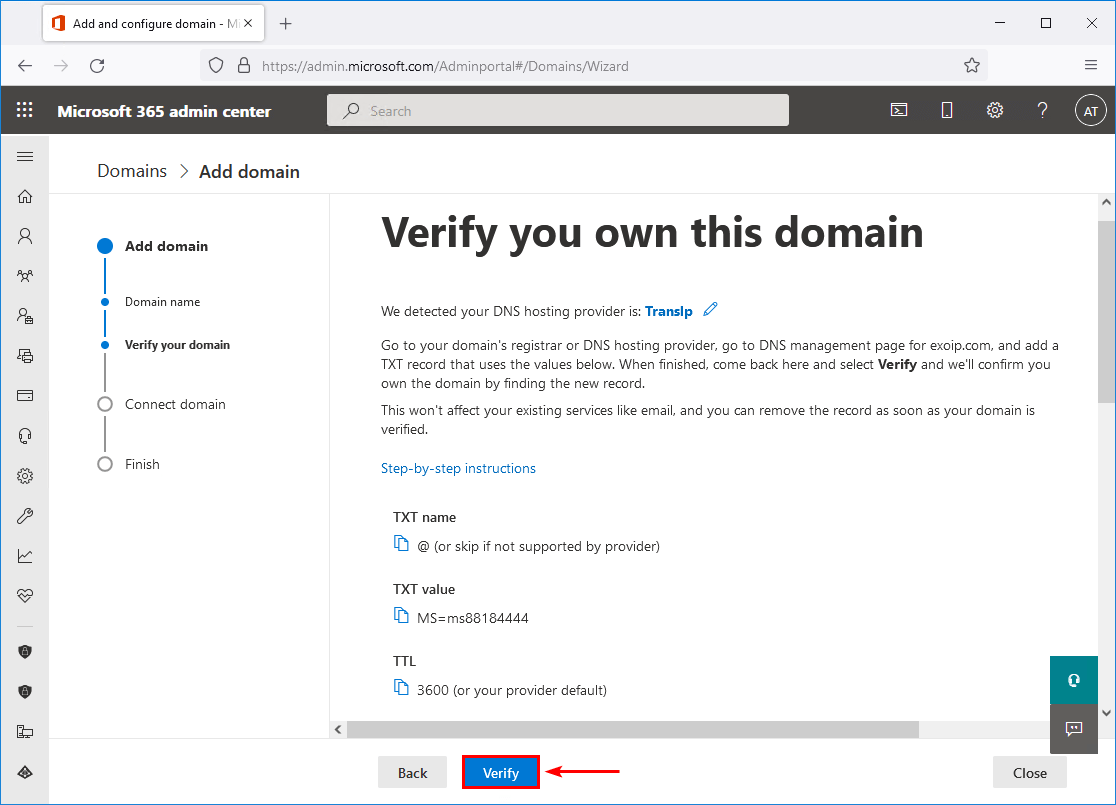
If you do see connect domain, which is the next step, it means that the domain is verified successfully. If you do get an error, wait a little longer before you click on Verify.
You did add the domain to Office 365. The next steps will show a list of DNS records that you need to add to the domain’s registrar to use email and instant messaging. Don’t add these DNS records yet, as it will give you mail flow problems.
Connect domain
Connection options
Let’s click on More options to see the available options.
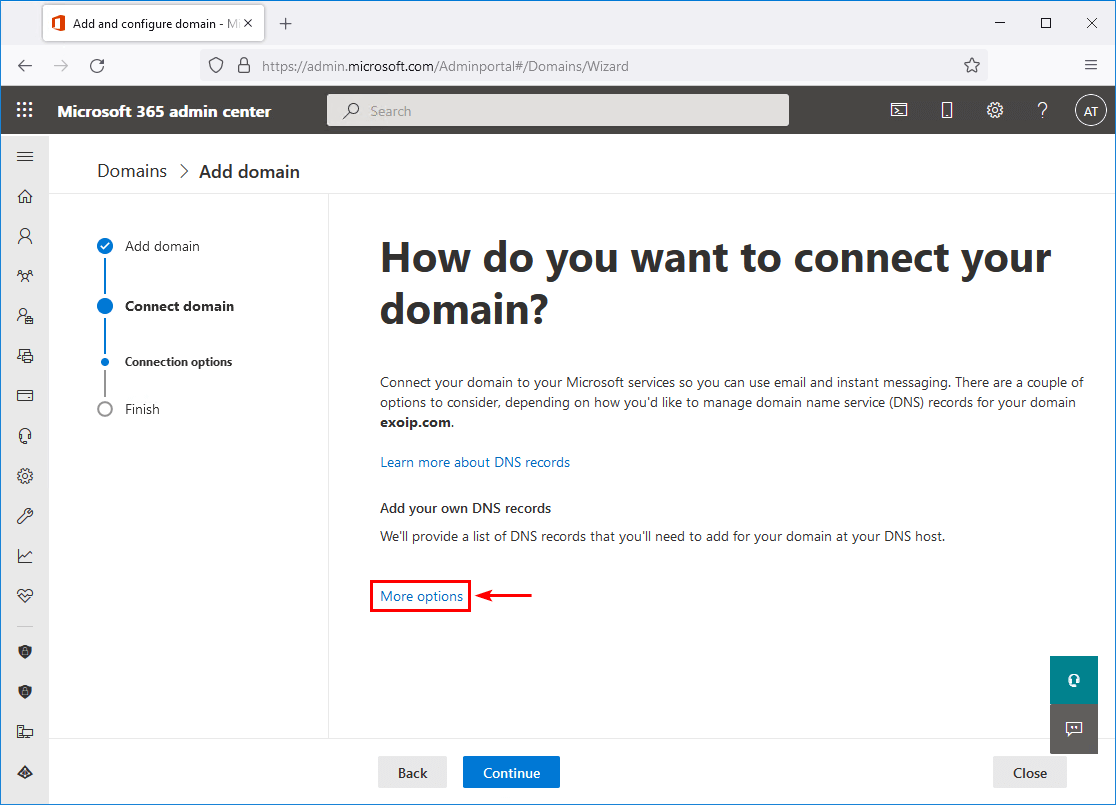
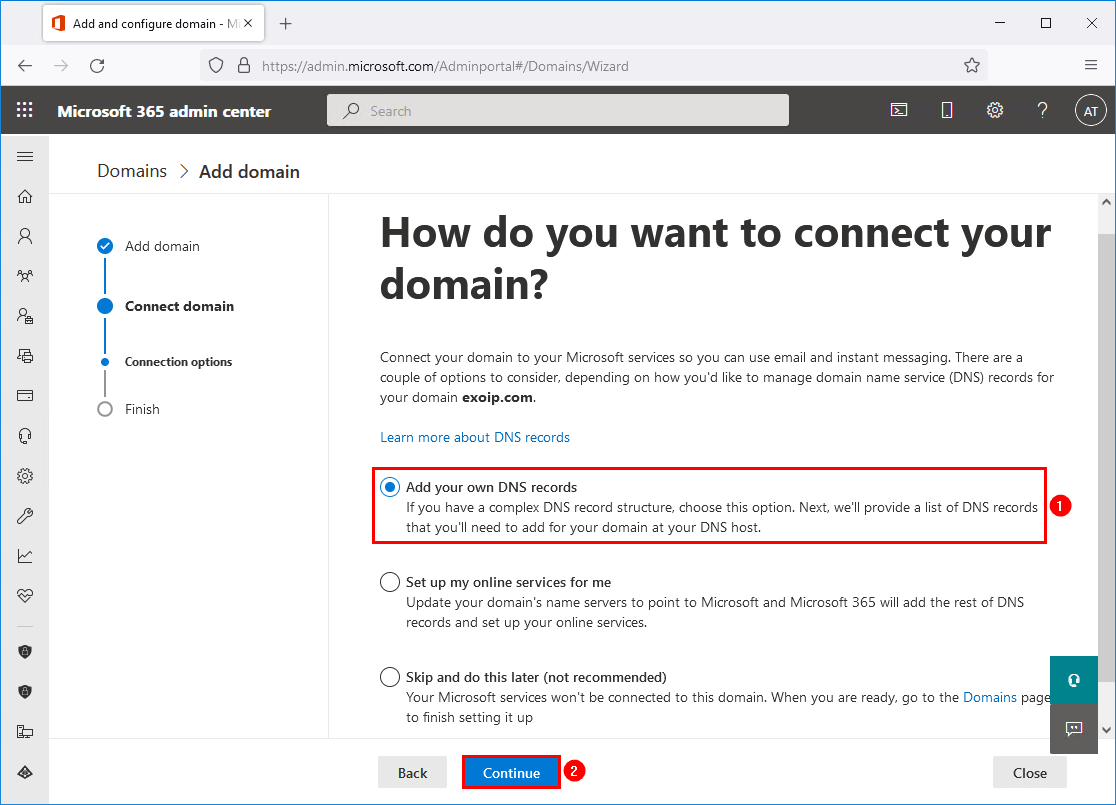
We have three options to select. Select Add your own DNS records. Click Continue.
Add DNS records
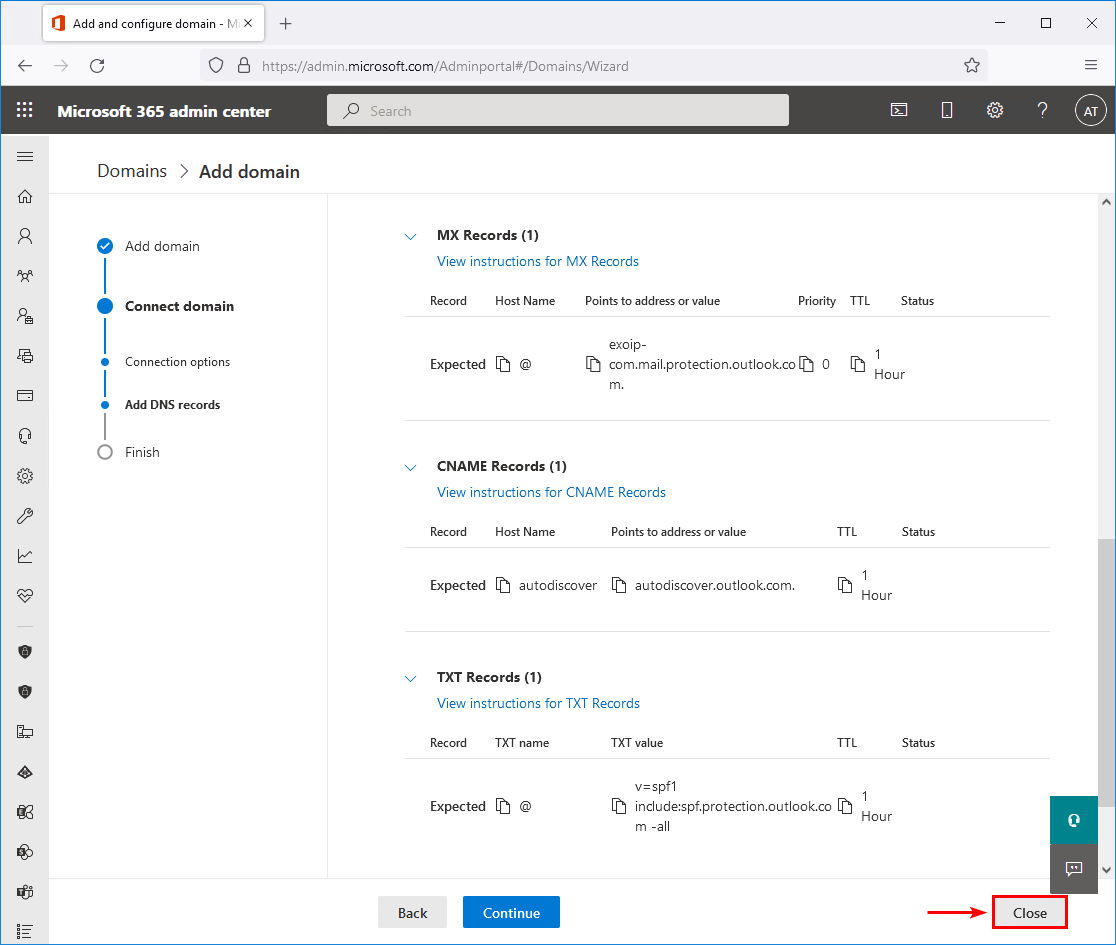
Exchange and Exchange Online protection will list three DNS records that you’ll need to add for your domain at your DNS host:
1. MX record for incoming mail
Don’t do it now, as it will impact the production mail flow. There is no Hybrid Configuration in place yet, and Exchange Online wouldn’t know how to route mail to the on-premises mailboxes for the domain. We will configure the record in another stage.
2. CNAME record for autodiscover
Don’t change it yet. Autodiscover needs to resolve to the on-premises Exchange Server as long as we still have mailboxes on-premises. We will configure the record in another stage.
3. TXT record for SPF
This can be added to our existing SPF record. We will look at that in the next article.
Click on Close. You can always go back and continue the setup. This is not a one-time choice.
You can see the domain in the list with the status Incomplete setup or Possible service issues. You can ignore that for now.
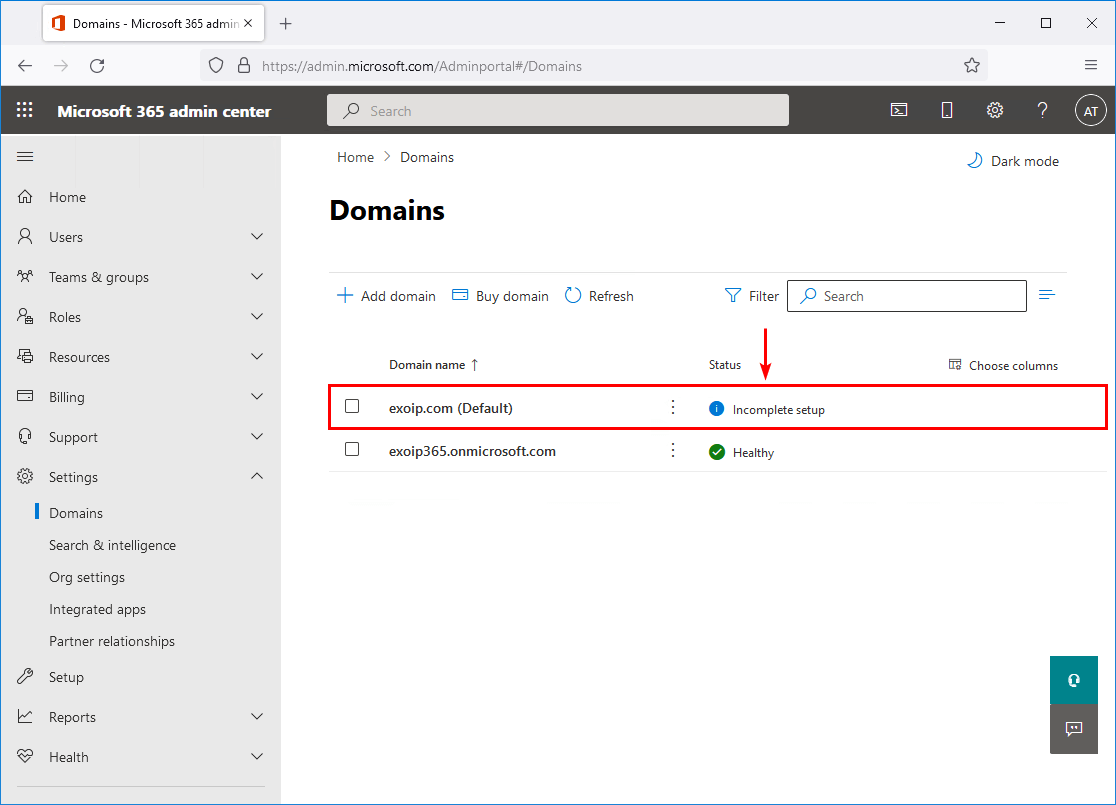
The domain is added to Office 365 tenant.
In the next article, we will configure the SPF record for Office 365.
Conclusion
You learned how to add a domain to Office 365 tenant. Go to settings in the Microsoft 365 admin portal and add the domain. After you verify the domain with the TXT value, go through the setup. In the last step, you will see a couple of DNS records.
Don’t add any of these records to your DNS host yet, as it will give you mail flow issues in production. Safely close the wizard and ignore the information or warning in the domain status.
Did you enjoy this article? You may also like Enable modern authentication in Microsoft 365. Don’t forget to follow us and share this article.
How would you prevent the Outlook Mobile app from automatically trying to connect to Microsoft 365?