Before buying Exchange Server, you need to look at the Exchange Server edition comparison. Microsoft…
Add Exchange Server to existing send connector
Have you ever asked how to add Exchange Server to an existing send connector and why you want to do that? The answer is pretty simple; you want to set up Exchange in High Availability and load balance the outgoing mail. If one Exchange Server is offline, the other can keep sending mail if you have an Exchange SMTP relay set up. If you have a DAG set up, outgoing mail flow will keep sending the emails to the internet.
By default, Exchange Server will not add a send connector. But, because this is our second Exchange Server, we will not create a new send connector. The send connector is available, and we only will add the Exchange Server as a source.
Configure Exchange send connector
To add the Exchange Server to an existing send connector, follow these steps:
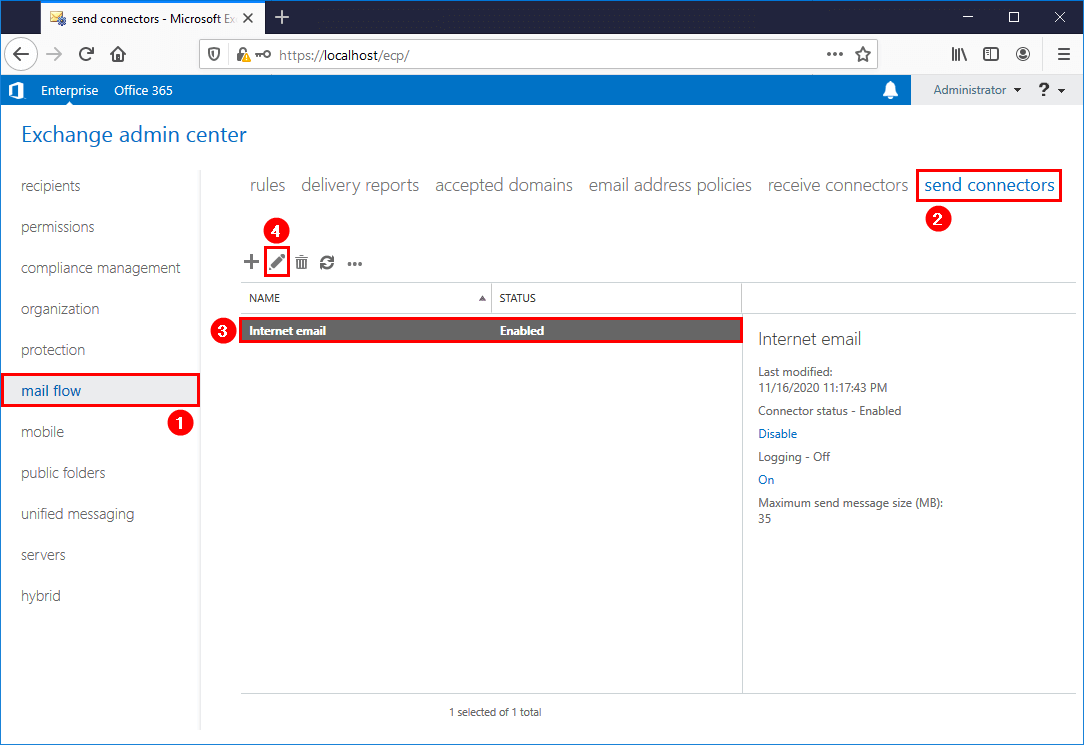
1. Sign in to Exchange Admin Center.
2. Click mail flow > send connectors.
3. Select the send connector in the list view and click the edit icon in the toolbar.
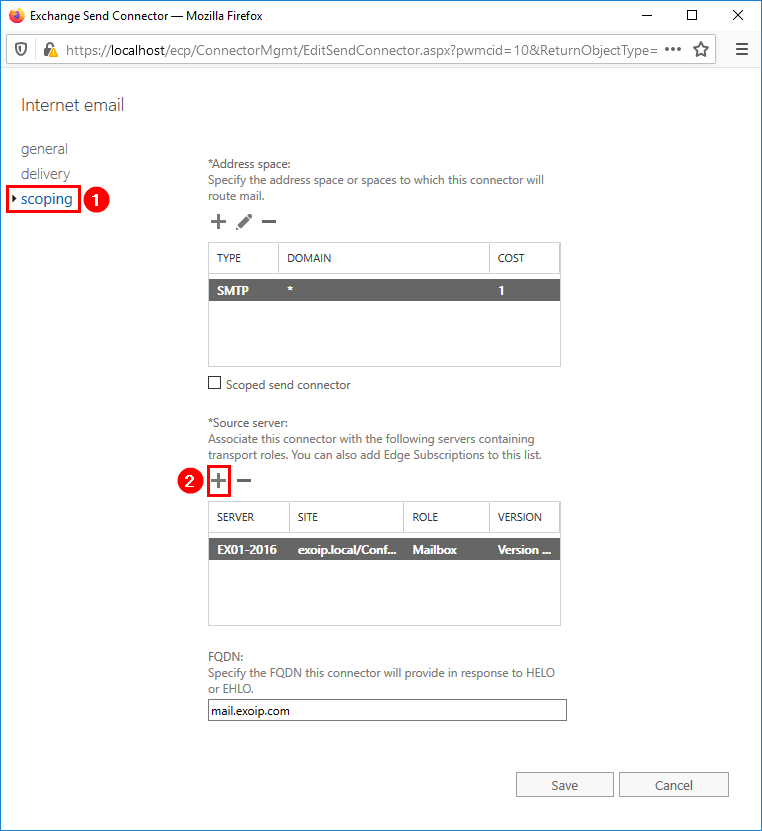
4. Click in the menu on scoping and go to the section *Source server.
5. Click the + icon.
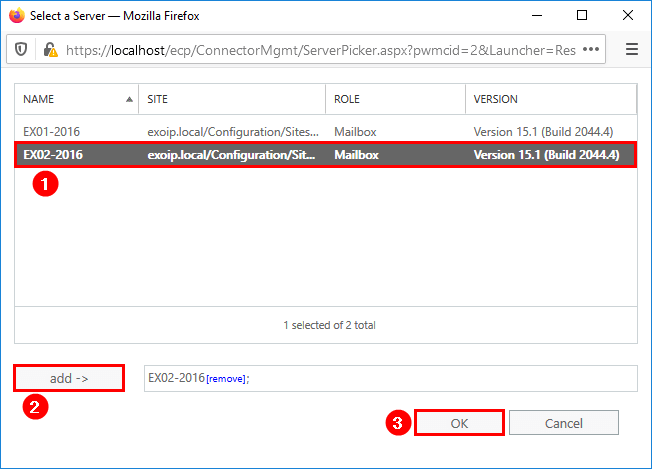
6. Select the Exchange Server.
7. Click the add button.
8. Click OK.
9. Verify that the selected Exchange Server is added as a source server.
10. Click on Save.
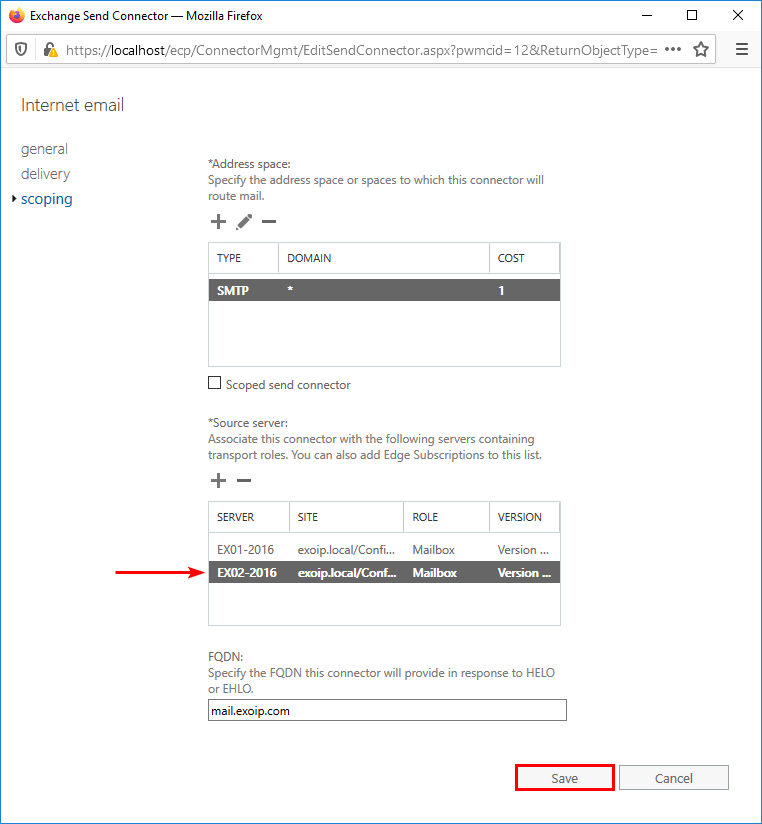
You did successfully add a second Exchange Server to the send connector.
Keep reading: Remove message header in Exchange Server »
Conclusion
You learned how to add Exchange Server to an existing send connector. From now on, outgoing mail to the internet will use both Exchange Servers. It’s essential to have more than one Exchange Server running in the organization.
Did you enjoy this article? You may also like Create bulk mailboxes in Exchange Server with PowerShell. Don’t forget to follow us and share this article.
What Others Are Reading

This Post Has 0 Comments