Right now, there is an Exchange Classic Hybrid Topology configured, and we want to configure…
Cleanup Exchange logs automatically with scheduled task
How to combine PowerShell with a scheduled task to cleanup Exchange logs automatically? Why do we want to delete Exchange logs automatically? I always say that if you can automate the process, you should do it. In this article, you will learn how to clear Exchange logs automatically with a scheduled task.
Table of contents
Before creating the cleanup Exchange logs scheduled task
Download the CleanupLogs.ps1 script and place it in the C:\Scripts\ folder. Create a scripts folder if you don’t have one in the C:\ drive. Did you install Exchange in a different directory than the default path? Change the path in the script. Read more about the script in the article Cleanup logs Exchange 2013/2016/2019.
Automate the cleanup Exchange logs with task scheduler
After we confirmed that the CleanupLogs.ps1 script is in place, we can start automating the cleanup logs Exchange script.
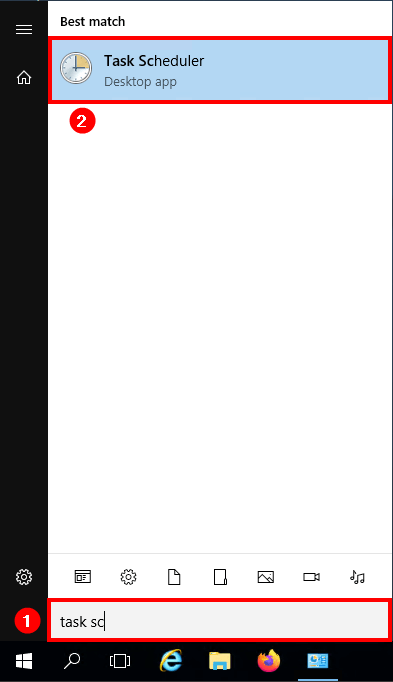
Start Task Scheduler.
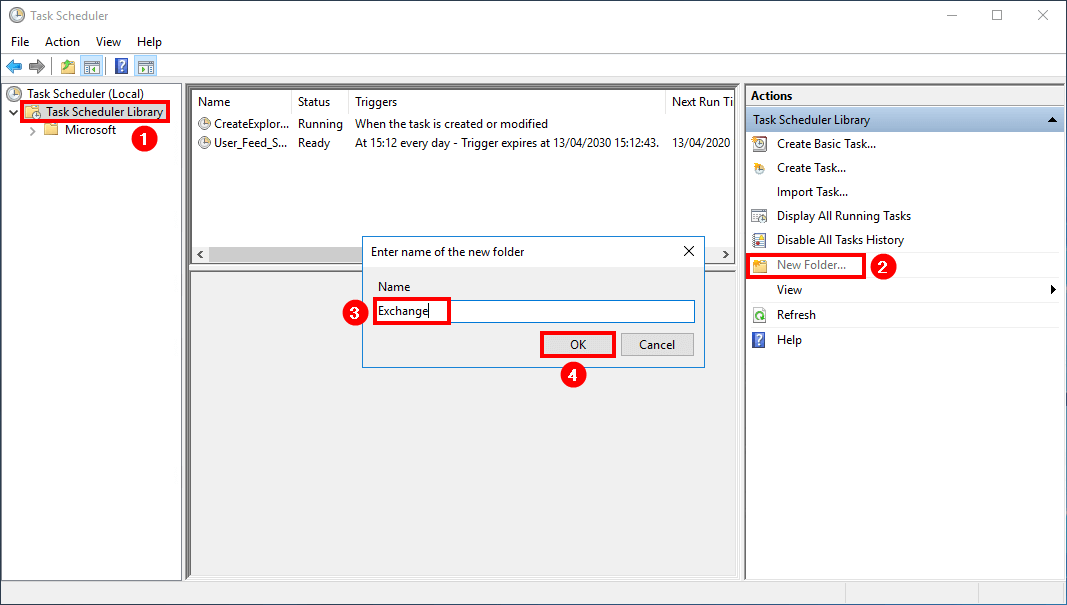
Click the Task Scheduler Library and click New folder… Name the folder Exchange and click OK.
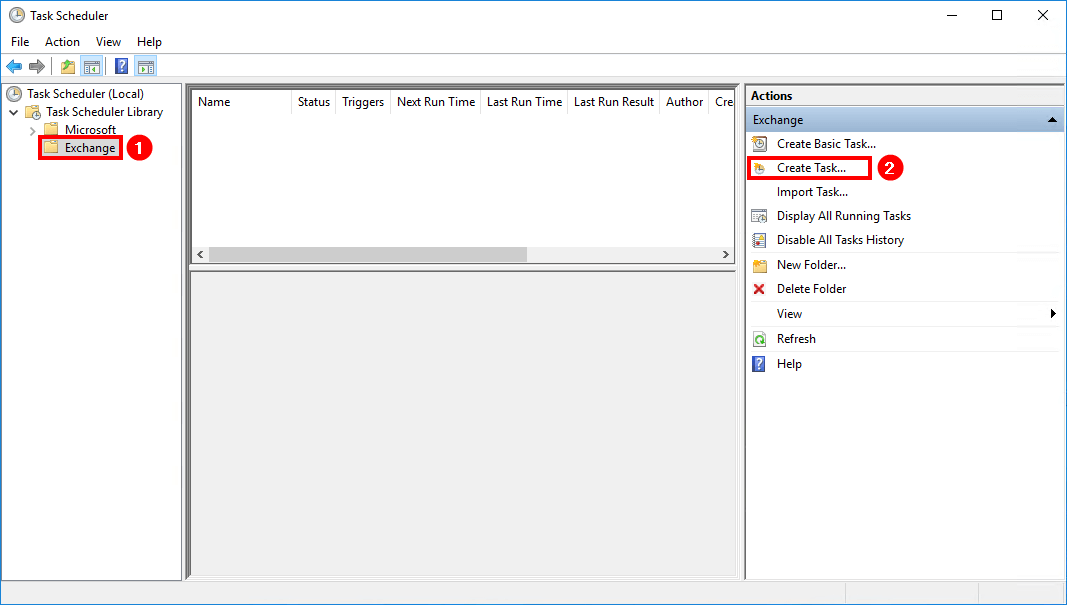
Click the created Exchange folder. Click Create Task…
We have three tabs that we are going to fill in. The tabs are General, Triggers, and Actions.
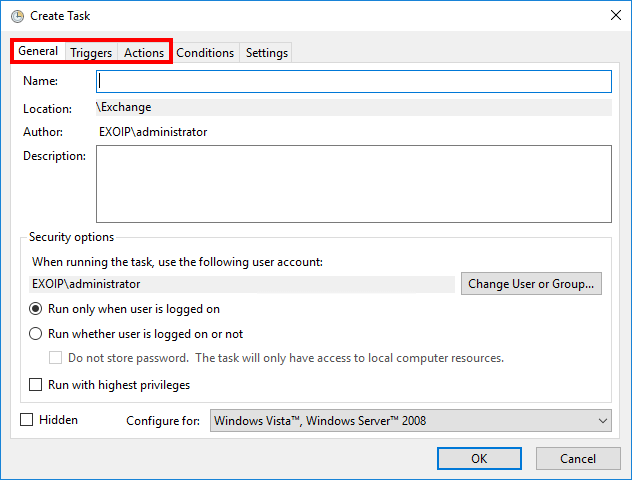
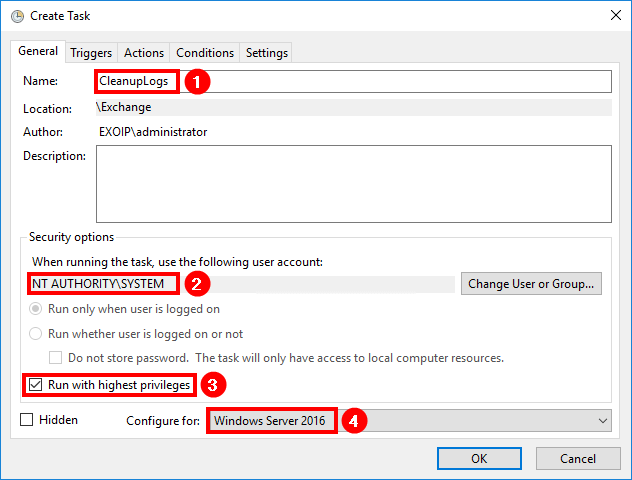
We start with the first tab General.
Give the task name CleanupLogs. Change user account to SYSTEM. Enable Run with highest privileges. Select Configure for Windows Server 2016 if you have a Windows Server 2016. If you have another Windows Server version running, select that.
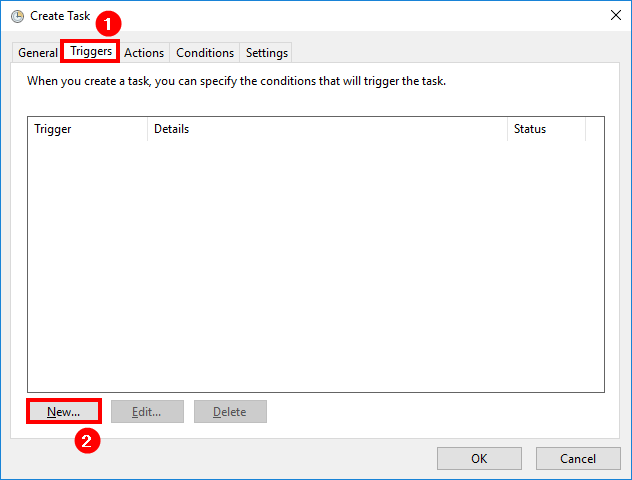
Click the tab Triggers. Click New…
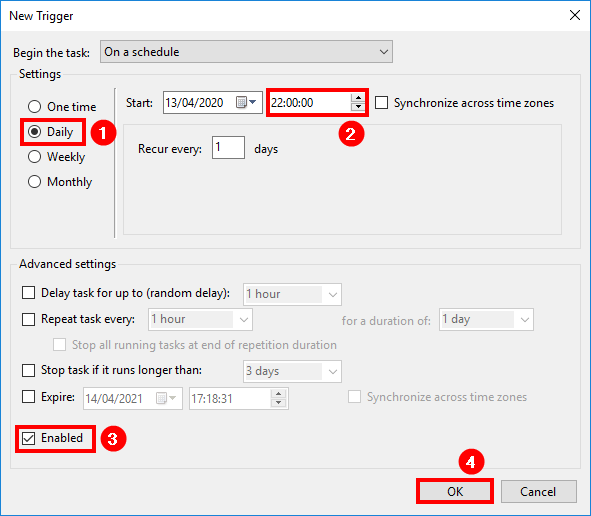
Select the settings Daily. Configure which time the script needs to start running. For example 22:00:00. Make sure that it’s Enabled and click OK.
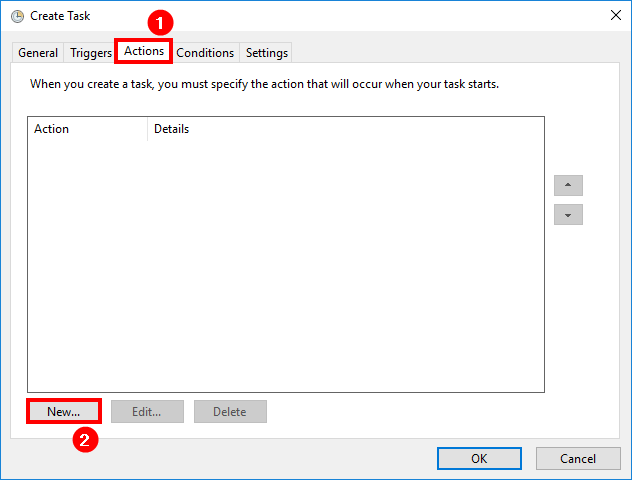
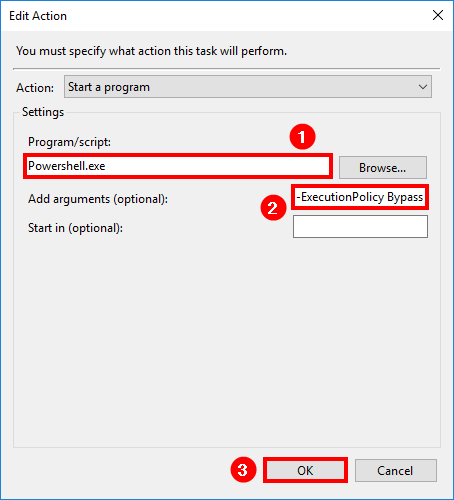
Click the tab Actions. Click New…
Make sure to copy and paste below to both of the fields.
Program/script: Powershell.exe
Add arguments (optional): -ExecutionPolicy Bypass C:\Scripts\CleanupLogs.ps1
Click OK.
Click OK.
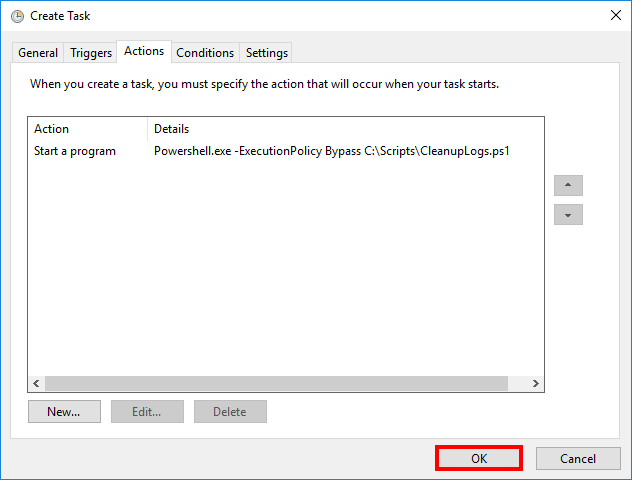
The clear Exchange logs task is scheduled. From now on, the task scheduler will automatically delete Exchange logs. In the next step, you will run the script to test if all is working great.
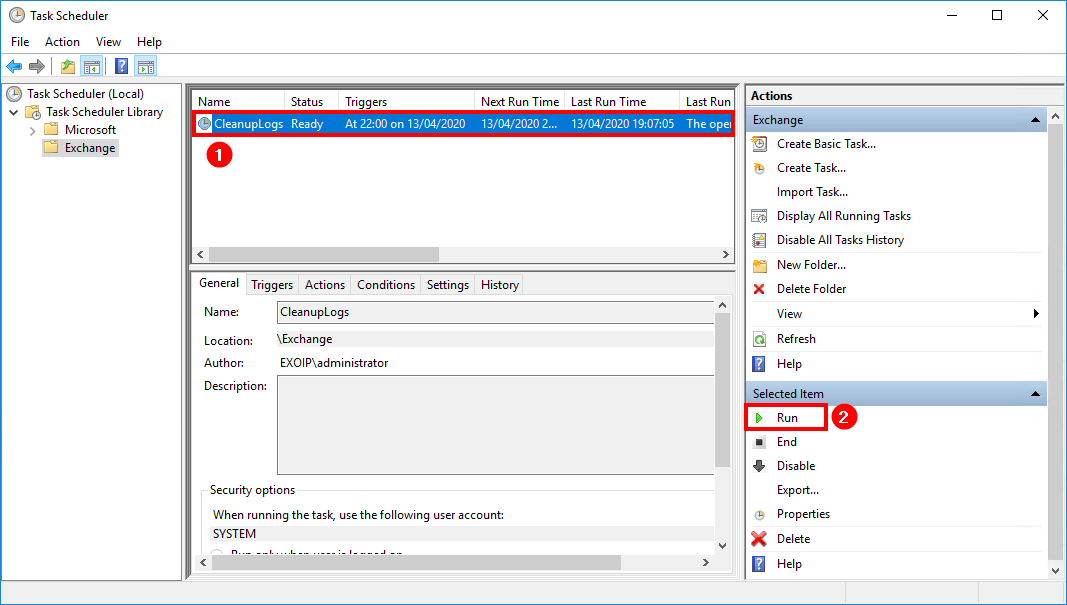
Run the cleanup Exchange logs task in task scheduler
Click the created task CleanupLogs and Click Run. The Last Run Result will show that The operation completed successfully. (0x0).
Make sure to check if the CleanupLogs task did clear the logs in the following folders.
C:\inetpub\logs\LogFiles\
C:\Program Files\Microsoft\Exchange Server\V15\Logging\
C:\Program Files\Microsoft\Exchange Server\V15\Bin\Search\Ceres\Diagnostics\ETLTraces\
C:\Program Files\Microsoft\Exchange Server\V15\Bin\Search\Ceres\Diagnostics\Logs\
Conclusion
In this article, you learned how to cleanup Exchange logs automatically with a scheduled task. Make sure that you place the CleanupLogs.ps1 PowerShell script in the C:\scripts\ folder. Create a new task in the task scheduler. Run the task and check that it did cleanup the Exchange logs. From now on, the Exchange logs will delete automatically.
Did you enjoy this article? You may also like Connect to Exchange Online PowerShell. Don’t forget to follow us and share this article.
What Others Are Reading


I noticed that you have it selected to run only when logged in. The current one we have is also setup that same way, copied from your instructions. Can this script safely be scheduled to run when no one is logged onto the machine? We would prefer to not leave a user logged onto the server if we do not need to.
Thank you, very well explained.
I run the script either manually with Run with PowerShell and either with Schedule Task but I still found log files older than 2 days
I even add to the 4 folders security to have Read + Write access to the SYSTEM users and also a separate user as you recommend in material where you only provide the script.
Excellent, cheers. You’ve been my go-to guy for a while now. You’re the new Paul Cunningham from back when Practical365 was good.
Thank you!
Amazing! finally something that work perfectly
Many thanks!
Hi Ali
Well documented and would like to have more on windows server with regards to SCCM deployment.
Thanks
Top!
I am happy that I saw your post. No more logs that are filling up my disks.