How to save sent items in shared mailbox sent items folder in Office 365 (Exchange…
Configure internal DNS for Exchange
After installing Exchange Server, the next step is to configure internal DNS for Exchange. It’s essential to keep the same namespace internal and external. We will create a couple of forward lookup zones in Active Directory and test the namespaces. In this article, you will learn how to configure internal DNS for Exchange Server.
Table of contents
Configure namespaces with Pinpoint DNS
Important: Read the article Exchange namespace design and planning before you go further.
You can configure the DNS zones internally with Pinpoint DNS or Split DNS. We recommend configuring it with Pinpoint DNS. By using Pinpoint DNS instead of Split DNS, you don’t have to maintain the internal DNS.
Both the records we will add will look like the following.
| Record type | DNS Name | Internal IP Address |
|---|---|---|
| A | mail.exoip.com | 192.168.1.52 |
| A | autodiscover.exoip.com | 192.168.1.52 |
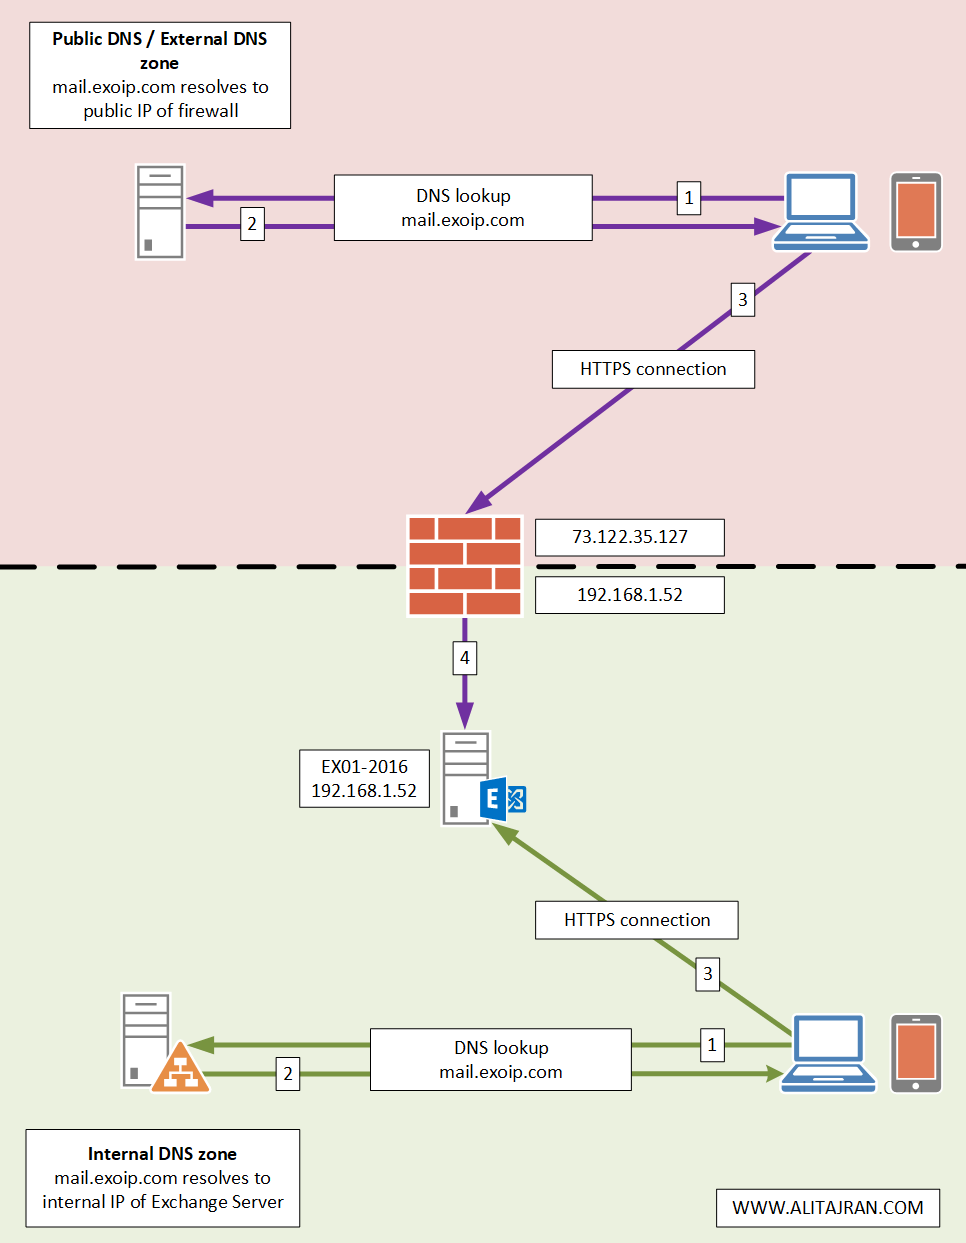
An architecture view of the Exchange namespace is shown below in the diagram.
Create Pinpoint DNS zone for mail
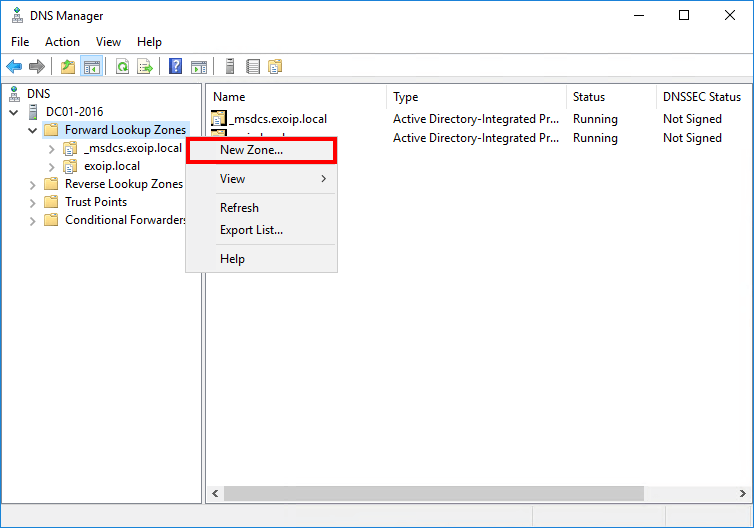
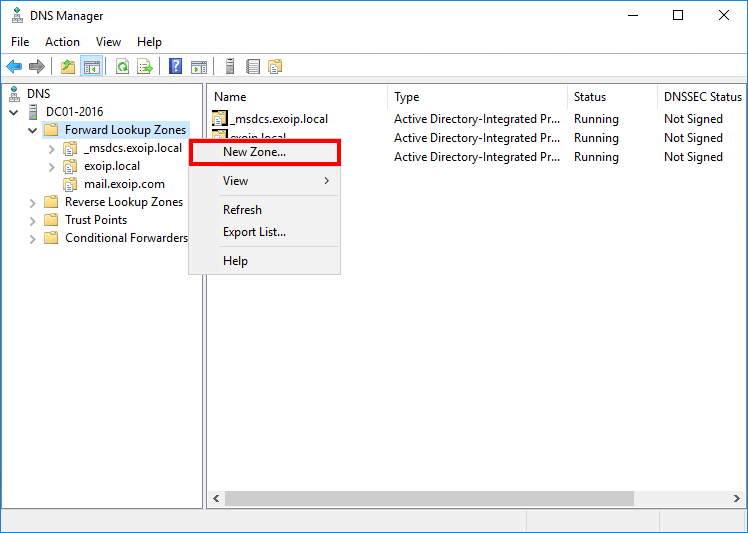
Open DNS Manager. Right-click on Forward Lookup Zones and select New Zone… from the context menu.
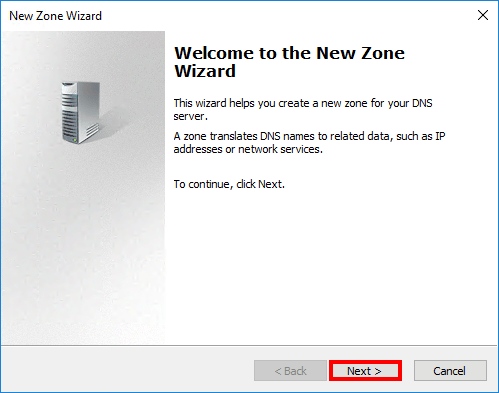
Click Next.
Keep the default settings. Click Next.
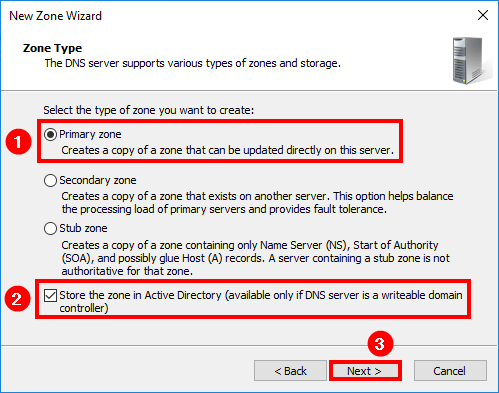
Keep the default settings. Click Next.

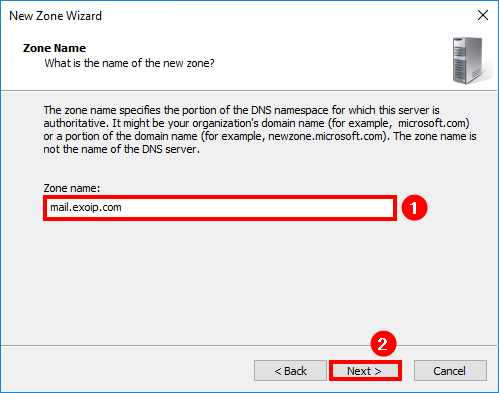
In the Zone Name field, enter your external domain name (in our example mail.exoip.com).
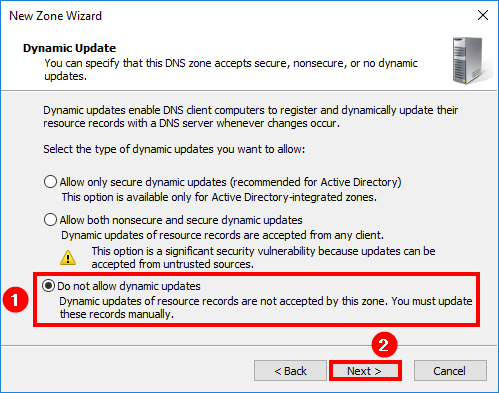
We will manually create all the records in this zone, so select Do not allow dynamic updates. Click Next.
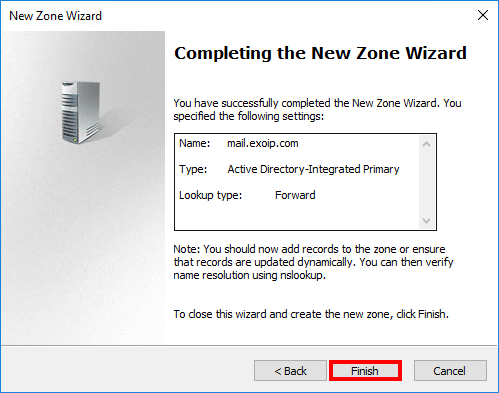
Click Finish.
Create A record for mail
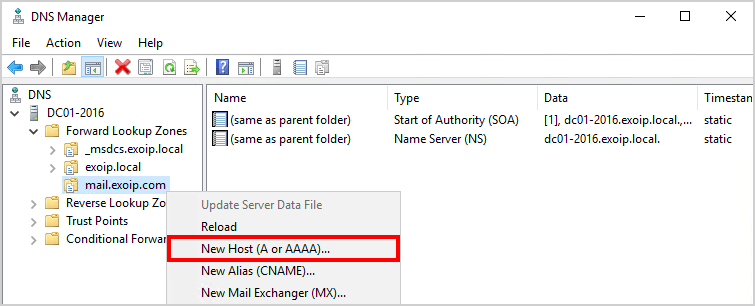
Expand Forward Lookup Zones. In the left pane, right-click on mail.exoip.com zone and select New Host (A or AAAA) from the context menu.
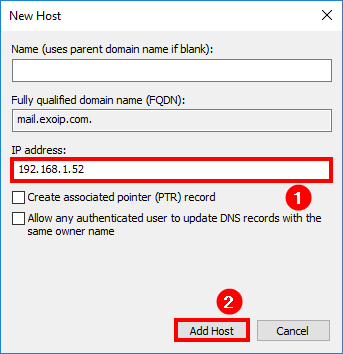
In the IP address field, type the internal IP of your Exchange server. In our example, it is 192.168.1.52. Do you have a load balancer? Add that address. Click Add Host.
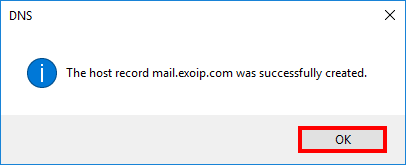
Host record mail.exoip.com is created. Click OK.
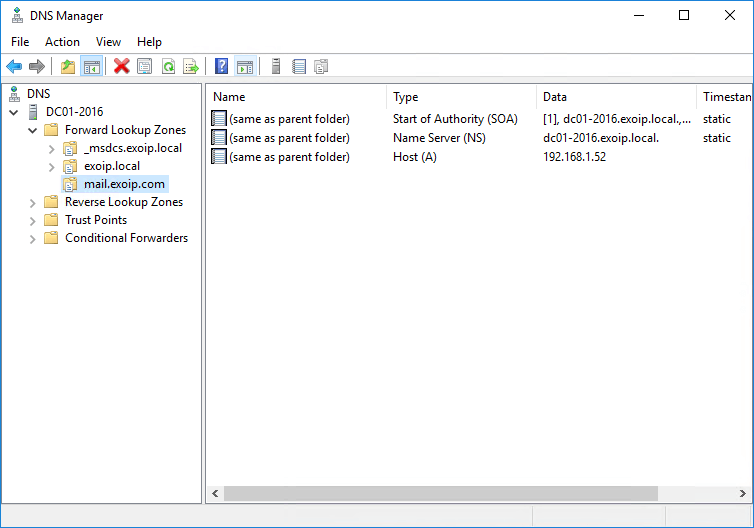
After creating the record, the PinPoint DNS zone should look similar to the example below.
The next step is to configure the same for autodiscover.
Create Pinpoint DNS zone for autodiscover
Open DNS Manager. Right-click on Forward Lookup Zones and select New Zone… from the context menu.
Click Next.
Keep the default settings. Click Next.
Keep the default settings. Click Next.
In the Zone Name field, enter your external domain name (in our example autodiscover.exoip.com).
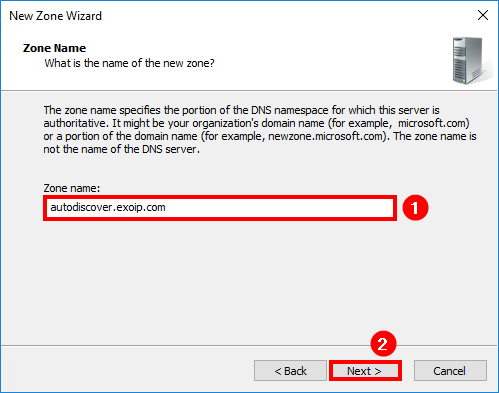
We will manually create all the records in this zone, so select Do not allow dynamic updates. Click Next.
Click Finish.

Create A record for autodiscover
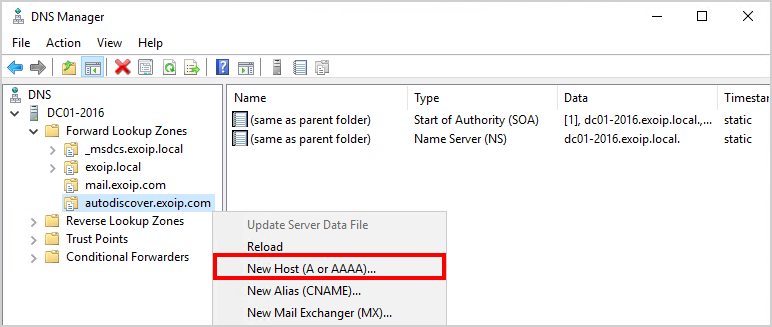
Expand Forward Lookup Zones. In the left pane, right-click on autodiscover.exoip.com zone and select New Host (A or AAAA) from the context menu.
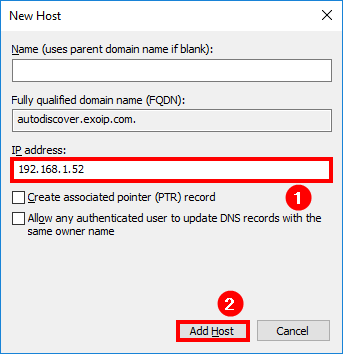
In the IP address field, type the internal IP of your Exchange server. In our example, it is 192.168.1.52. Do you have a load balancer? Add that address. Click Add Host.
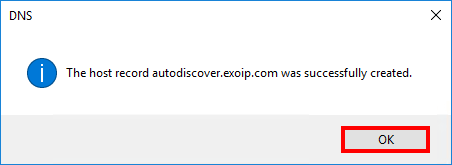
Host record autodiscover.exoip.com is created. Click OK.
After creating the record, the PinPoint DNS zone should look similar to the example below.
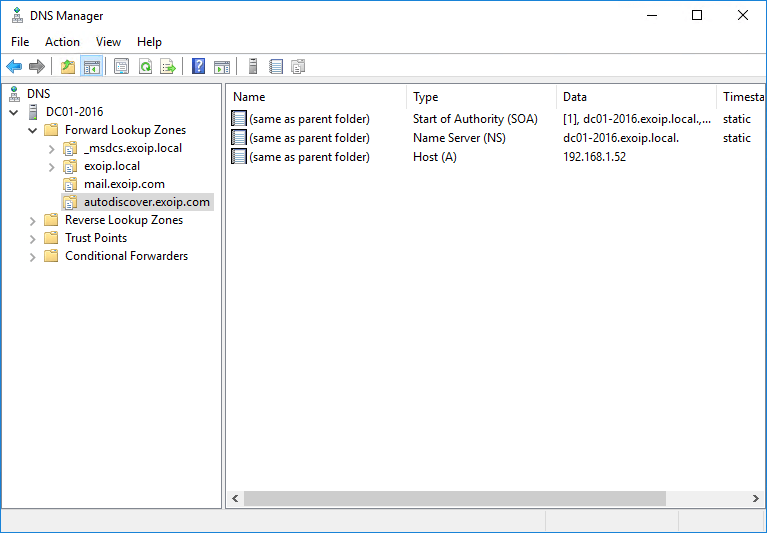
In the next step, we will verify the Pinpoint DNS for both zones.
Verify Pinpoint DNS zones
Sign in to Exchange Server or another system in the LAN network. Resolve both the mail and autodiscover DNS records or ping both of the DNS records. The answer will be the Exchange Server or load balancer IP address. That depends on the setup.
Run PowerShell as administrator and use the Resolve-DnsName cmdlet and ping command. It’s essential to verify that it’s an internal IP address, not a public one.
In our example, the reply is from the Exchange Server with its internal IP address 192.168.1.52.
PS C:\> Resolve-DnsName mail.exoip.com

Name                                           Type   TTL   Section    IPAddress
----                                           ----   ---   -------    ---------
mail.exoip.com                                 A      3600  Answer     192.168.1.52

PS C:\> Resolve-DnsName autodiscover.exoip.com

Name                                           Type   TTL   Section    IPAddress
----                                           ----   ---   -------    ---------
autodiscover.exoip.com                         A      3600  Answer     192.168.1.52

PS C:\> ping mail.exoip.com

Pinging mail.exoip.com [192.168.1.52] with 32 bytes of data:
Reply from 192.168.1.52: bytes=32 time<1ms TTL=128
Reply from 192.168.1.52: bytes=32 time<1ms TTL=128
Reply from 192.168.1.52: bytes=32 time<1ms TTL=128
Reply from 192.168.1.52: bytes=32 time<1ms TTL=128

Ping statistics for 192.168.1.52:
    Packets: Sent = 4, Received = 4, Lost = 0 (0% loss),
Approximate round trip times in milli-seconds:
    Minimum = 0ms, Maximum = 0ms, Average = 0ms

PS C:\> ping autodiscover.exoip.com

Pinging autodiscover.exoip.com [192.168.1.52] with 32 bytes of data:
Reply from 192.168.1.52: bytes=32 time<1ms TTL=128
Reply from 192.168.1.52: bytes=32 time<1ms TTL=128
Reply from 192.168.1.52: bytes=32 time<1ms TTL=128
Reply from 192.168.1.52: bytes=32 time<1ms TTL=128

Ping statistics for 192.168.1.52:
    Packets: Sent = 4, Received = 4, Lost = 0 (0% loss),
Approximate round trip times in milli-seconds:
    Minimum = 0ms, Maximum = 0ms, Average = 0ms
Everything looks great.
Sign in to Exchange with the newly configured namespace
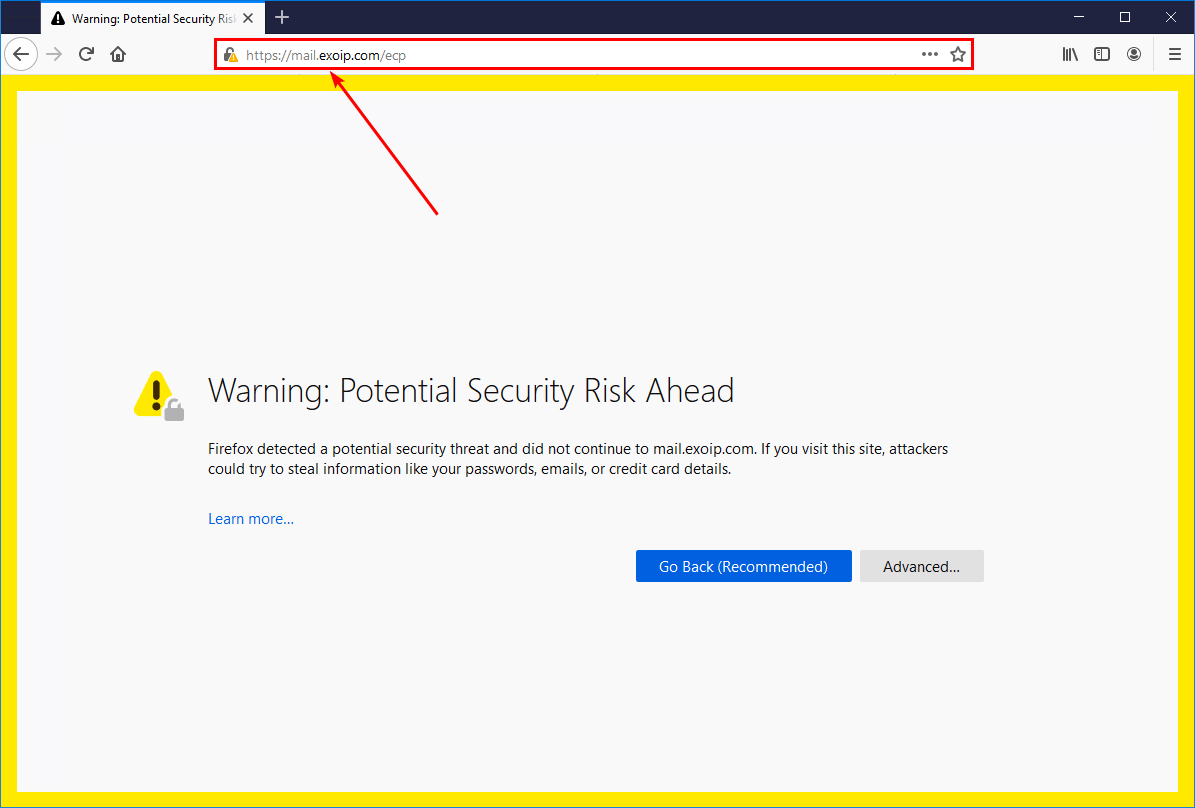
Open your favorite browser and sign in to EAC with the newly configured DNS namespace, https://mail.yourdomain.com/ecp. Change yourdomain to yours.
In our example, it’s the address https://mail.exoip.com/ecp.
Note: You can keep logging into Exchange Admin Center with https://localhost/ecp, even if you have configured the new DNS namespace.
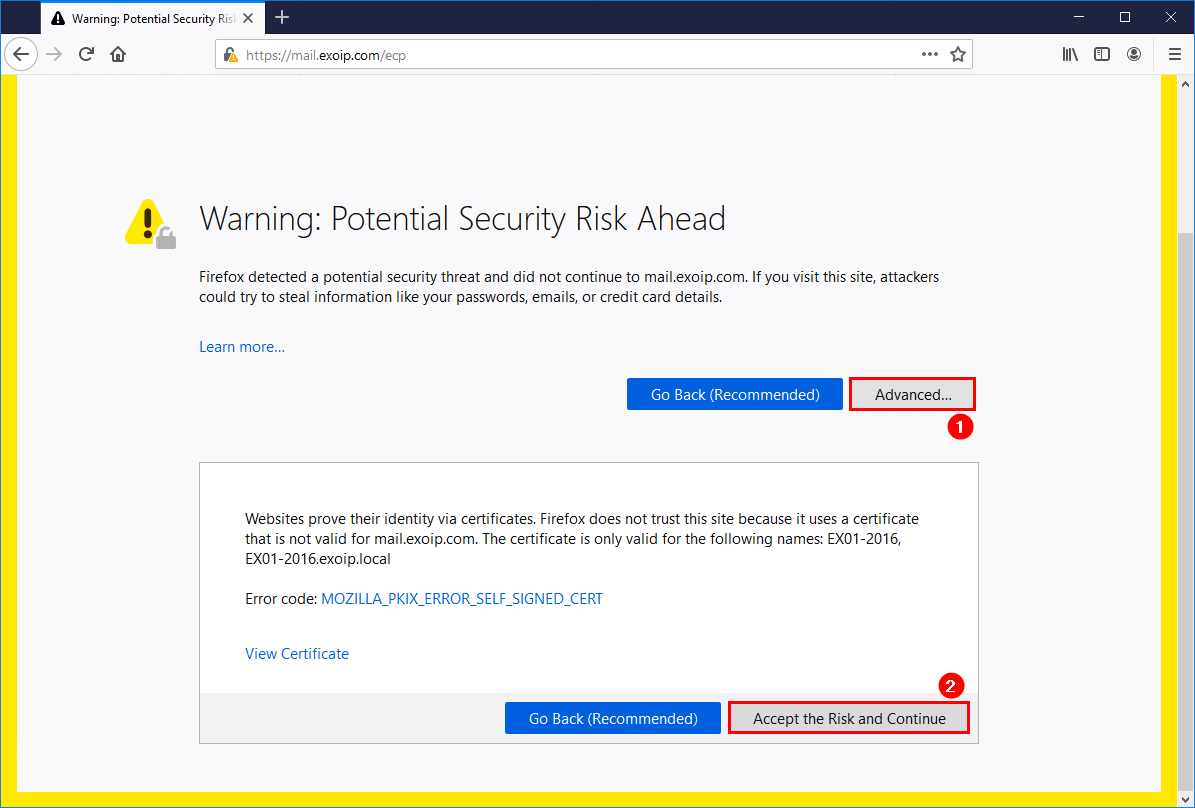
A certificate warning will show up in your browser. We will cover Exchange certificates in the next article.
Accept the risk and continue.
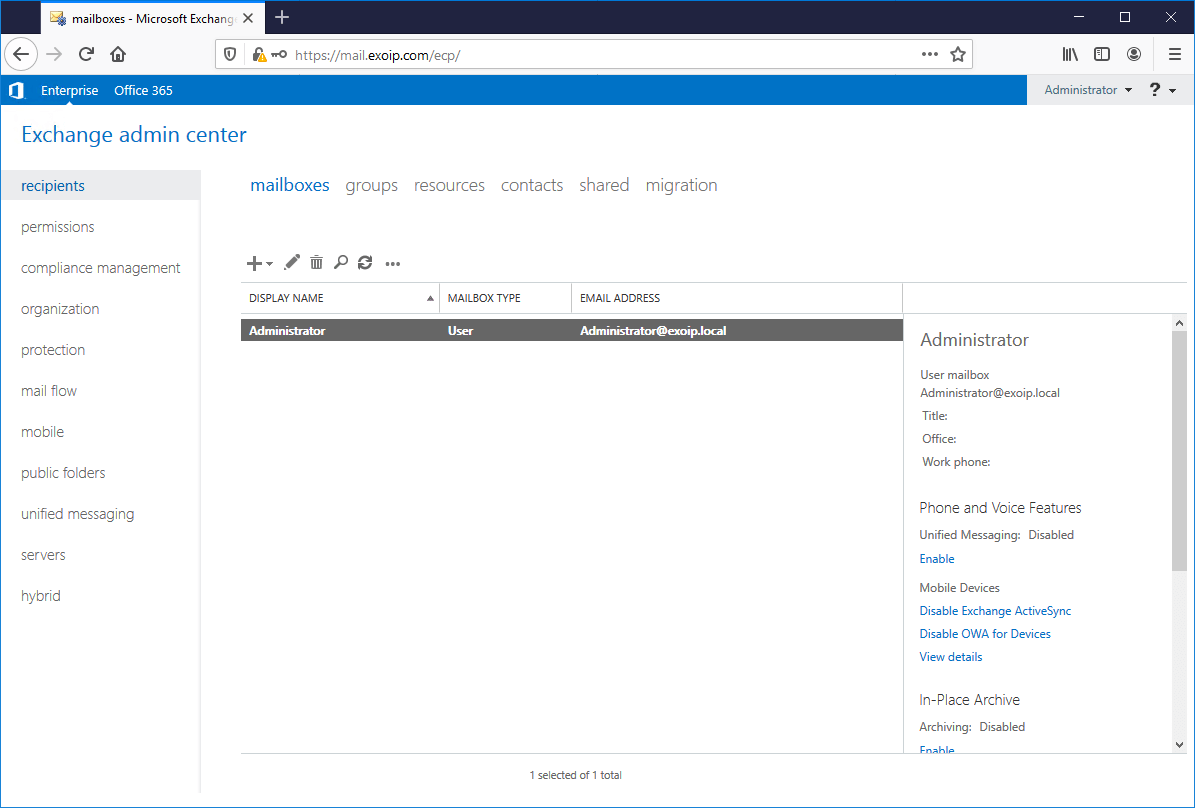
The Exchange Admin Center screen will show up. You can sign in with your credentials.
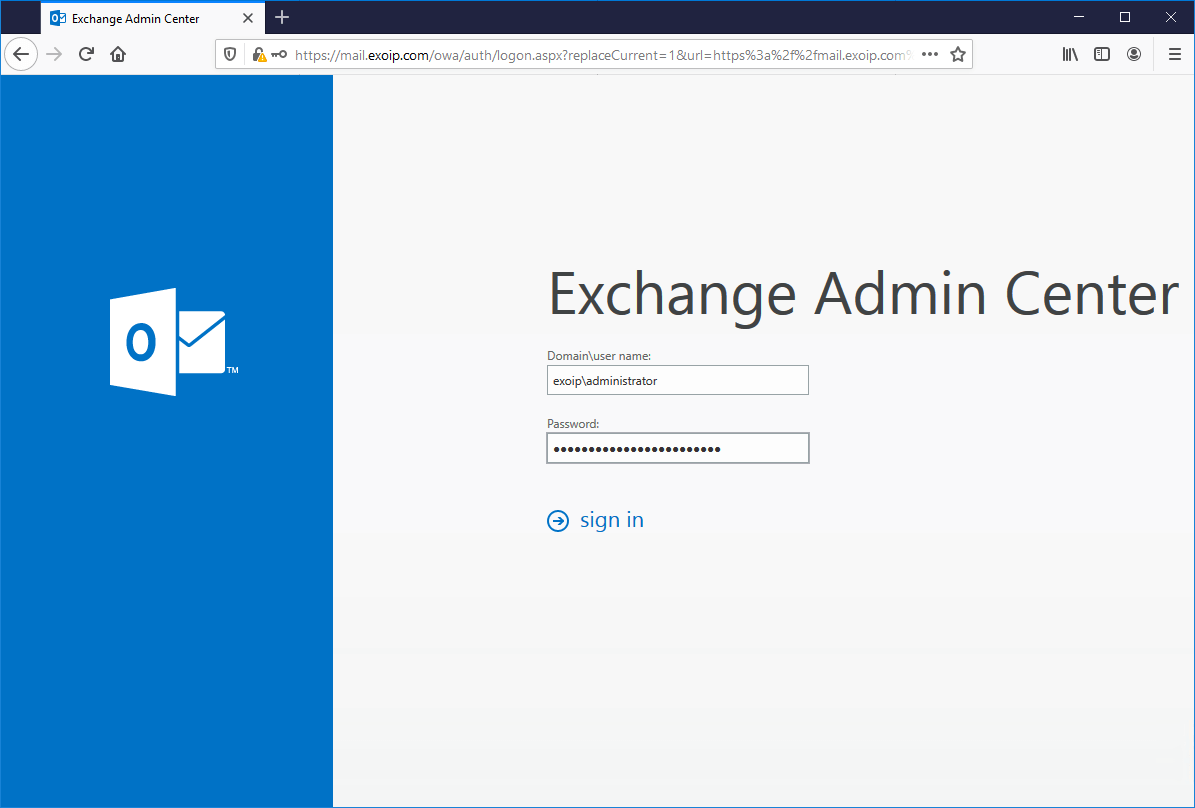
You did successfully sign in to the Exchange Admin Center.
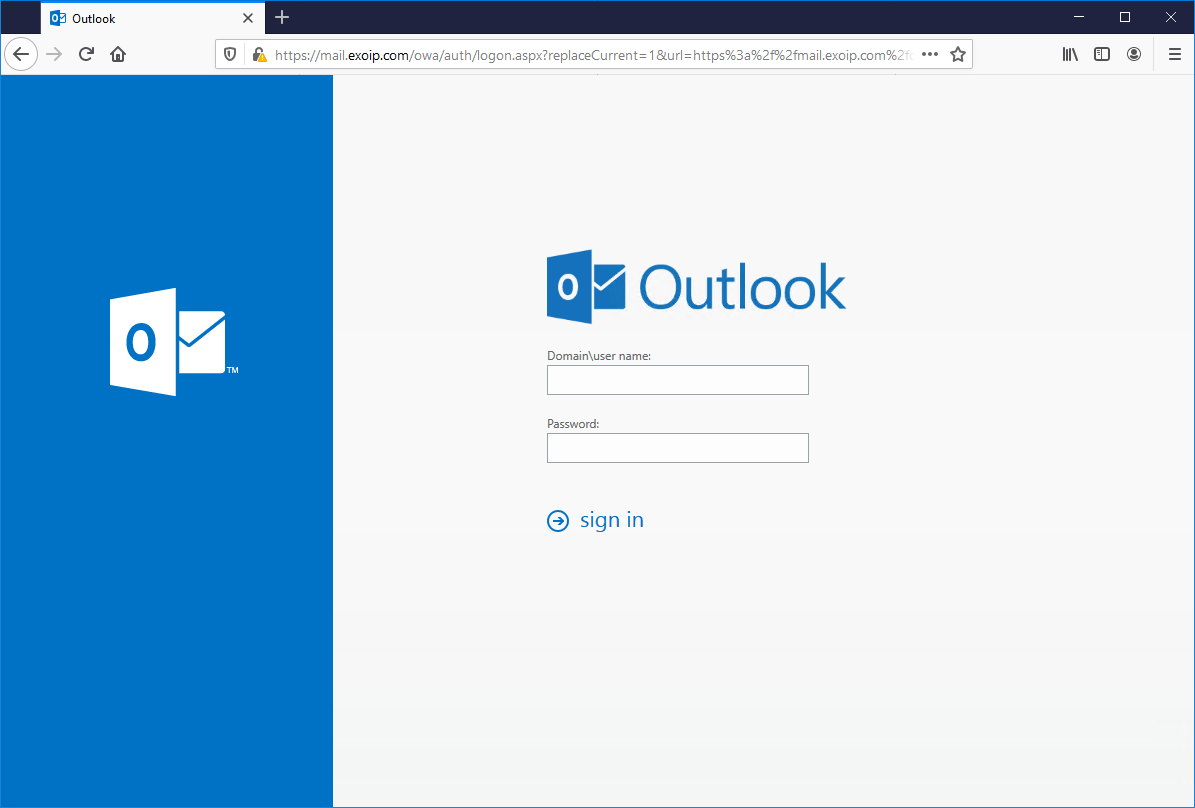
Reach the OWA address at https://mail.yourdomain.com/owa. In our example, it’s https://mail.exoip.com/owa.
Keep reading: Exchange firewall ports for mail flow and clients »
Conclusion
You learned how to configure internal DNS for Exchange Server. You learned why and how to configure the namespaces. Test the configuration with the Resolve-DnsName cmdlet. You can also ping the records that you have configured.
Did you enjoy this article? You may also like Configure ReFS volume Exchange 2013/2016/2019. Don’t forget to follow us and share this article.
What Others Are Reading

Hi Ali,
Thank you for this.
When i want to implement DKIM/DMARC would i have to make a 2014._domainkey.domain.com DNS zone also?
Hi Ali,
Thanks for a very useful article! I have split DNS with a hybrid Exchange 2013 server on-prem. Trying to migrate to Exchange 2019 but my migrated digital cert keeps failing the last step in the hybrid configuration wizard – “the SSL cert fails – could not establish a trust relationship”. In my internal DNS servers, autodiscover is a CNAME record pointed to autodiscover.outlook.com because we are hybrid. This has worked for Exchange 2013, will it not work for Exchange 2019?
Thanks!
Hi Ali. Thanks for sharing all your valuable knowledge with us.
This is my first time setting up split-dns on MSE 2016 and i find it very confusing to use a .local domain internally and .com externally.
I followed this approach for my newly setup MSE 2016 server but the autodiscover keeps returning the .local domain instead of the actual .com domain in the autodiscover result.
How do i tell MSE to use the mail.mydomain.com domain rather than mail.mydomain.local?
Thanks in advance!
Hello Ali,
Thank you for post. The split DNS is working coorecty on my test envionnement. I can log to OWA and ECP correctly. But some issue with outlook anywhere, I connot connect with the user credential. Please do you have an idea?
Hello Mr. Ali,
I am trying to setup DNS for the exchange hosted outside in organization (X), and website domain is hosted in organization Y. I want to create the record for exchange in Domain Y. Please advise.
Hi Ali,
I have the same internal and external domain, can I use this method for my exchange server? So, if my internal and external domain address is like company.com, if I type ns1.company.com, ns2.company.com on my domain provider and add mx, a, cname Records on my internal dns server, will my mail server work properly?
Hi Ali,
i ask you a lot of questions 🙂 but i have completed all of your courses thank you very much they have been explained excellent !
We have a big Organisation and i want to migrate seamless my Ex2016 Server to Ex2019. I have a test environment and i test all of missions on my test Server. What would you recommend without downtime about dns records in the migration phase ? When exactly would you change dns records ? After the migration of mailboxes or before ? Would you use split dns or pinpoint dns ? The migration process may take a few days and i am not sure about this topic.
Thank you very much for your answer
Best regards
Hi Emre,
Glad that you completed the courses.
Change the internal and external DNS TTL values to 1 min. Do this a day or more before you want to adjust the values. This way, the change will take effect quickly, and also you can roll the change back quickly.
You can use split DNS or pinpoint DNS. Whatever the organization is using now, you can keep it that way. I always prefer to use pinpoint DNS.
You can migrate mailboxes to Exchange Server 2019 and keep pointing the internal and external URLs to Exchange Server 2016. After migration, you can change the records.
But you can also do it the other way around, which is changing the internal and external DNS records to Exchange Server 2019 and migrating the mailboxes.
The mailboxes will up-proxy and down-proxy between Exchange Server 2016 and Exchange Server 2019.
Hi,@ALI Doesn’t internal DNS resolution require adding MX exchange records?
No, you have to configure MX records in Public DNS.
Ali, first and foremost, thank you for your content…..very clean and clear.
My issue is that I followed your advice here and I attempt to logon to the new Exchange Server 2016 CU22 and it goes straight to the login prompt again. I will reboot the server to see if this will resolve my issue.
A reboot did not help. The issue was the authentication setup for each of the virtual directories.
Hey Ali, (from one Ali to another!)
Just thought I’d sow my appreciation – whether you were aware of it or not, you have been a lifesaver over the last few daze after I was forced to migrate from SBS to 2016 after an SSD became ‘heat sensitive’.
no i just have to rename my domain from alinet.local to be apart of my acampbell.com namespace as locally connected Outlook keeps on hassling me with certificate inconsistencies…
Anyway, a fine selection of docs!
Cheers, Alistair
I see that if you created two type A records in the exoip.com zone (mail and autodiscover) is better than creating two zone mail.exoip.com and autodiscover.exoip.com.
What is the added value using your approach?
Creating a zone with exoip.com and adding both the A records mail.exoip.com and autodiscover.exoip.com will work. That’s what called Split DNS.
If you have a website running on exoip.com or any other records, you must add the records to the internal DNS. If you don’t, the records will not resolve for the users on the internal network.
By using Pinpoint DNS (in this article) instead of Split DNS, you don’t have to maintain the internal DNS.