How to manage calendar permissions in Office 365 with PowerShell? If you have the correct…
Configure mount points for Exchange Server
How to set up mount points for Exchange Server? Mount points is a feature in Windows and is not a special feature explicit for Exchange Server. We want to create mount points and place the mailbox databases and database logs in them. This works for an Exchange Server standalone or Exchange Server High Availability. In this article, you will learn how to configure mount points in Exchange Server.
Table of contents
What are Volume Mount Points?
A volume mount point is a drive or volume in Windows that is mounted to a folder that uses the NTFS file system. A mounted drive is assigned a drive path instead of a drive letter. By using volume mount points, you can graft or mount a target partition onto a folder on another physical disk.
Windows only has 26 letters available to it to assign to drives that are added to a computer. The two letters (A and B) are reserved for floppy drives. Once it runs out of letters to assign, the next drive added to the system, which is not a floppy drive, will not be assigned anything.
Note: Volume mount points enable you to exceed the 26-drive-letter limitation.
Volume Mount Points for Exchange Server
Microsoft recommends you configure mount points instead of drive letters for mailbox databases and their logs. Read more in the article Exchange database best practices.
A good example is that you have two Exchange Server Enterprise in High Availability and want to create 100 mailbox databases. Let’s say you will host two mailbox databases on a volume, including their logs. It means you need to have 50 volumes.
Doing the above setup with drive letters will not work, as it will max out by the 26-drive-letter limitation. But, with volume mount points, you can mount unlimited volumes to Exchange Server.
How to configure mount points for Exchange Server
Let’s look at how to create volume mount points for Exchange Server step by step.
1. Create folder structure
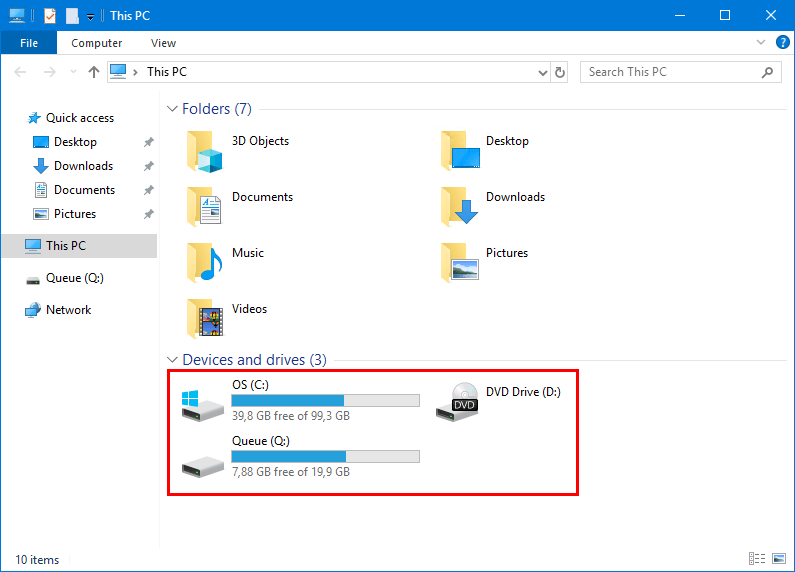
This is how it looks right now when we start This PC.
We did install Exchange Server on the default installation path, which is the (C:) drive, and we did move the mailbox database queue to the (Q:) drive.
Create the folder ExchangeDatabases on the Exchange Server (C:) drive.
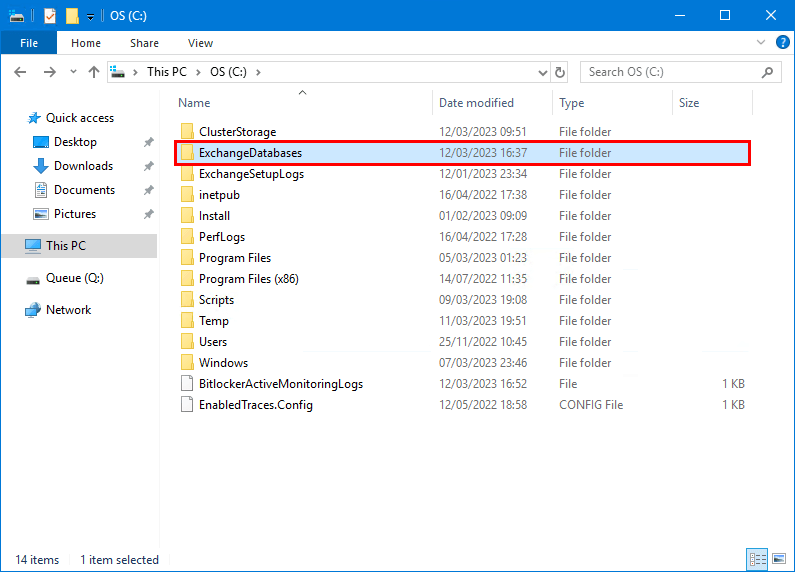
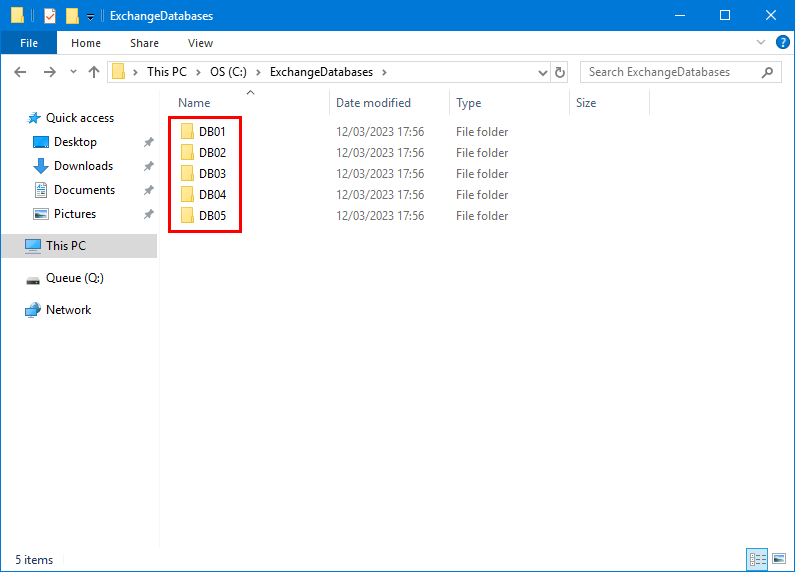
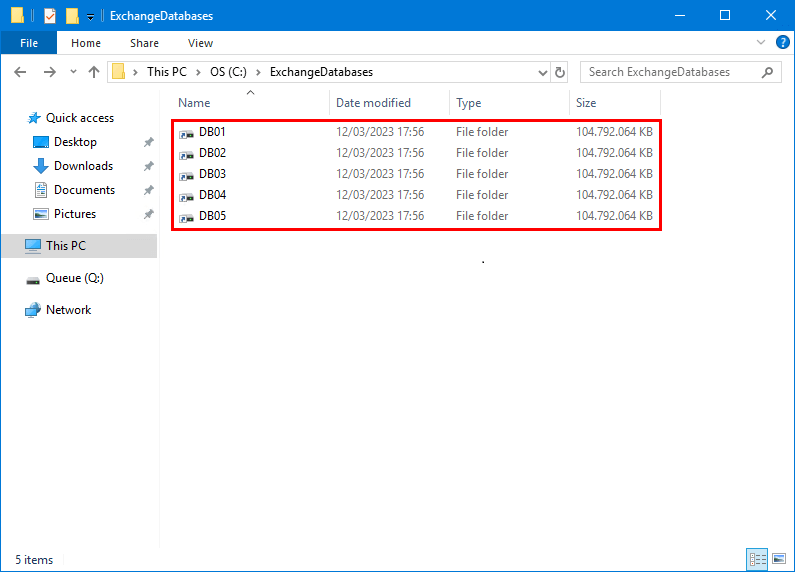
Open the ExchangeDatabases folder and create folder names for the mailbox databases.
In our example, we will create 5 mailbox databases, so we create 5 folders with the mailbox database name:
- DB01
- DB02
- DB03
- DB04
- DB05
Read more: Exchange database naming convention »
The first step is completed.
2. Configure volumes
Start Disk Management.
In our example, no disks have been added yet.
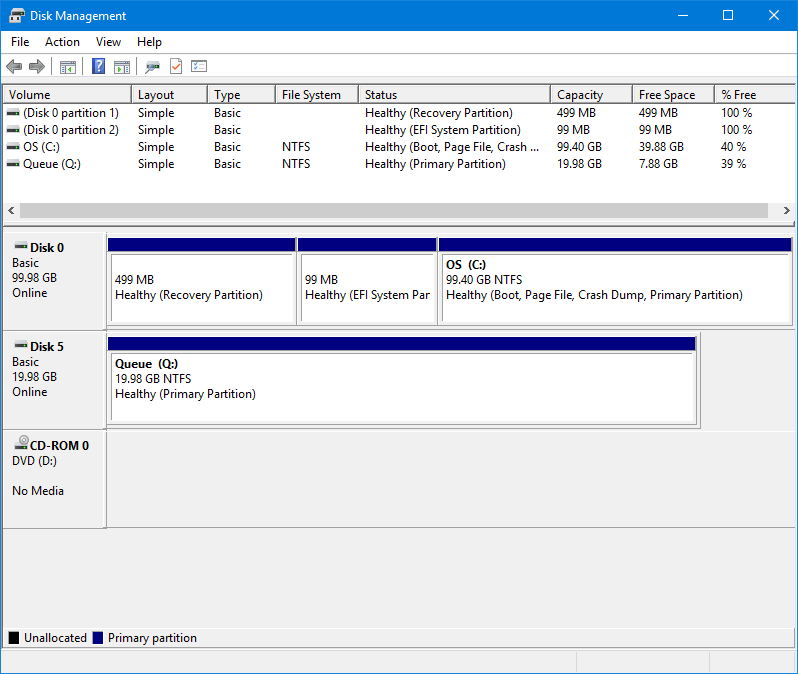
Let’s add 5 disks to the Exchange Server and verify how it looks.
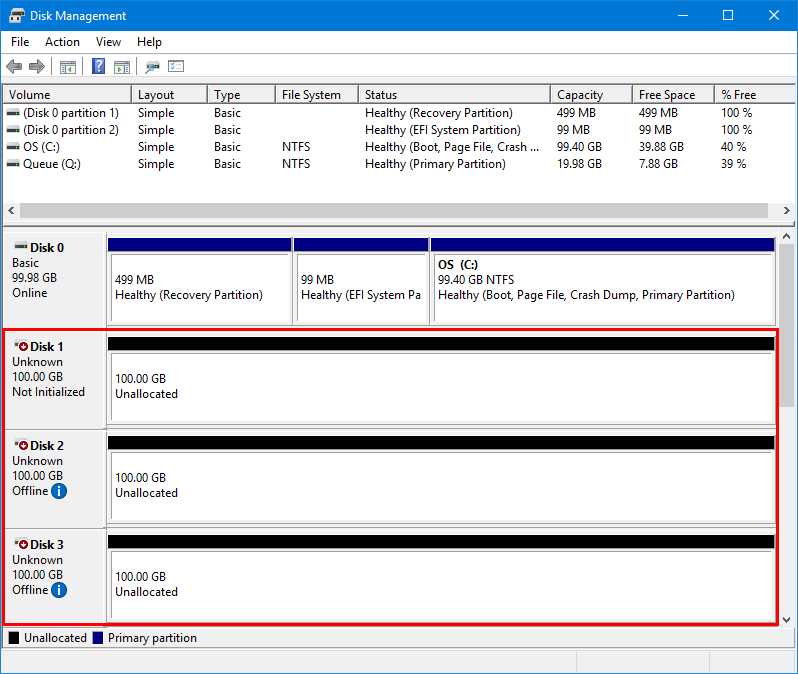
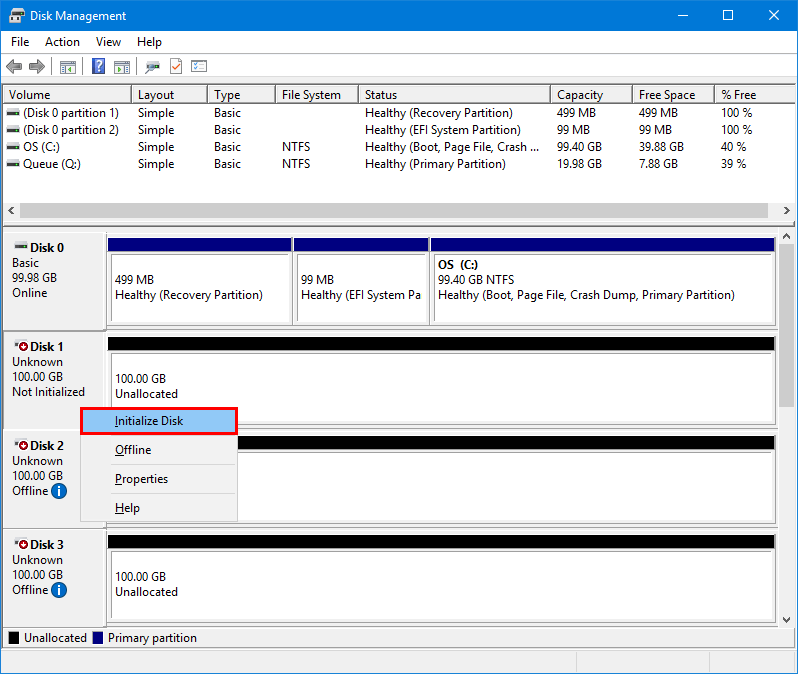
Right-click on the new disk and select Initialize Disk. If the disk is offline, you must first select Online to bring the disk online.
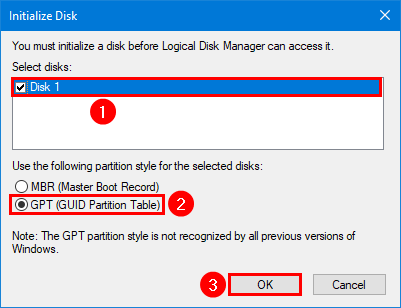
Select the disk, select GPT (GUID Partition Table), and click OK.
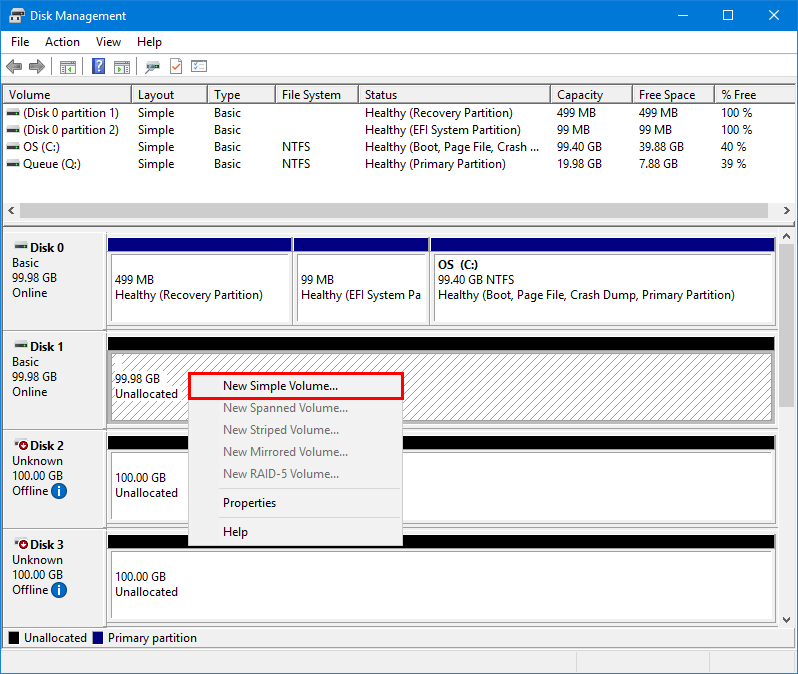
Right-click on the disk which is initialized and select New Simple Volume…
Select Next.
Keep the simple volume size (it’s the maximum disk space) and click Next.

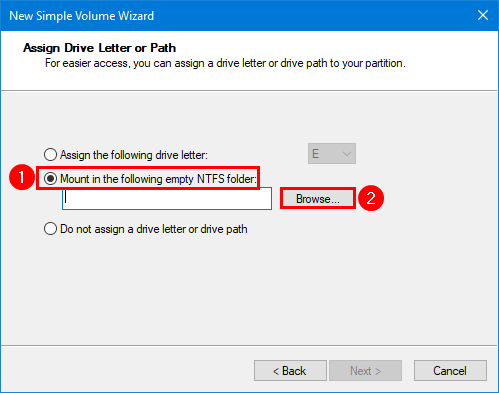
Select Mount in the following empty NTFS folder and click on Browse.
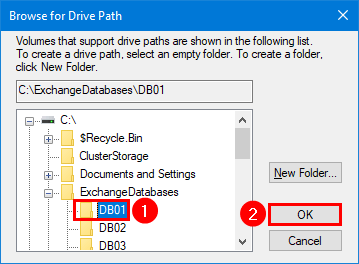
Go to the path C:\ExchangeDatabases and select folder DB01. Click OK.
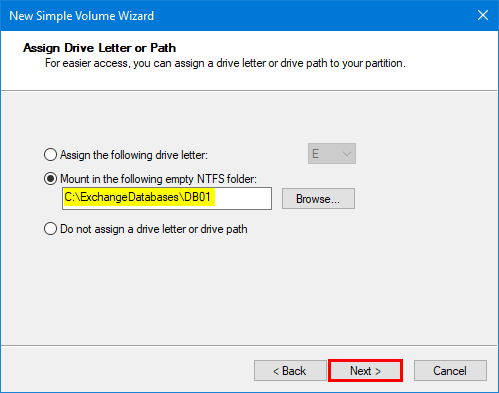
Click on Next.
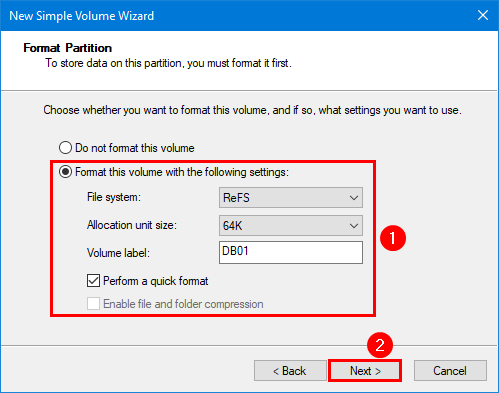
Select Format this volume with the following settings and ensure that you have the below settings:
- File system: ReFS
- Allocation unit size: 64K
- Volume label: DB01
Note: You can select the file system NTFS or ReFS for volumes containing Exchange database files, log files, and content indexing files. But we recommend ReFS. Ensure that you select the allocation unit size of 64 KB.
Click Next.
Click Finish.
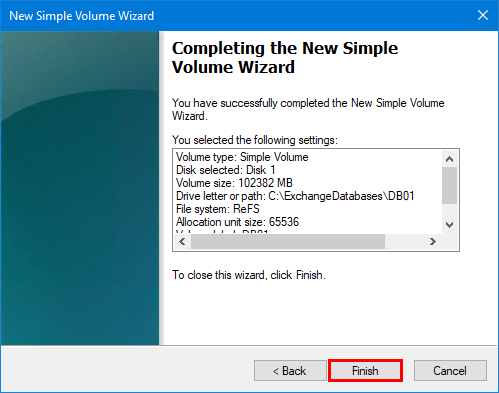
The volume is created and appears in Disk Management.
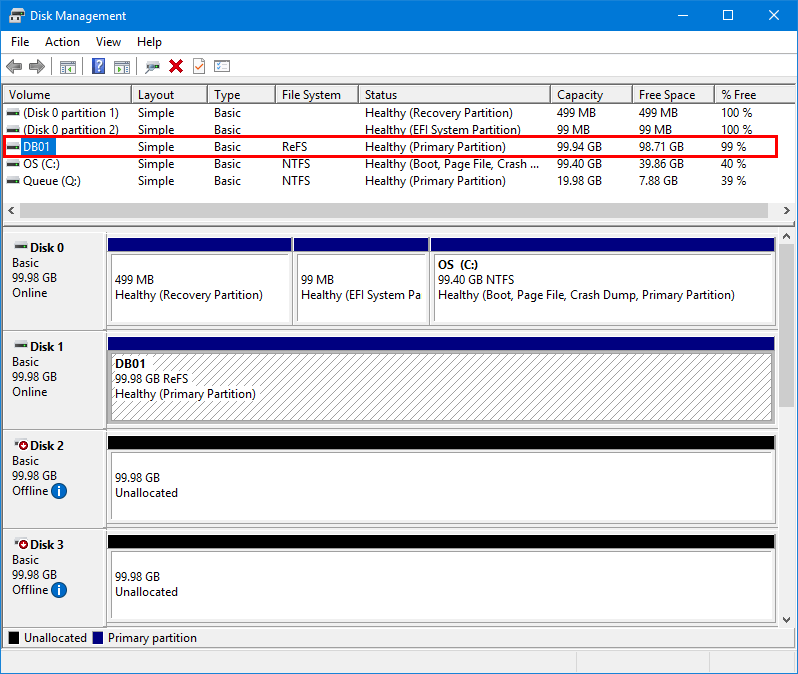
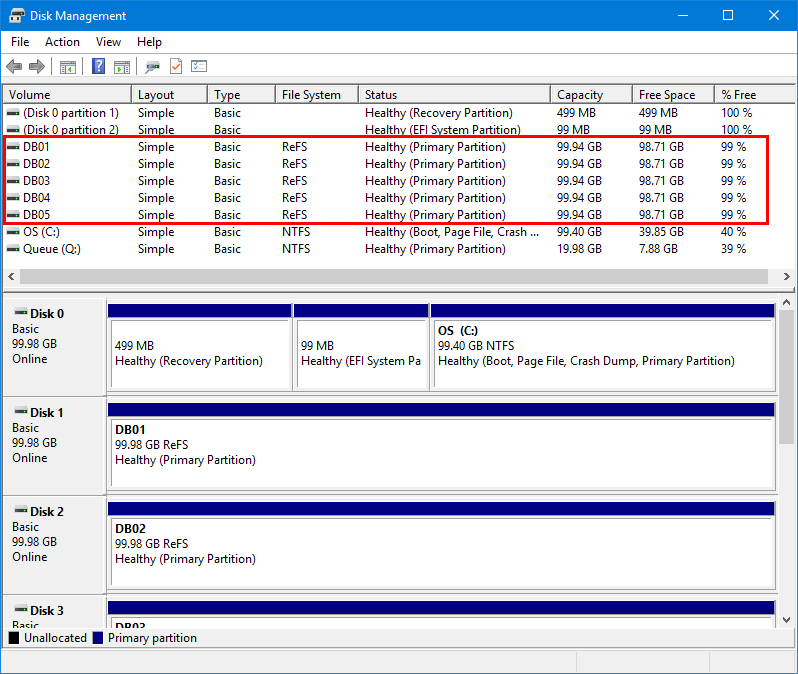
Do the same steps for all the other volumes. After that, check in Disk Management that it looks good.
Another way to do the same steps is with PowerShell. Which is to initialize the disk, create a new partition, and mount it to the folder path.
Note: It’s much faster to configure the mount points with PowerShell.
Copy the below commands and run them in PowerShell ISE. You only have to adjust the above three variable values.
$disk = "2"
$Path = "C:\ExchangeDatabases\DB02"
$DB = "DB02"

Get-Disk $disk | Initialize-Disk -PartitionStyle GPT -PassThru | New-Partition -UseMaximumSize | Format-Volume -FileSystem REFS -AllocationUnitSize 65536 -NewFileSystemLabel $DB -SetIntegrityStreams $false

Add-PartitionAccessPath -DiskNumber $disk -PartitionNumber 2 -AccessPath $Path
Start File Explorer and go to the ExchangeDatabases folder. Verify that the database folders appear as mount point drive icons.
Note: If the Exchange Server runs on a Virtual Machine in VMware, the disks appear as portable devices with a yellow exclamation mark. You should fix that by reading this article.
3. Get allocation unit size
Get the volume allocation unit size. The block size will show as 65536. This means that it’s set as 64 KB.
Get-CimInstance -ClassName Win32_Volume | Select-Object Name, FileSystem, Label, BlockSize | Sort-Object Name | Format-Table -AutoSizeThis is what the output looks like.
Name                                              FileSystem Label    BlockSize
----                                              ---------- -----    ---------
\\?\Volume{16a5ec59-c1d9-4def-a0ef-f6096fdf3a33}\ NTFS       Recovery      4096
\\?\Volume{2ae89aae-30c9-496d-9da0-dae20ea2d1d2}\ FAT32                    1024
C:\                                               NTFS       OS            4096
C:\ExchangeDatabases\DB01\                        ReFS       DB01         65536
C:\ExchangeDatabases\DB02\                        ReFS       DB02         65536
C:\ExchangeDatabases\DB03\                        ReFS       DB03         65536
C:\ExchangeDatabases\DB04\                        ReFS       DB04         65536
D:\
Q:\                                               NTFS       Queue        65536
4. Get ReFS data integrity status
Verify ReFS data integrity status is not enabled for the folder.
Get-FileIntegrity "C:\ExchangeDatabases\DB01"Or check the ReFS data integrity for all the folders.
Get-ChildItem -Path "C:\ExchangeDatabases" | ForEach-Object { Get-FileIntegrity $_.FullName }The Enabled column needs to show the value False.
FileName                  Enabled Enforced
--------                  ------- --------
C:\ExchangeDatabases\DB01 False   True
C:\ExchangeDatabases\DB02 False   True
5. Create mailbox databases
Let’s create the mailbox database and specify the correct path for them.
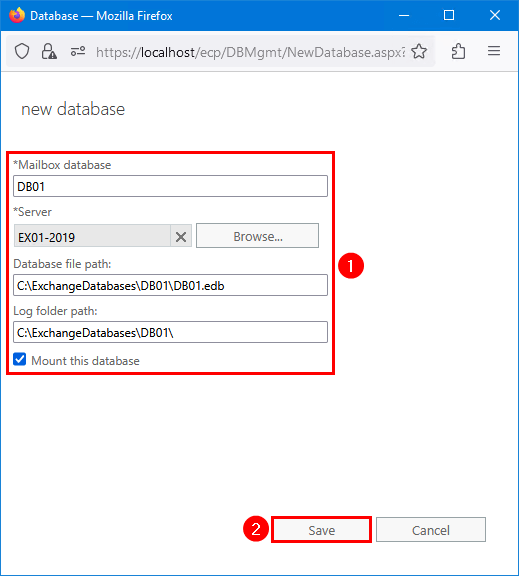
Go to the C:\ExchangeDatabases\DB01 folder and verify the mailbox database and its logs.
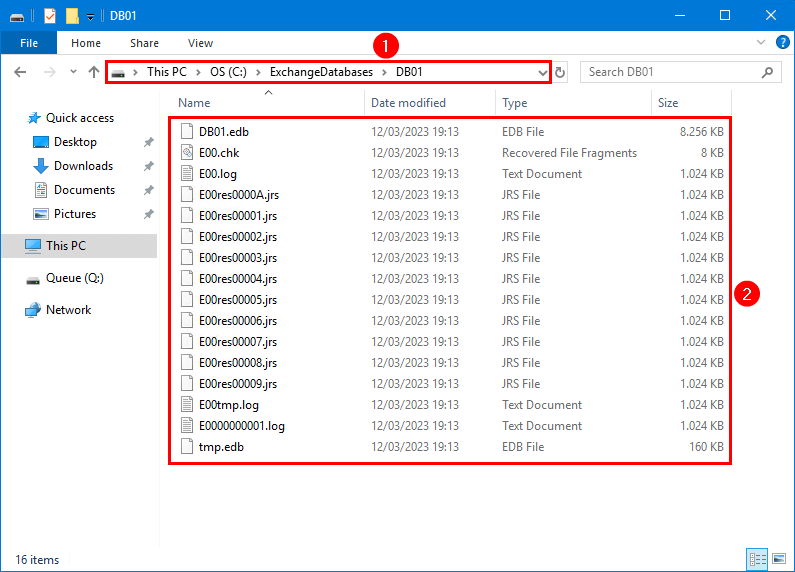
Do the same steps and create the other remaining mailbox databases.
Note: Create the mailbox databases with PowerShell because it’s much faster.
6. Verify mailbox databases
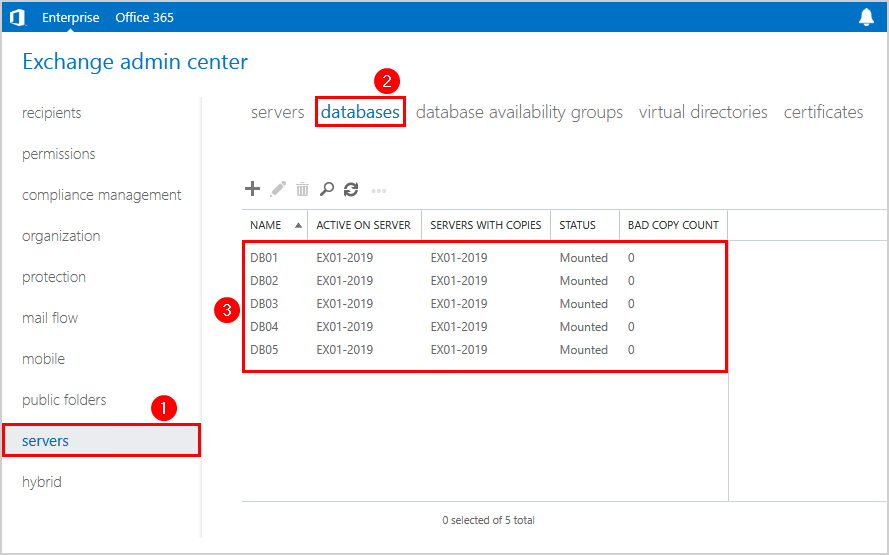
Sign in to Exchange admin center and go to servers > databases. Verify that the databases appear.
Another way to get the mailbox database path and log folder path for all mounted mailbox databases is with PowerShell.
Get-MailboxDatabase | Format-List Name, EdbFilePath, LogFolderPathThis is how the output displays.
Name          : DB01
EdbFilePath   : C:\ExchangeDatabases\DB01\DB01.edb
LogFolderPath : C:\ExchangeDatabases\DB01

Name          : DB02
EdbFilePath   : C:\ExchangeDatabases\DB02\DB02.edb
LogFolderPath : C:\ExchangeDatabases\DB02

Name          : DB03
EdbFilePath   : C:\ExchangeDatabases\DB03\DB03.edb
LogFolderPath : C:\ExchangeDatabases\DB03

Name          : DB04
EdbFilePath   : C:\ExchangeDatabases\DB04\DB04.edb
LogFolderPath : C:\ExchangeDatabases\DB04

Name          : DB05
EdbFilePath   : C:\ExchangeDatabases\DB05\DB05.edb
LogFolderPath : C:\ExchangeDatabases\DB05
7. Change folder display
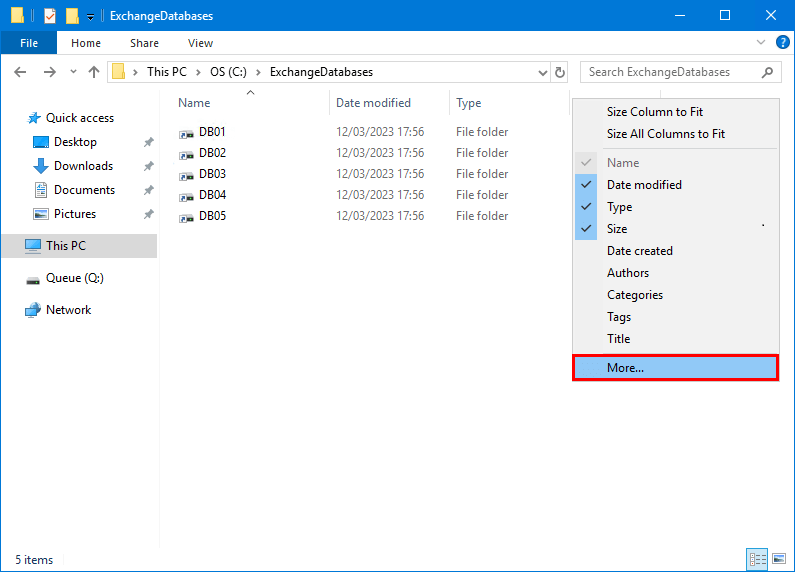
Go to the C:\ExchangeDatabases folder. Right-click the column and select More.
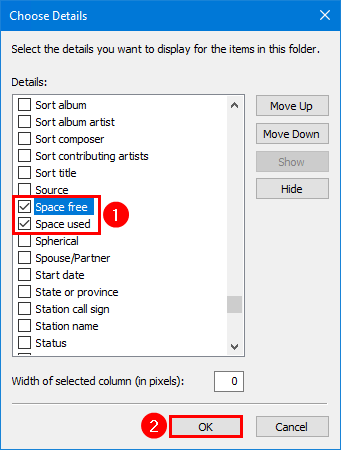
Select Space free and Space used. Click OK.
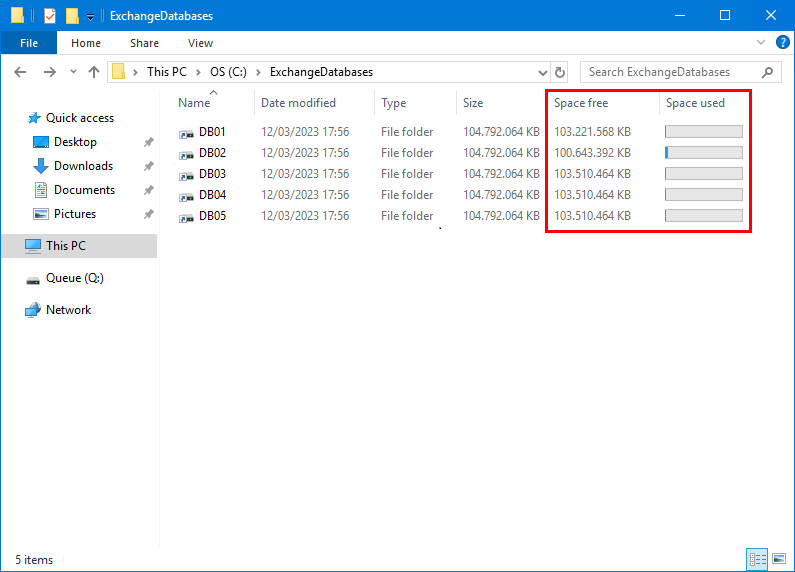
The space free column and space used column appears in the folder. This is much easier to view the space at a glance.
The next step is to configure the exact same mount points on the other Exchange Server. After that, create a DAG, and add the database copies so it will sync the mailbox database data between both Exchange Servers.
Conclusion
You learned how to configure mount points for Exchange Server. Microsoft’s best practice is to set up mount points for the Exchange Server database and database logs. If you have a couple of disk volumes, creating disk letters is okay. But once you have more than 4 disks, it looks not tidy, and it’s best to have mount points.
Did you enjoy this article? You may also like Move Exchange database to another drive. Don’t forget to follow us and share this article.
What Others Are Reading

Hello, will it work for exists databases in my DAG ? For example, i have 80x databases in my organization, i want to create mount point for each DB instead of volume, how can i make it wihout damage for DB ?
You need to create the mount points. Once done, you must move the mailbox database/logs to the new location:
– Move Exchange DAG database to another drive (DAG)
– Move Exchange database to another drive (Non-DAG)
Great article Ali but I have a concern here; I think configuring REFS should be done from the PowerShell not the GUI to avoid the integrity issue
I tested both PowerShell/GUI for creating ReFS volumes, and file integrity is disabled.
To be sure, it’s always essential to verify the file integrity status after configuring the ReFS volume (as shown in the article).