Microsoft released several Security Updates (SUs) for Microsoft Exchange Server to address vulnerabilities. Due to…
Configure power plan in Exchange Server
Configure the right power plan on the Exchange Server. When you install Windows Server, the standard power plan is Balanced (recommended). However, it’s not the best practice power plan for the Exchange Server. Microsoft recommends changing the power plan to High Performance on the Exchange Server. In this article, we will configure the High Performance power plan through PowerShell.
Table of contents
Check current power plan status
Run PowerShell as administrator. Check the current status of the power plan on the Exchange Server. The asterisk (*) shows the active power plan.
PS C:\> powercfg /LIST

Existing Power Schemes (* Active)
-----------------------------------
Power Scheme GUID: 381b4222-f694-41f0-9685-ff5bb260df2e  (Balanced) *
Power Scheme GUID: 8c5e7fda-e8bf-4a96-9a85-a6e23a8c635c  (High performance)
Power Scheme GUID: a1841308-3541-4fab-bc81-f71556f20b4a  (Power saver)
In the next step, we will configure the power plan to High Performance.
Configure power plan Exchange Server with PowerShell
Run PowerShell as administrator. Set the power plan to High Performance.
PS C:\> powercfg -SETACTIVE 8c5e7fda-e8bf-4a96-9a85-a6e23a8c635cVerify power plan Exchange Server
Verify the status of the configured power plan on the Exchange Server.
PS C:\> powercfg /LIST

Existing Power Schemes (* Active)
-----------------------------------
Power Scheme GUID: 381b4222-f694-41f0-9685-ff5bb260df2e  (Balanced)
Power Scheme GUID: 8c5e7fda-e8bf-4a96-9a85-a6e23a8c635c  (High performance) *
Power Scheme GUID: a1841308-3541-4fab-bc81-f71556f20b4a  (Power saver)
The High Performance plan is active.
Configure power plan Exchange Server through GUI
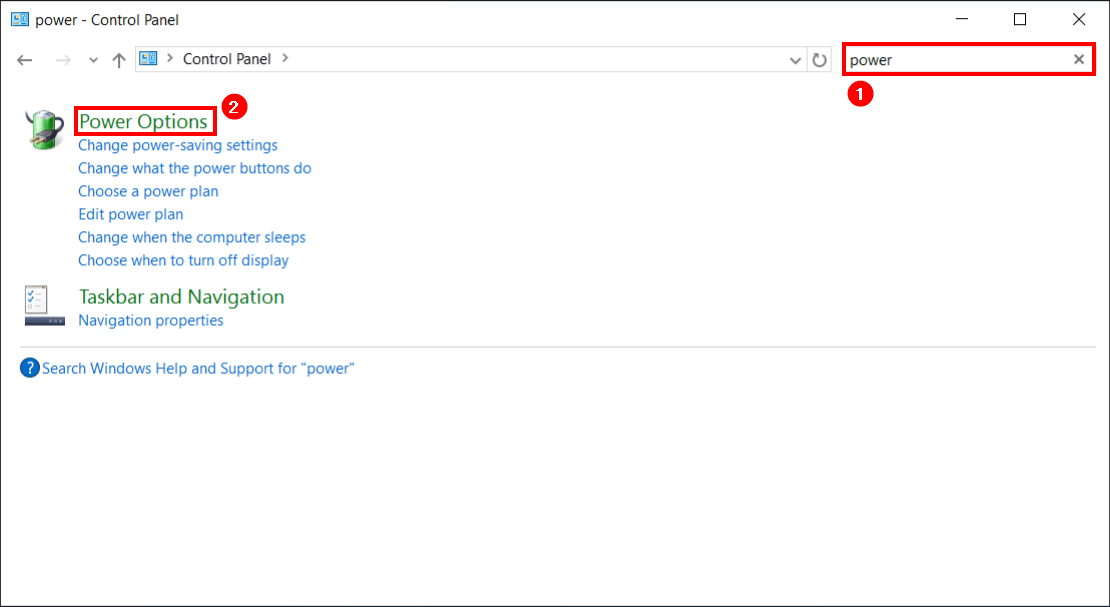
Click on Start and click Control Panel. If you can’t find it, search for Control Panel. You can also enter the command powercfg.cpl.
From the list of displayed items under Control Panel, click on Power Options. If you do not see Power Options, type the word power in the Search Control Panel box. Click Power Options.
It will take you to select a power plan. By default, the Balanced (recommended) power plan is enabled. Choose the High Performance power plan to enable.
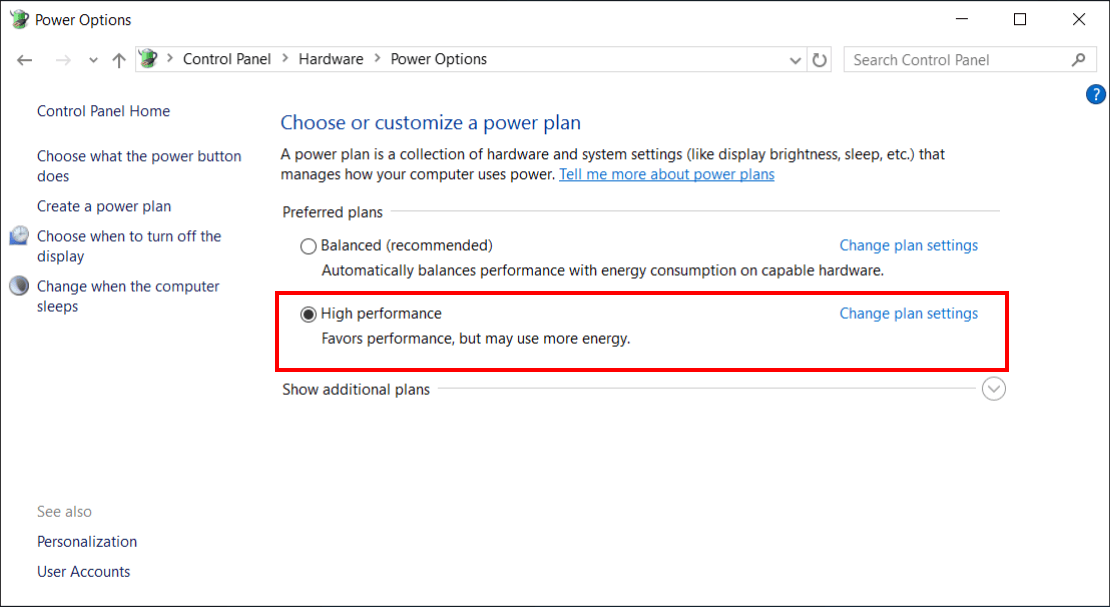
The High Performance plan is active.
Keep reading: Disable NIC Power Management in Exchange Server »
Conclusion
You learned how to configure the power plan to High Performance on the Exchange Server. You can configure the power plan with PowerShell or with the GUI. It’s always good to verify the power plan after applying the changes.
Did you enjoy this article? You may also like Exchange database naming convention. Don’t forget to follow us and share this article.
What Others Are Reading


On Server 2019 Core installs, the Invoke-CimMethod command throws an error (Invoke-CimMethod : This method is not implemented in any class).
Had to use powercfg to modify the Power Plan as follows:
for /f “tokens=4” %g in (‘powercfg /list ^| findstr “High performance”‘) do powercfg /setactive %g
Use %%g if used in a batch script.
I edited the PowerShell commands to support all Windows Server versions.
Thanks for letting us know what worked for you.