After installing Exchange Server and configuring internal DNS, what's next? The next step is to…
Create email address policy in Exchange Server
In our previous article, we created a send connector in Exchange. Our next step is to create an email address policy in Exchange Server. An email address is required for emails to be sent and received by a recipient. This article will show how to create an email address policy in Exchange Admin Center and PowerShell.
Table of contents
Configure email address policy in Exchange Server
Go through the below steps to configure a new email address policy in Exchange Server:
1. Sign in to Exchange Admin Center (EAC).
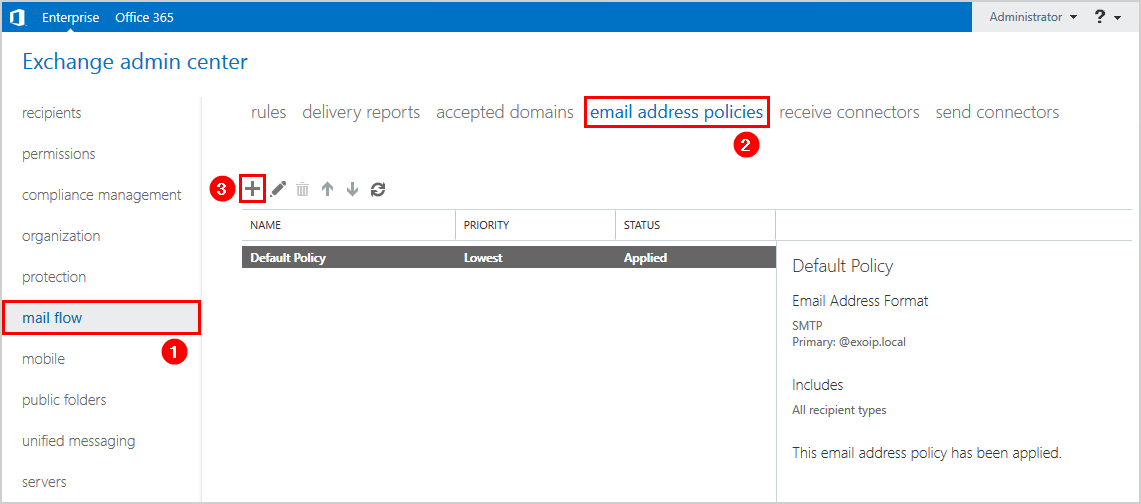
2. Navigate to mail flow > email address policies.
Note: A default email address policy is created by default when installing Exchange Server.
3. Click the + icon to add a new email address policy.
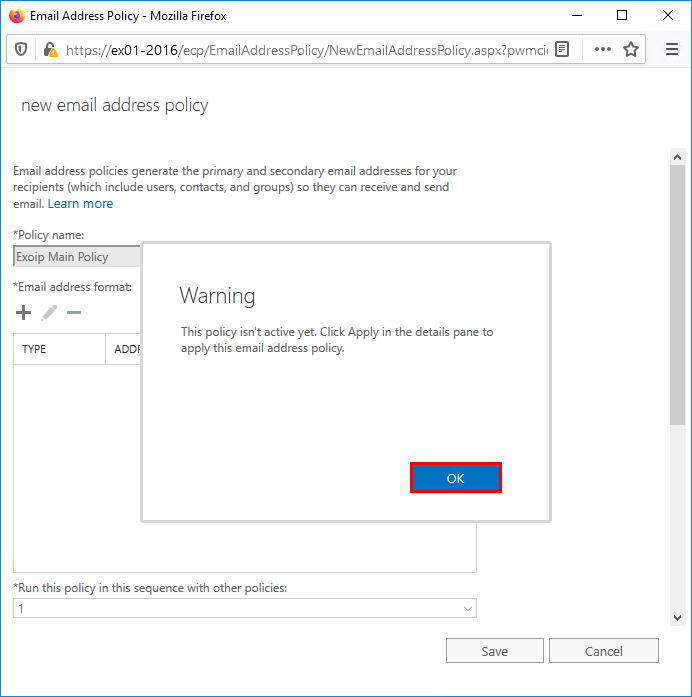
4. Give the policy a name.
5. Click the + icon to add the email address format.

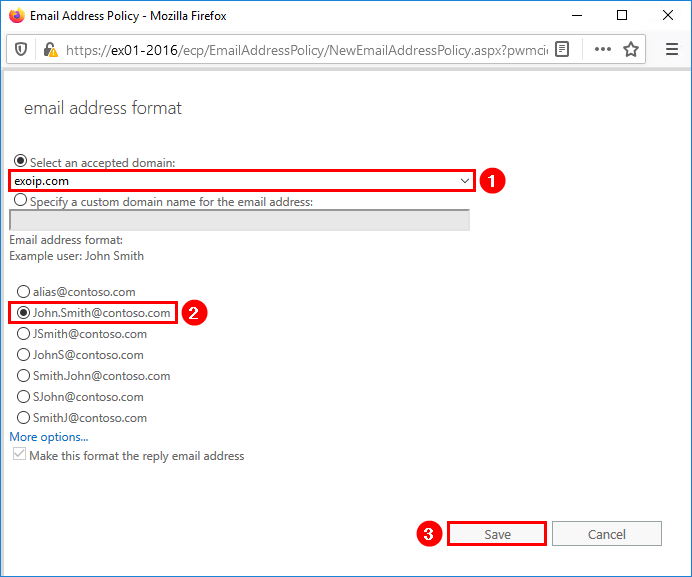
6. Select an accepted domain.
7. Click the email address format John.Smith@contoso.com.
That’s because we like to have the email addresses showing as First.Lastname@domain.com.
8. Click Save.
Note: You cannot select an accepted domain if you don’t have it configured. Read the article Add accepted domain in Exchange Server.
9. The email address format is added. Keep the rest as default.
10. Click Save.

11. A warning message shows up.
Warning
The policy isn’t active yet. Click Apply in the details pane to apply this email address policy.
12. Click OK.
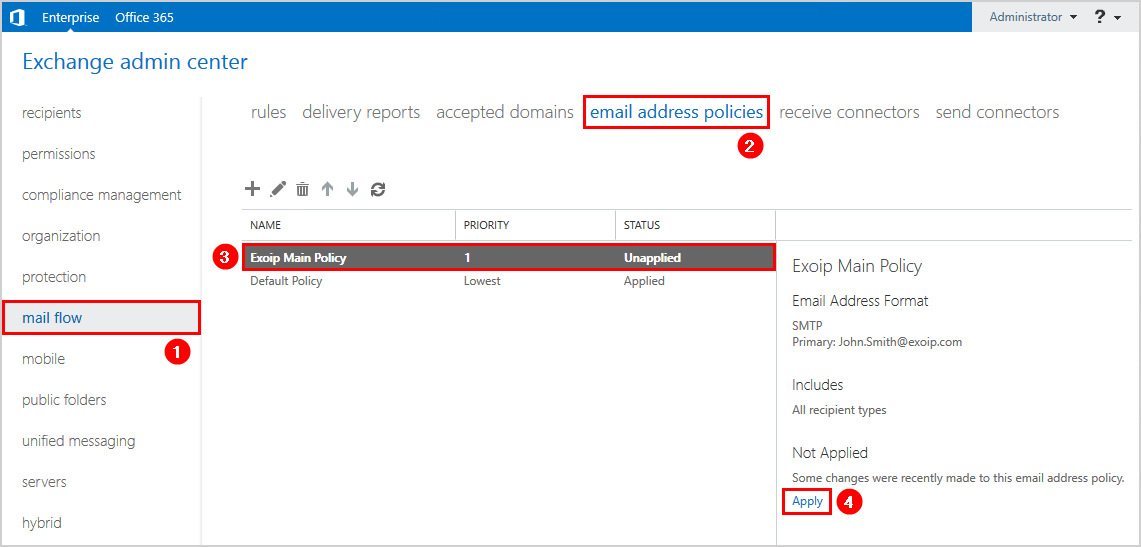
13. Click on the policy that you created.
14. Click Apply in the right panel.
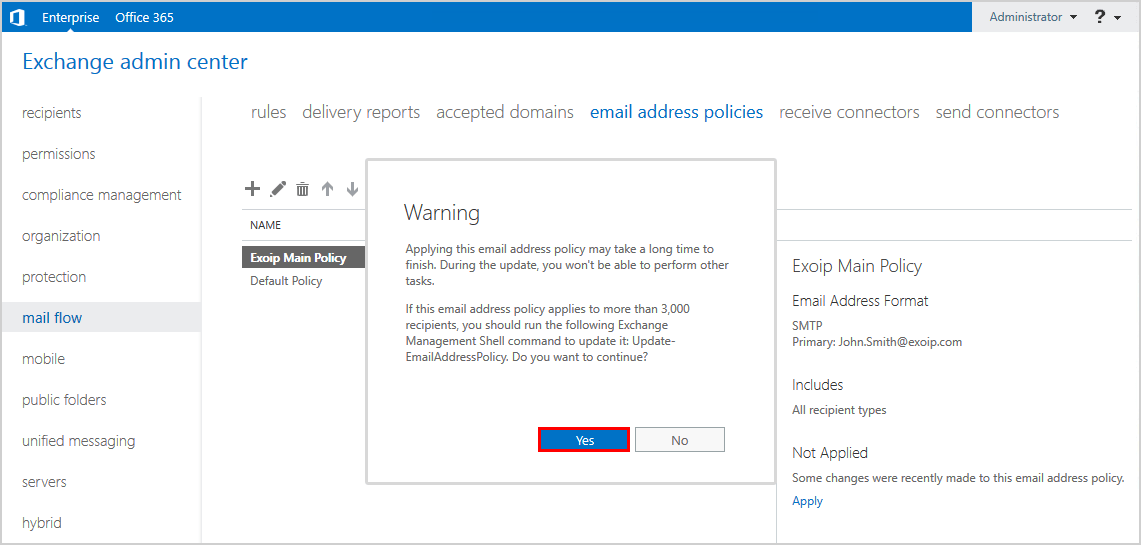
15. A warning message shows up that it will may take a long time.
16. Click Yes.
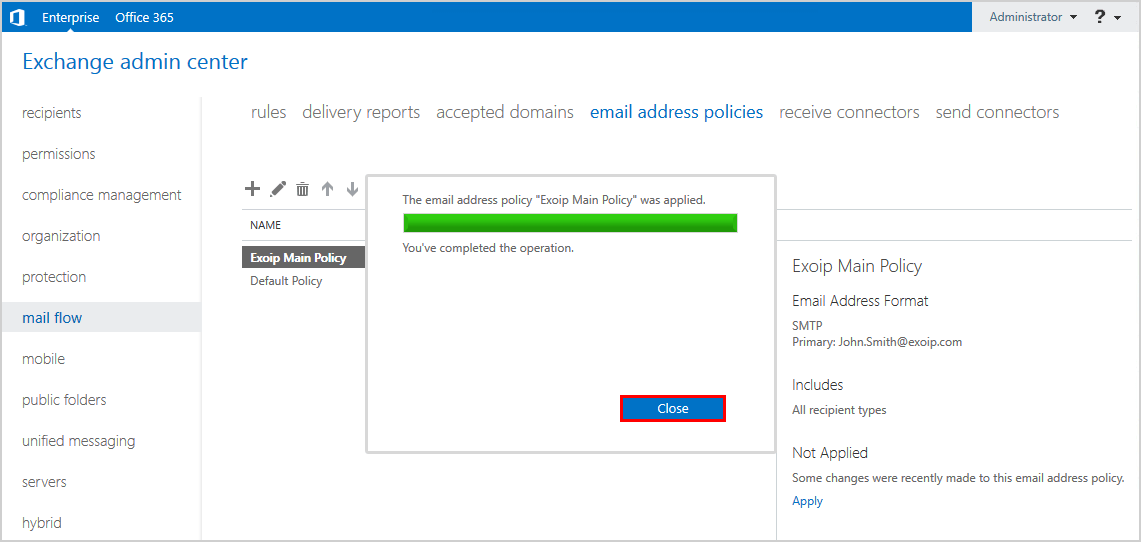
17. The email address policy is applied.
18. Click Close.
Verify email address policy has been applied
Go through these steps to verify that the email address policy is applied:
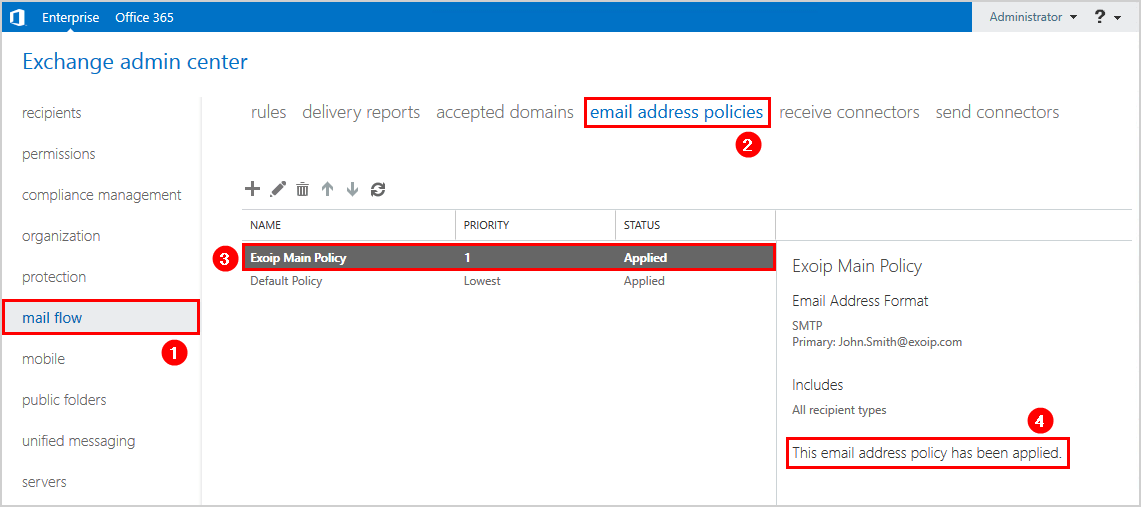
1. Go to mail flow > email address policies.
2. Click the policy that you configured in the earlier step.
3. Confirm in the right panel that this email address policy has been applied.
4. Go to recipients > mailboxes.
5. Click a user mailbox and click the edit icon.
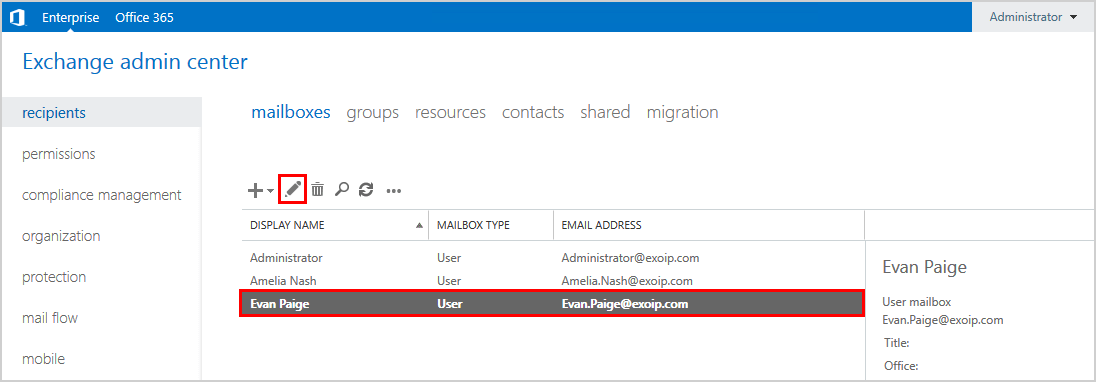
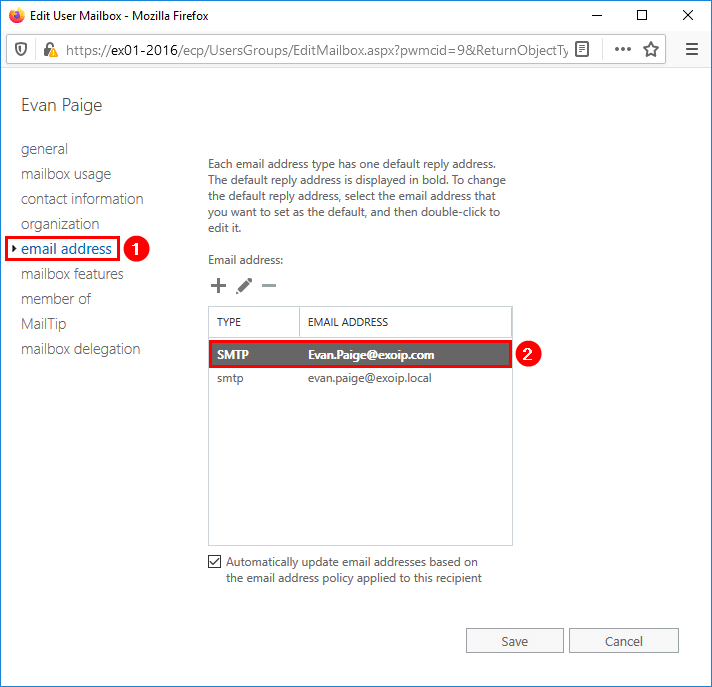
6. Click the email address in the left pane.
7. Confirm that you see the type SMTP and email address First.Lastname@domain.com.
Note: The primary SMTP address will show as capital letters “SMTP”. The secondary SMTP addresses will show up in small “smtp” letters.
Create email address policy in Exchange Server with PowerShell
Let’s speed it up and do the same as in the previous step, but this time with PowerShell.
1. Run Exchange Management Shell as administrator.
2. Run the New-EmailAddressPolicy cmdlet.
[PS] C:\>New-EmailAddressPolicy -Name "Exoip Main Policy" -IncludedRecipients "AllRecipients" -Priority "1" -EnabledEmailAddressTemplates "SMTP:%g.%s@exoip.com"

Name              Priority RecipientFilter
----              -------- ---------------
Exoip Main Policy 1        Alias -ne $null
3. Run the Update-EmailAddressPolicy cmdlet.
[PS] C:\>Update-EmailAddressPolicy -Identity "Exoip Main Policy"4. Get the configured email address policies in Exchange Server.
[PS] C:\>Get-EmailAddressPolicy

Name              Priority RecipientFilter
----              -------- ---------------
Default Policy    Lowest   Alias -ne $null
Exoip Main Policy 1        Alias -ne $null
That’s it!
Keep reading: Automatically update email addresses based on email address policy »
Conclusion
You learned how to create an email address policy in Exchange Server. This can be done in Exchange Admin Center and PowerShell. First, make sure that you add an accepted domain before creating an email address policy. Then, remember to apply the policy. Find more information regarding email address policies in Exchange Server at Microsoft Docs.
Did you enjoy this article? If so, you may like List all SMTP addresses with PowerShell. Don’t forget to follow us and share this article.
What Others Are Reading

Hi Ali,
Is there a way a script can be scheduled to run every 5 hours to update/refresh email address policy for all users mailboxes?
I tried scheduling the following script in Task scheduler and ran the task manually. It starts and the even ID shows completed successfully after a minute. But even after a couple of hours when i check a specific mailbox to which i’m aware of that the mail address should change/update, i don’t see any change/update.
But when i manually execute the following script, it runs for about 40 mins in my Exchange environment and I can see it working, and on completion, the mailbox i expect to see a change/update – it does reflect it.
I’m not sure what i may be doing wrong in the task scheduler. I’m running Exchange Server 2016 CU23 on Windows Server 2016 Standard.
Can you please help out here? Is there an article of yours on this which already exist?
Hi there,
I created a scheduled task with an action to the script, which works fine.
Run the task from the task scheduler and check the “Last Run Result”. It will tell you the error code, and that will be easier for you to identify why it’s not working.