You want to install Exchange Server or install Exchange Server Cumulative Update. Once the setup…
Install Exchange Server step by step
Install Exchange Server step by step on Windows Server. Before you start installing Exchange Server, make sure to install Exchange Server prerequisites first. After that, prepare Active Directory and domains for Exchange Server. After doing both tasks, you are ready to install Exchange Server. In this article, you will learn how to install Exchange Server.
Table of contents
Before installing Exchange Server
Before you can proceed further with the Exchange Server installation, follow both of the articles:
After you have walked through the above configuration, install the Exchange Mailbox Server Role.
Important: After you install Exchange on a server, you must not change the server name. Renaming a server after you’ve installed an Exchange server role is not supported.
Download Exchange Server
Go to the Exchange Server build numbers and release dates page. The page lists all Exchange Server build numbers and release dates. Download and save the Exchange Server ISO image.
Note: We recommend downloading the latest Exchange Server build version.
In File Explorer, right-click on the Exchange Server CU ISO image file and select Mount. It will mount the ISO to a drive. For example, the E:\ drive. The E:\ drive contains the Exchange installation files.
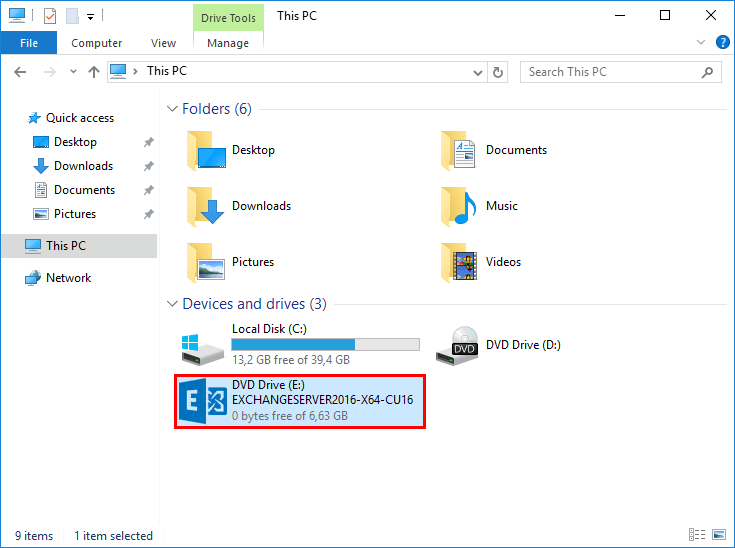
Mount the Exchange ISO image before proceeding to the next step.
Install Exchange Server with command line
There are two options for installing Exchange server. You can choose to:
- Install Exchange Mailbox server using the setup wizard
- Install Exchange Mailbox server using unattended mode (this article)
The Exchange setup wizard will guide you to install Exchange Server with GUI. The Exchange unattended mode will install Exchange Server with the command line.
Note: The Exchange Server installation will fail if there is a pending reboot available on the system. We recommend restarting the Windows Server before you start the installation.
Run Command Prompt as administrator. Install the Mailbox Server Role and the management tools in the default folder on the local server.
C:\>E:\Setup.exe /IAcceptExchangeServerLicenseTerms_DiagnosticDataOFF /mode:Install /r:MB

Microsoft Exchange Server 2016 Cumulative Update 16 Unattended Setup

Copying Files...
File copy complete. Setup will now collect additional information needed for installation.

Languages
Management tools
Mailbox role: Transport service
Mailbox role: Client Access service
Mailbox role: Mailbox service
Mailbox role: Front End Transport service
Mailbox role: Client Access Front End service

Performing Microsoft Exchange Server Prerequisite Check

    Configuring Prerequisites                                                                         COMPLETED
    Prerequisite Analysis                                                                             COMPLETED

Configuring Microsoft Exchange Server

    Preparing Setup                                                                                   COMPLETED
    Stopping Services                                                                                 COMPLETED
    Copying Exchange Files                                                                            COMPLETED
    Language Files                                                                                    COMPLETED
    Restoring Services                                                                                COMPLETED
    Language Configuration                                                                            COMPLETED
    Exchange Management Tools                                                                         COMPLETED
    Mailbox role: Transport service                                                                   COMPLETED
    Mailbox role: Client Access service                                                               COMPLETED
    Mailbox role: Mailbox service                                                                     COMPLETED
    Mailbox role: Front End Transport service                                                         COMPLETED
    Mailbox role: Client Access Front End service                                                     COMPLETED
    Finalizing Setup                                                                                  COMPLETED

The Exchange Server setup operation completed successfully.
Setup has made changes to operating system settings that require a reboot to take effect. Please reboot this server
prior to placing it into production.
Exchange Server Mailbox Role finished installing. Reboot the server.
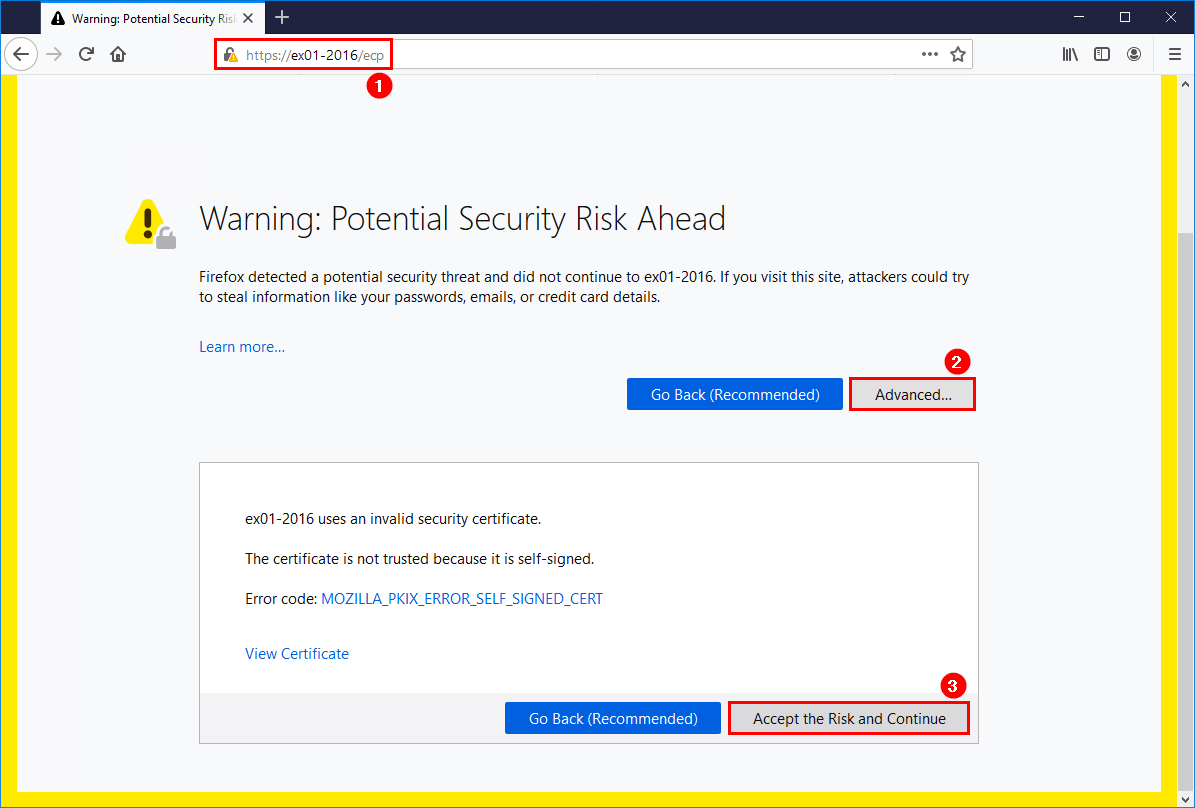
Sign in to Exchange Admin Center (EAC)
Sign in to Exchange Admin Center (EAC). Start your favorite browser and go to https://hostname/ecp. Change the hostname to yours. Another way is to use https://localhost/ecp.
You will get a certificate warning in your browser. Accept the risk and continue.
In our example, the Exchange Server hostname is EX01-2016.
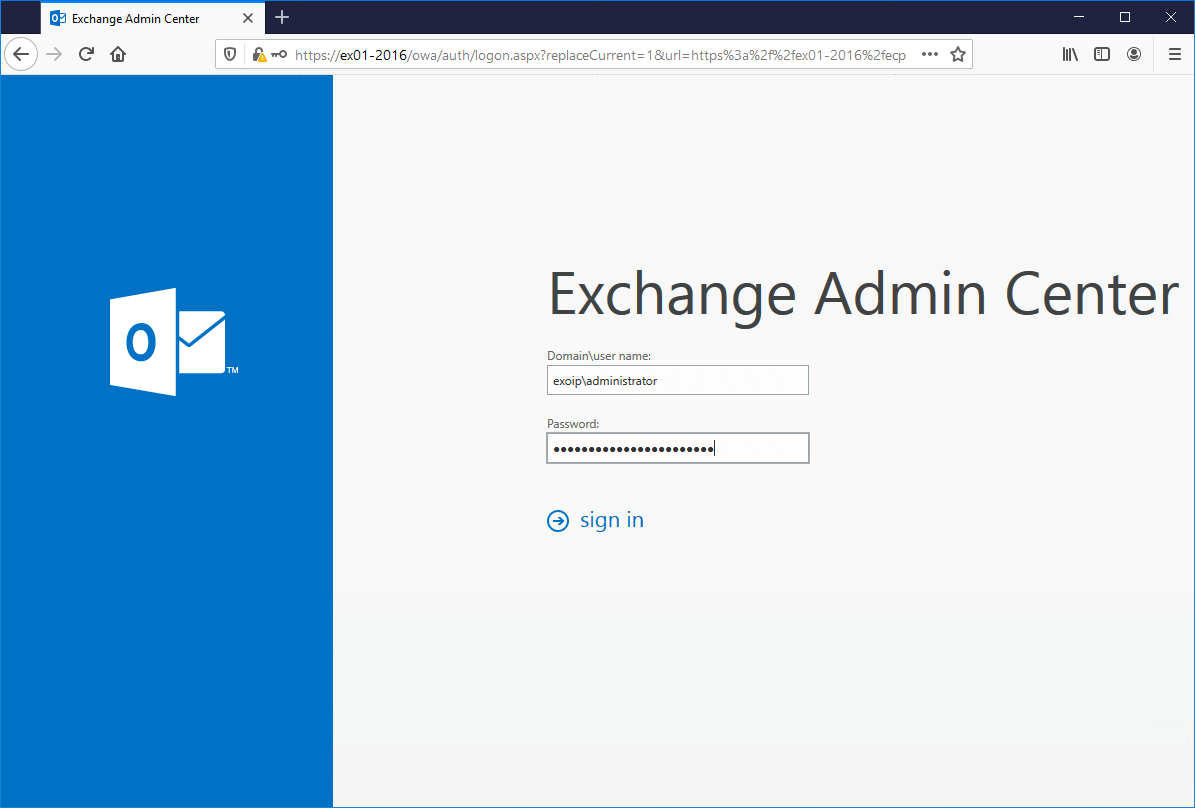
Fill in the domain and administrator credentials. Then, click sign in.
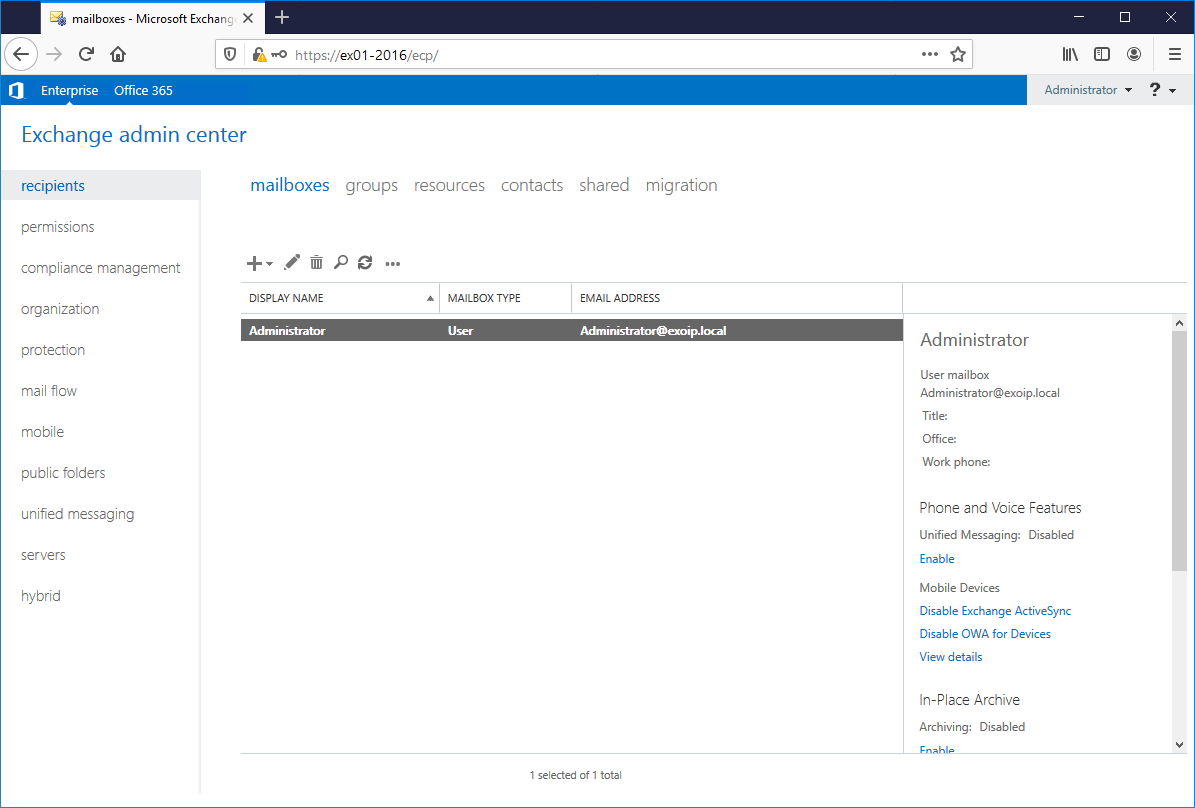
The mailboxes area is almost empty, except for one mailbox that shows up. That’s the account that you used for installing Exchange Server.
Did this article help you to install Exchange Server on Windows Server with command line?
The next step is to configure Exchange Server »
Conclusion
You learned how to install Exchange Server step by step on Windows Server. An excellent way to install the Mailbox Server Role is with the command line. After a reboot, verify that you can sign in to the Exchange Admin Center.
Did you enjoy this article? You may also like Which .NET Framework for Exchange Server. Don’t forget to follow us and share this article.
Hello ALI TAJRAN,
I have followed the steps above to add second exchange 2019 into existing exchange 2013. However, there is a strange point after login to ECP of exchange 2019, all mailboxes from exchange 2013 synced to exchange 2019 on ECP, instead of only an account that used to install exchange 2019. Also, all outlook clients has certificate warning although I updated cert for exchange 2019 server, and outlook clients has required enter password continuous although password is correct.
Please help.
This article is about introducing a new Exchange Server in an organization.
In your case, you already have an Exchange Server 2013, and by installing a second Exchange Server 2019, you will see all the Exchange Server 2013 information. This is correct.
About the certificate warning, you also need to edit the autodiscover URL on Exchange Server 2019.
Everything is explained in the article Install second Exchange Server in domain.
Hello
Your Support required to install exchnage server and run 10 thin clients, How much will you charge for this