There are times that you need to convert GPT to MBR. The main difference between…
Install Windows 11 on Virtual Machine
How to install Windows 11 on Virtual Machine (VM)? Let’s say you like to install Windows 11 on VMware ESXi. It means you need to create a Virtual Machine and install Windows 11 on top of that. In our example, we will install Windows 11 on a Virtual Machine running on VMware ESXi.
Table of contents
Windows 11 system requirements
These are the minimum system requirements for installing Windows 11 on a PC, according to Microsoft.
| Processor | 1 gigahertz (GHz) or faster with 2 or more cores on a compatible 64-bit processor or System on a Chip (SoC) |
| RAM | 4 GB |
| Storage | 64 GB or larger storage device |
| System firmware | UEFI, Secure Boot capable. |
| TPM | Trusted Platform Module (TPM) version 2.0 |
| Graphics card | Compatible with DirectX 12 or later with WDDM 2.0 driver |
| Display | High definition (720p) display greater than 9″ diagonally, 8 bits per color channel |
Create Virtual Machine with system requirements
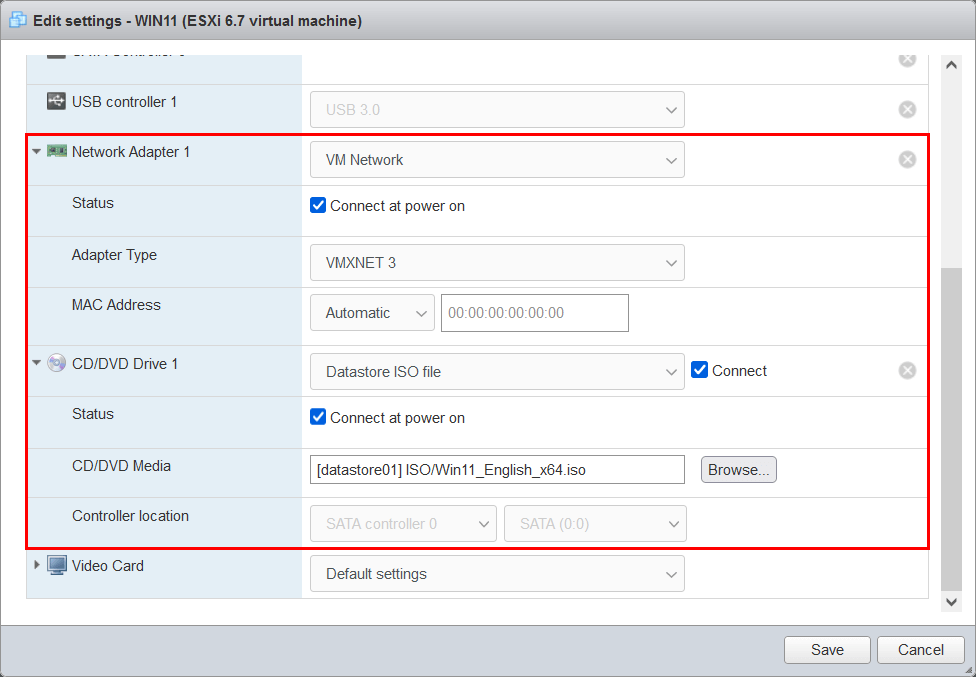
Create a new Virtual Machine in VMware ESXi. Go through the steps in the wizard. Ensure that you create a hard disk that has a minimum of 64GB.
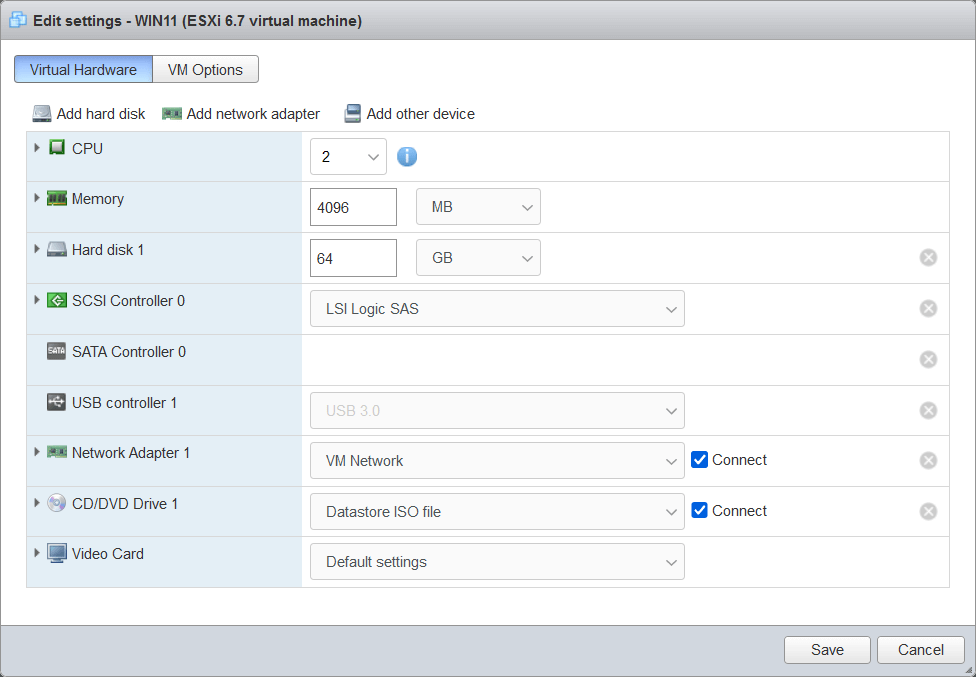
We always recommend using VMXNET3 as a network adapter type. Select the Windows 11 ISO file, and checkboxes connect and connect at power on.
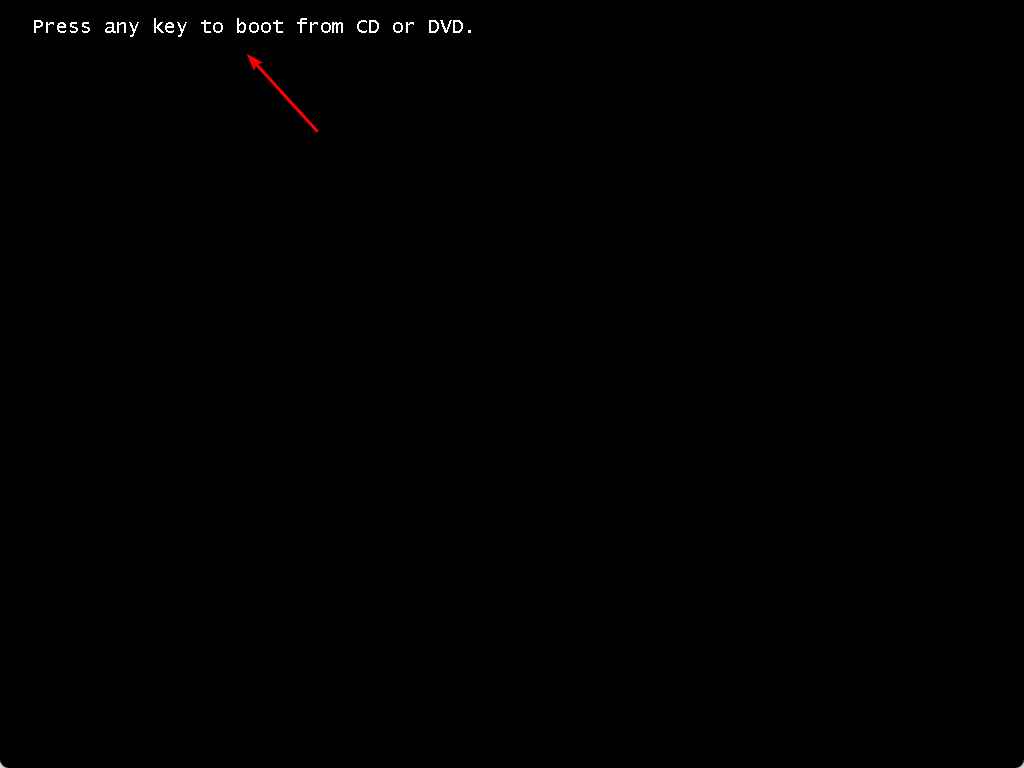
Boot Windows 11 from ISO file
Start the Virtual Machine and press any key to boot the Windows 11 installation.
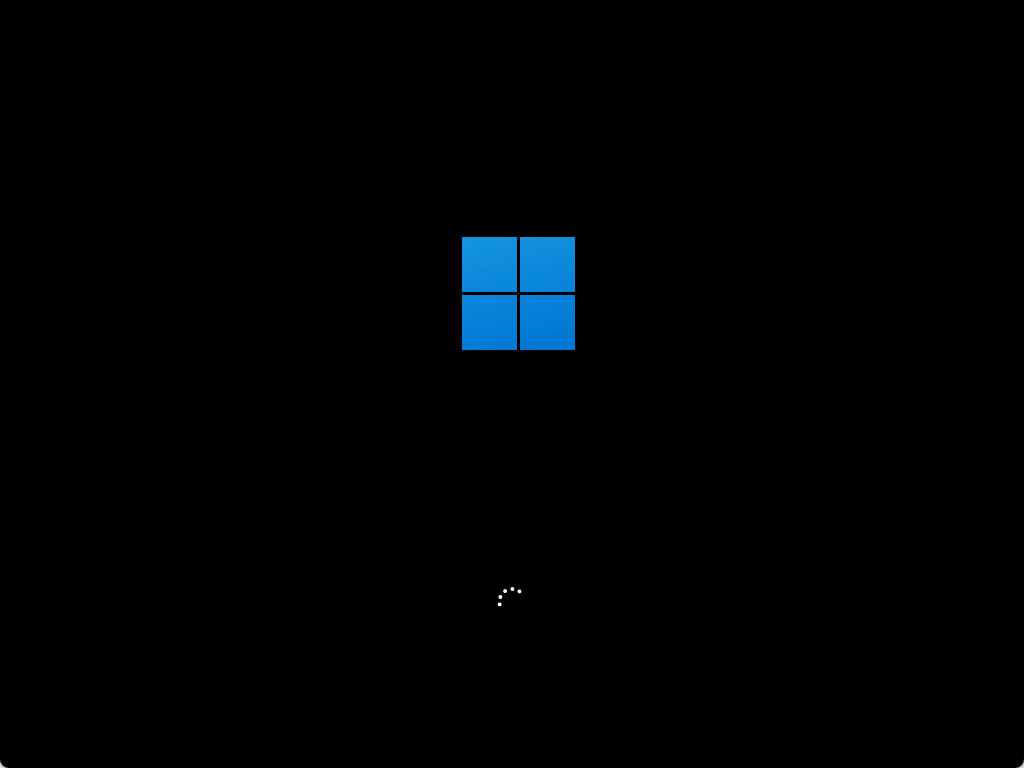
Give it a little bit of time to load all the files.
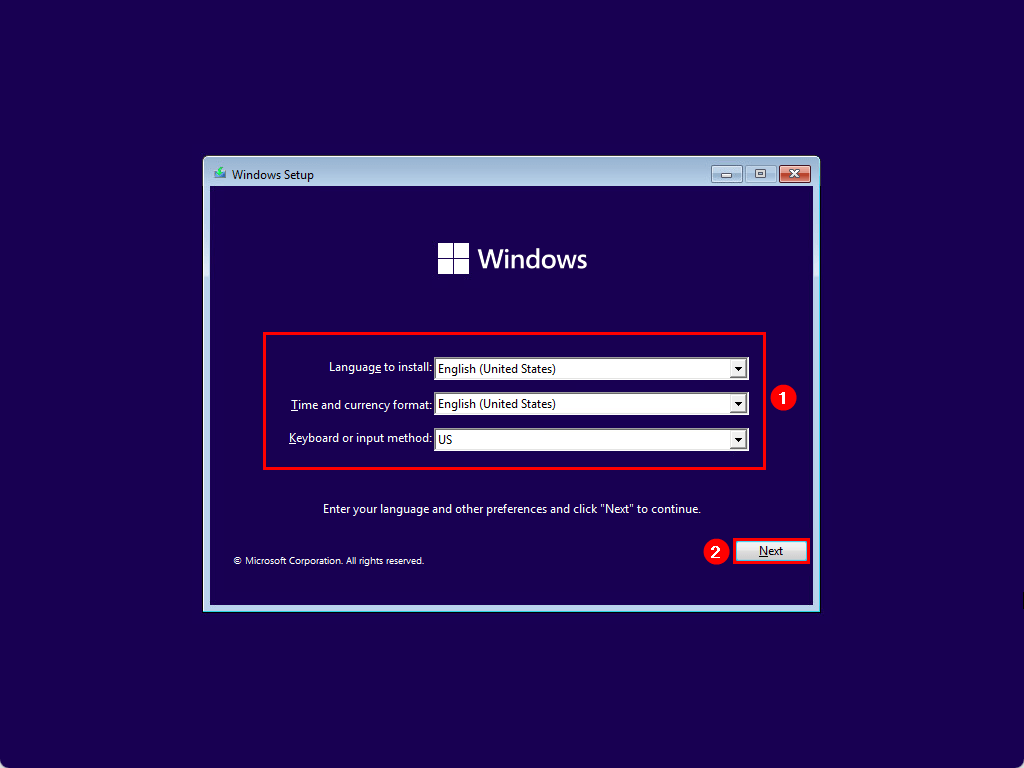
Select the language and other preferences. Click Next.
Install Windows 11
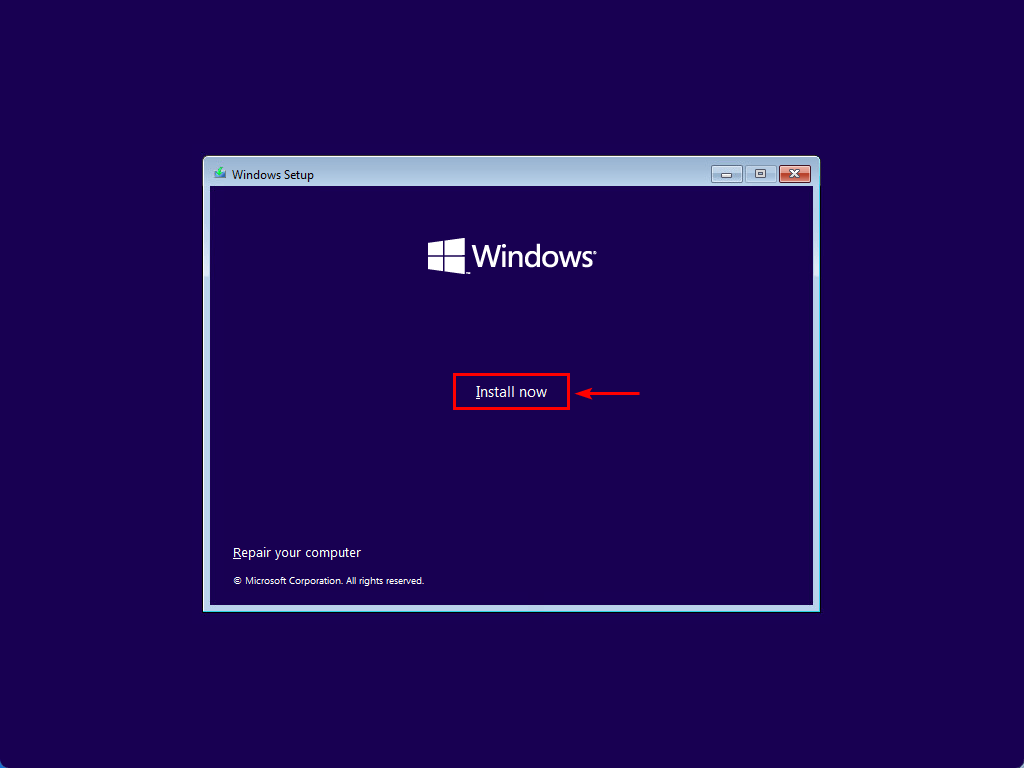
Click on Install now.
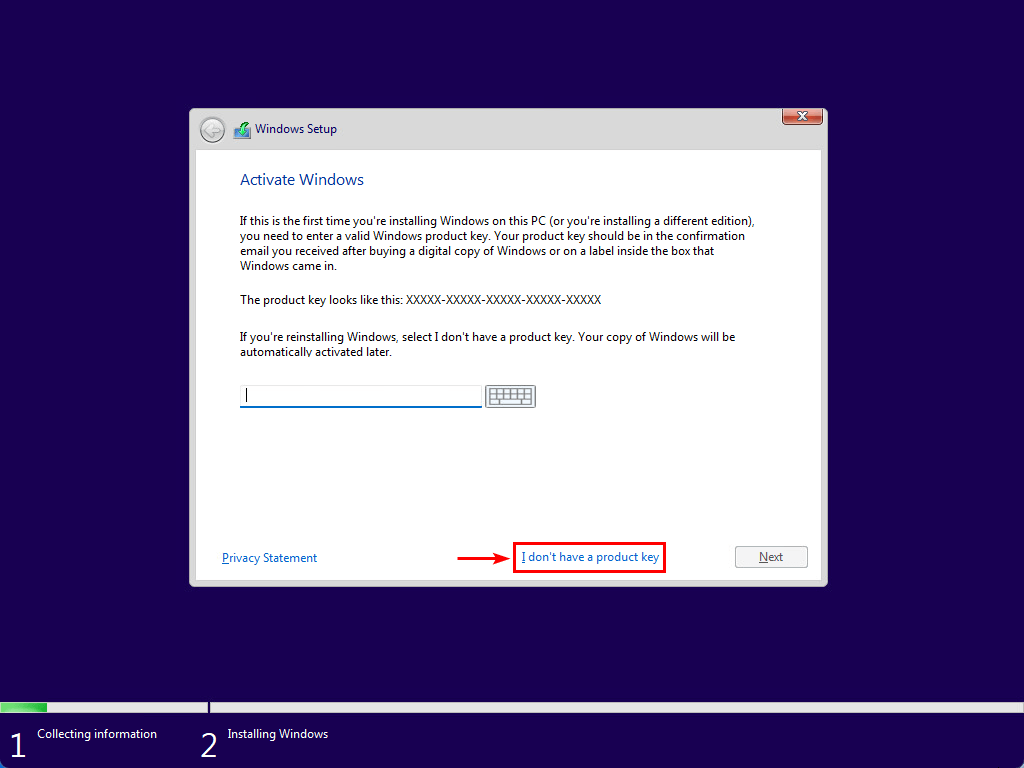
Do you have a Windows key? Insert the Windows key in the field. In our example, we will activate Windows 11 at a later stage. That’s when you click on I don’t have a product key.
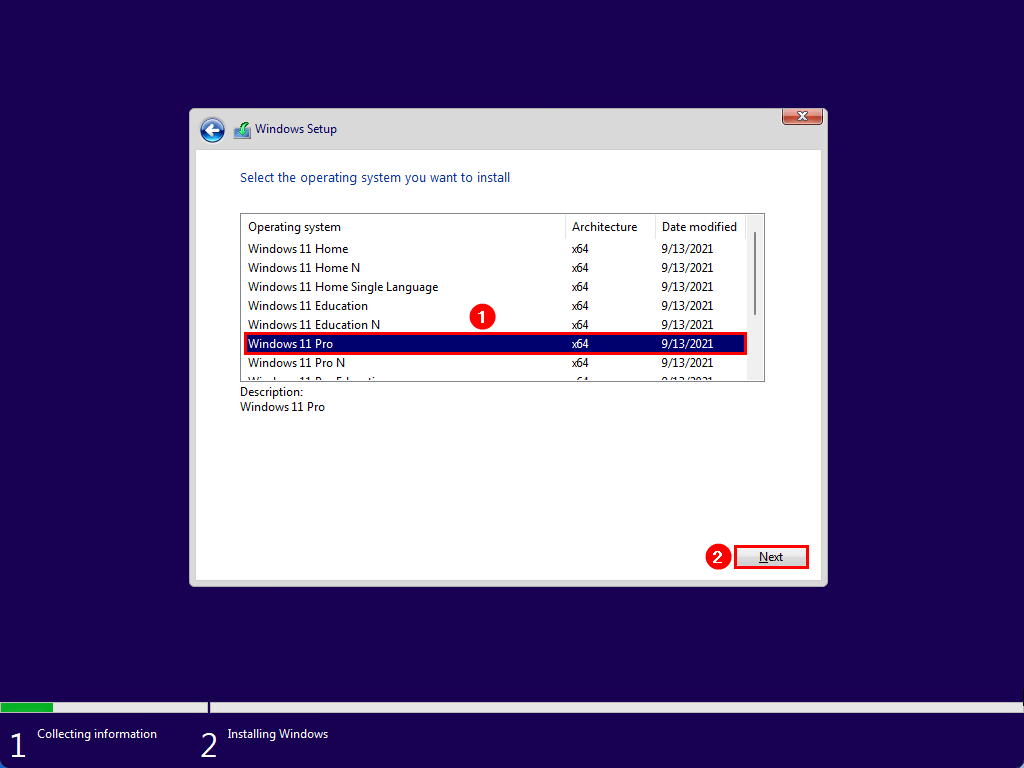
Select the operating system you want to install. For example, Windows 11 Pro. Click Next.
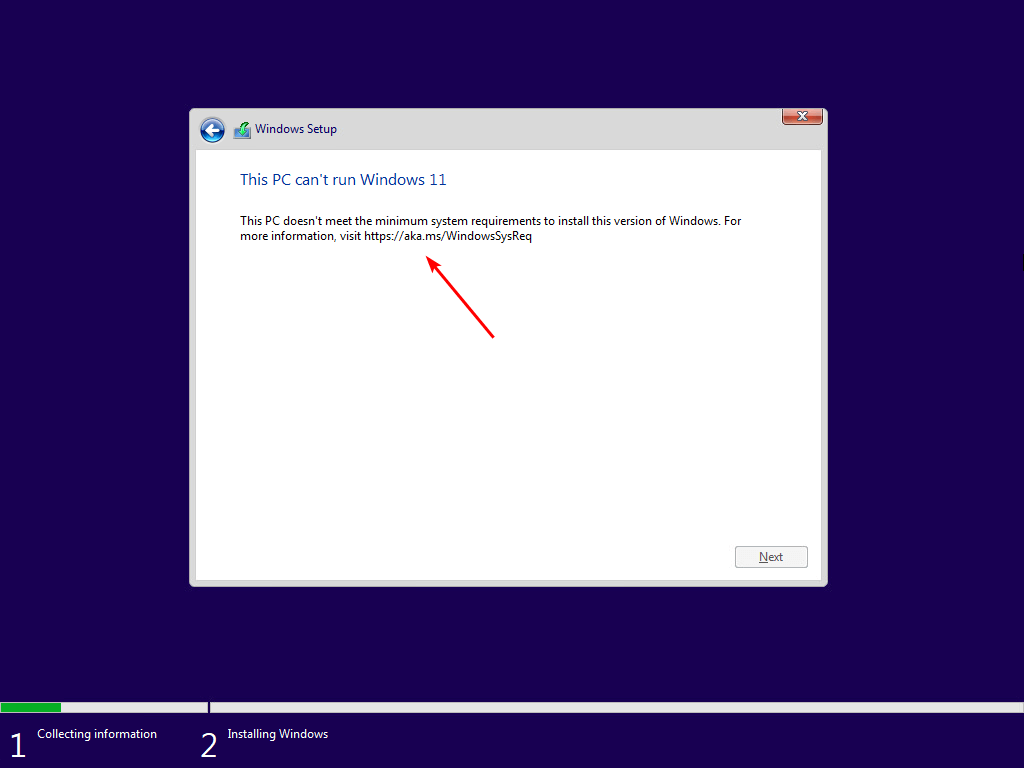
You will get the message:
This PC can’t run Windows 11
This PC doesn’t meet the minimum system requirements to install this version of Windows. For more information, visit https://aka.ms/WindowsSysReq.
Read more: This PC can’t run Windows 11 – Bypass/Fix »
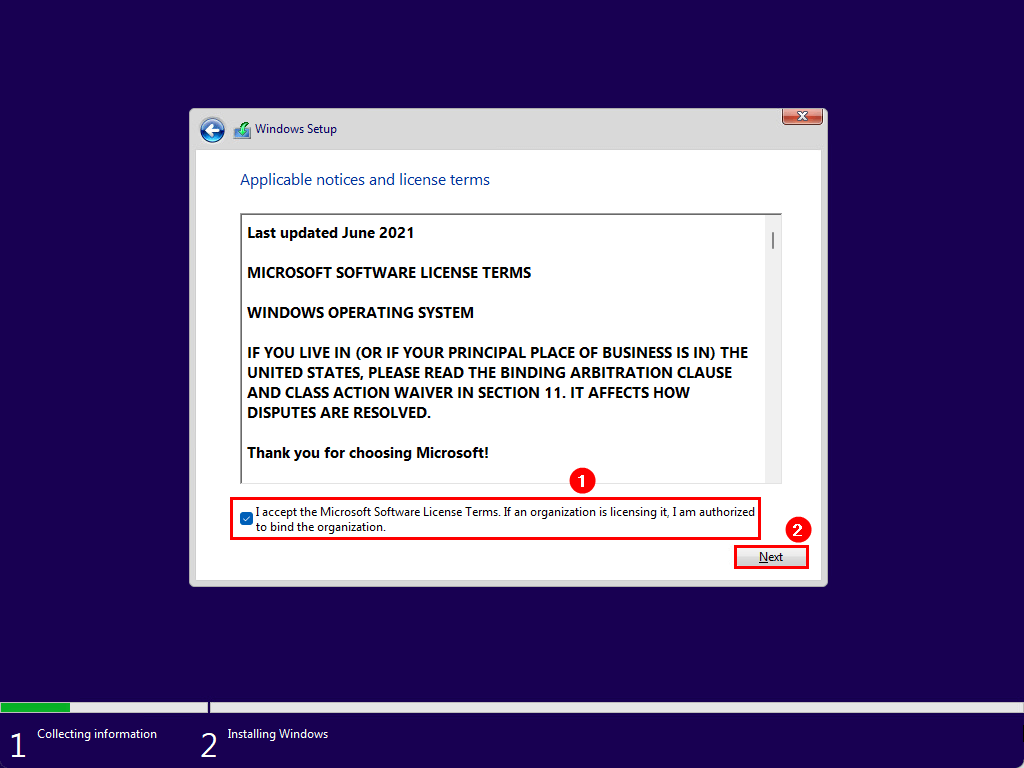
Accept the Microsoft Software License Terms. Click Next.
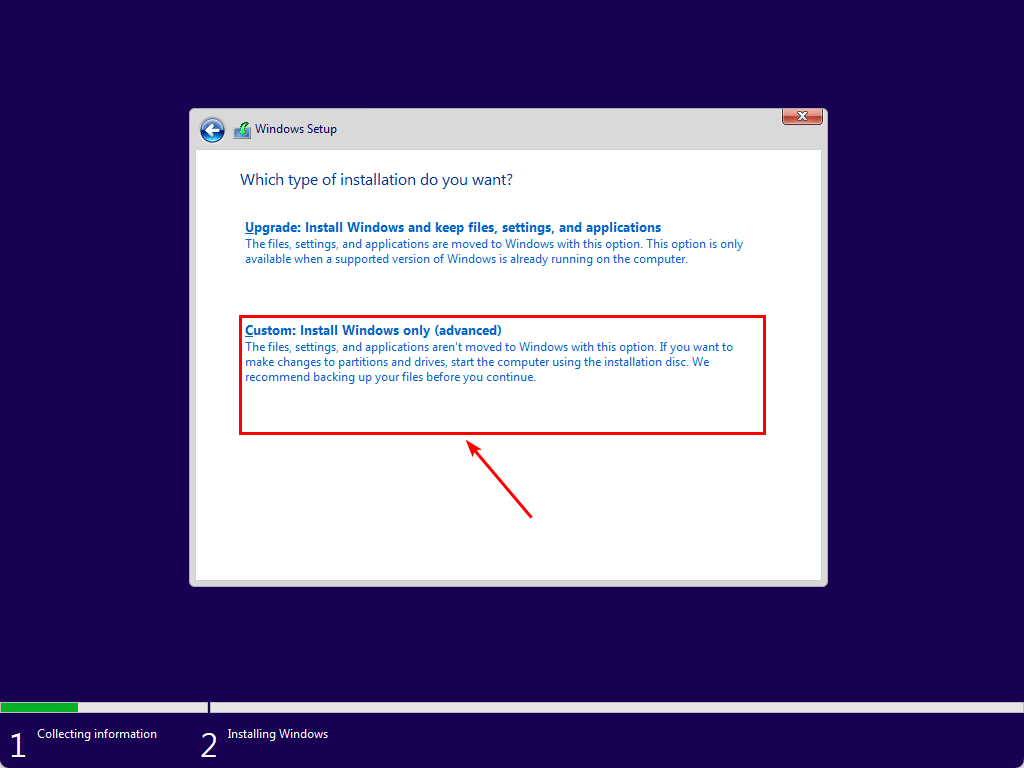
Click Custom: Install Windows only (advanced).
Click on the drive with Unallocated Space. Click Next.

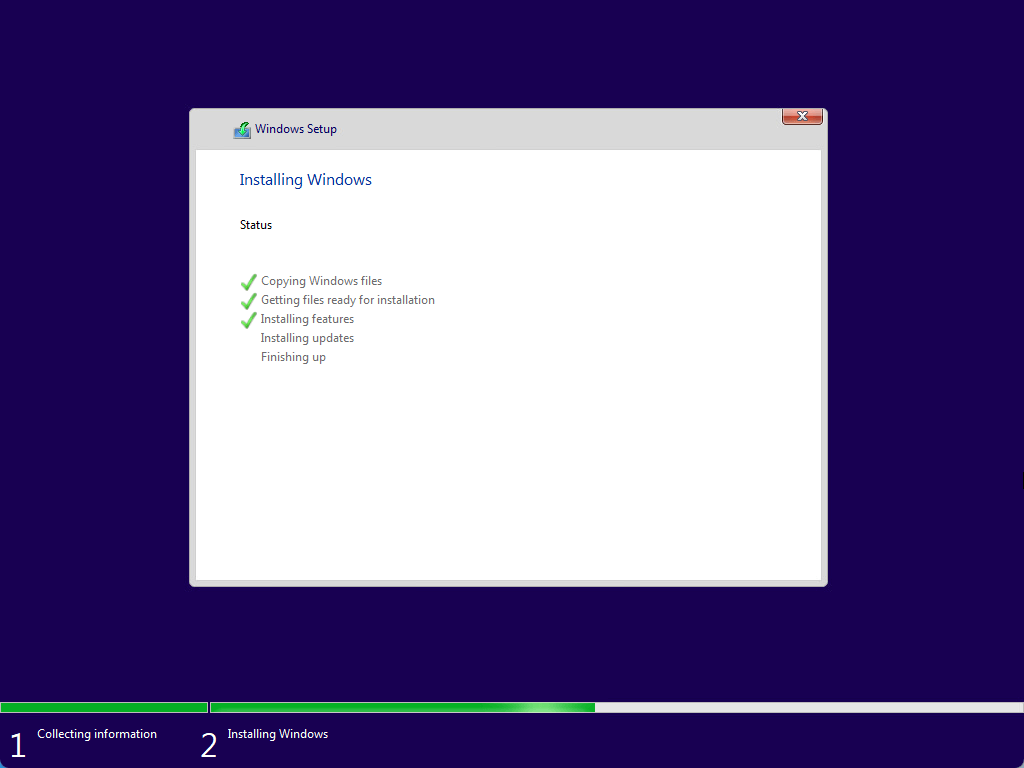
Windows 11 installation will go through the steps:
- Copying Windows files
- Getting files ready for installation
- Installing features
- Installing updates
- Finishing up
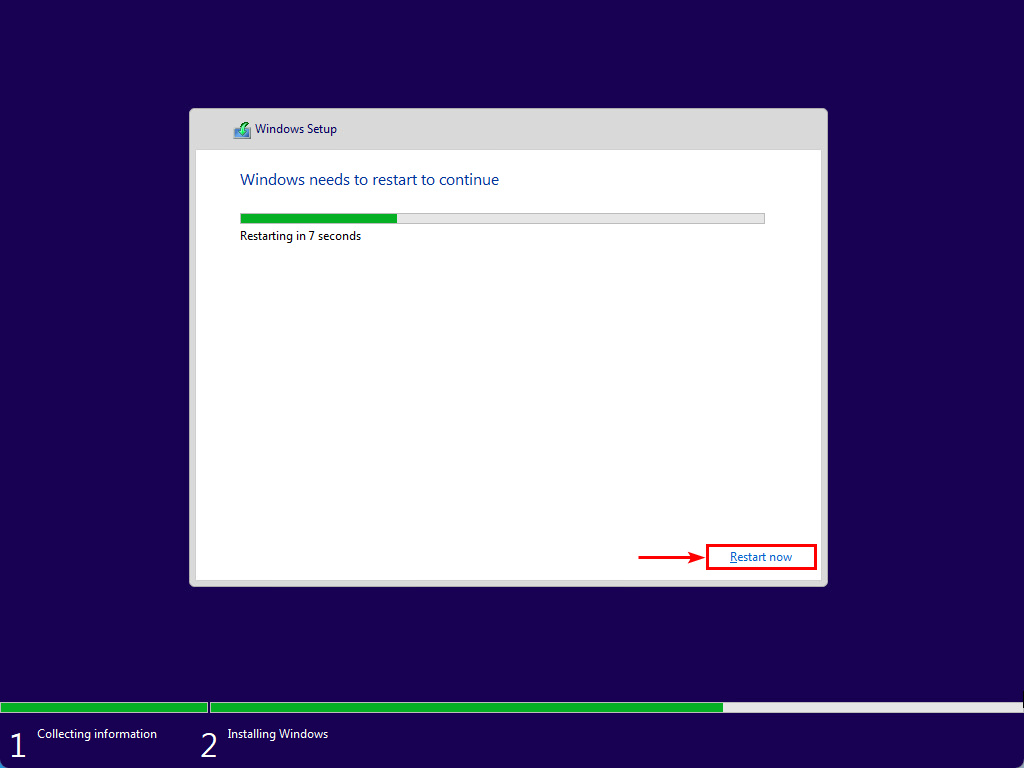
Windows needs to restart to continue with the setup.
The Windows 11 installation restarts a couple of times and gets everything ready.
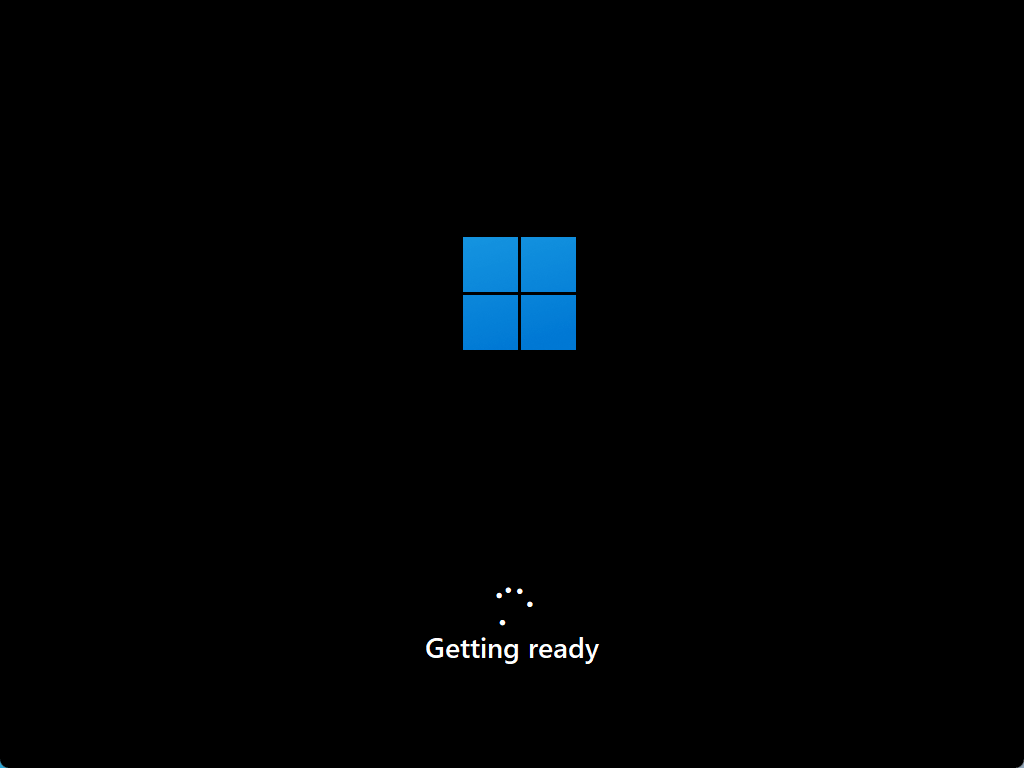
Just a moment.

Set up Windows 11
Click on the country and click Yes.

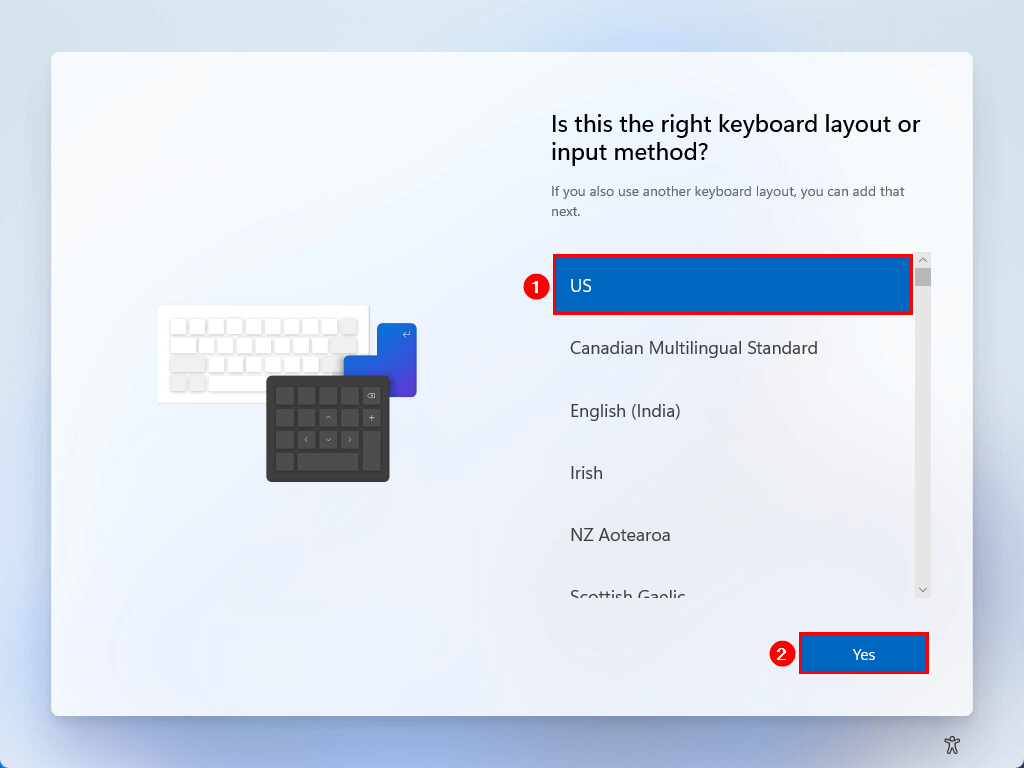
Click on the keyboard layout that you want to use. Click Yes.
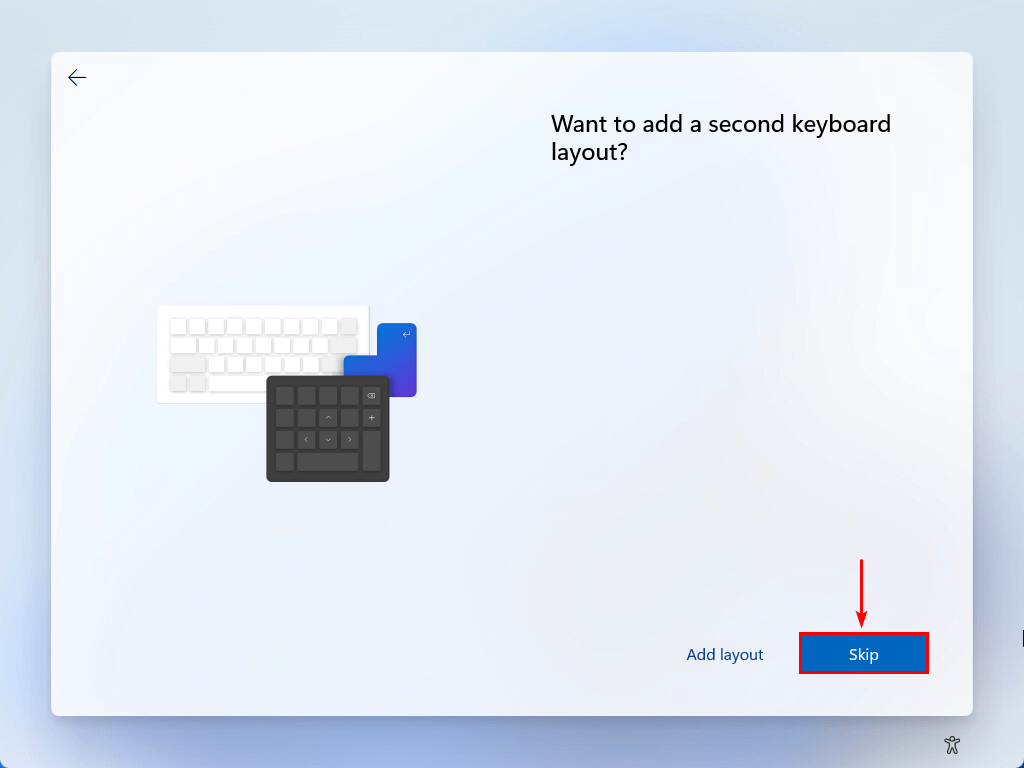
Do you want to add a second keyboard? Click on add layout. Otherwise, click Skip.
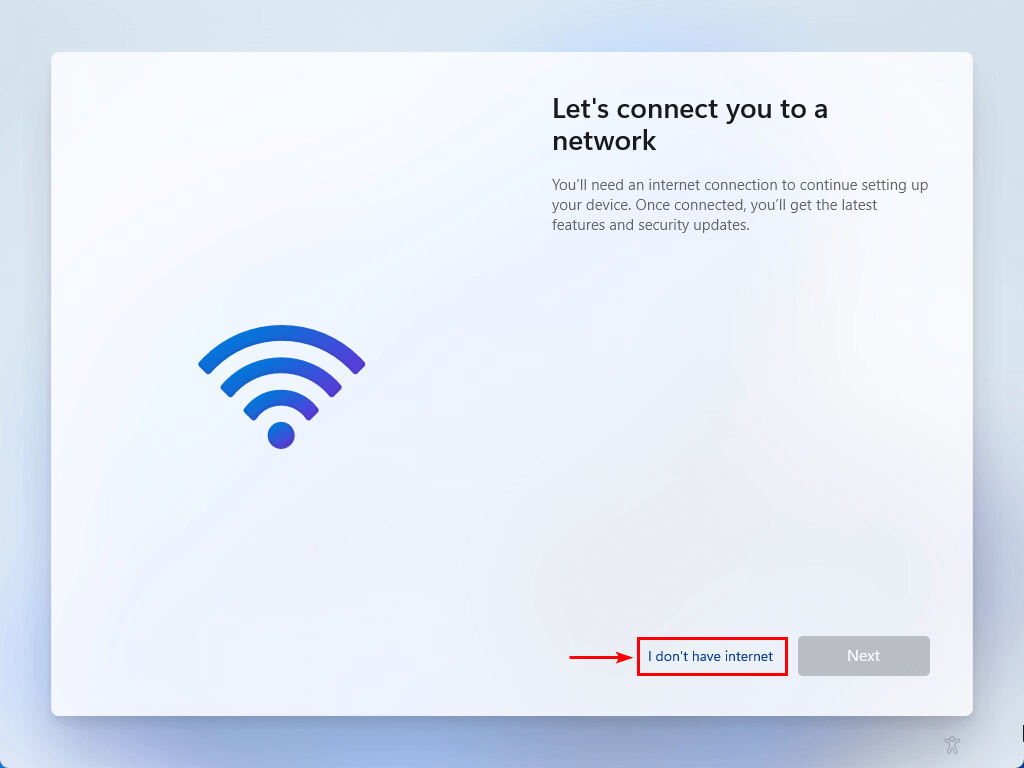
There is no network connection. That’s because we choose for VMXNET3 adapter, and it will get active after installing VMware Tools.
Click on I don’t have internet.
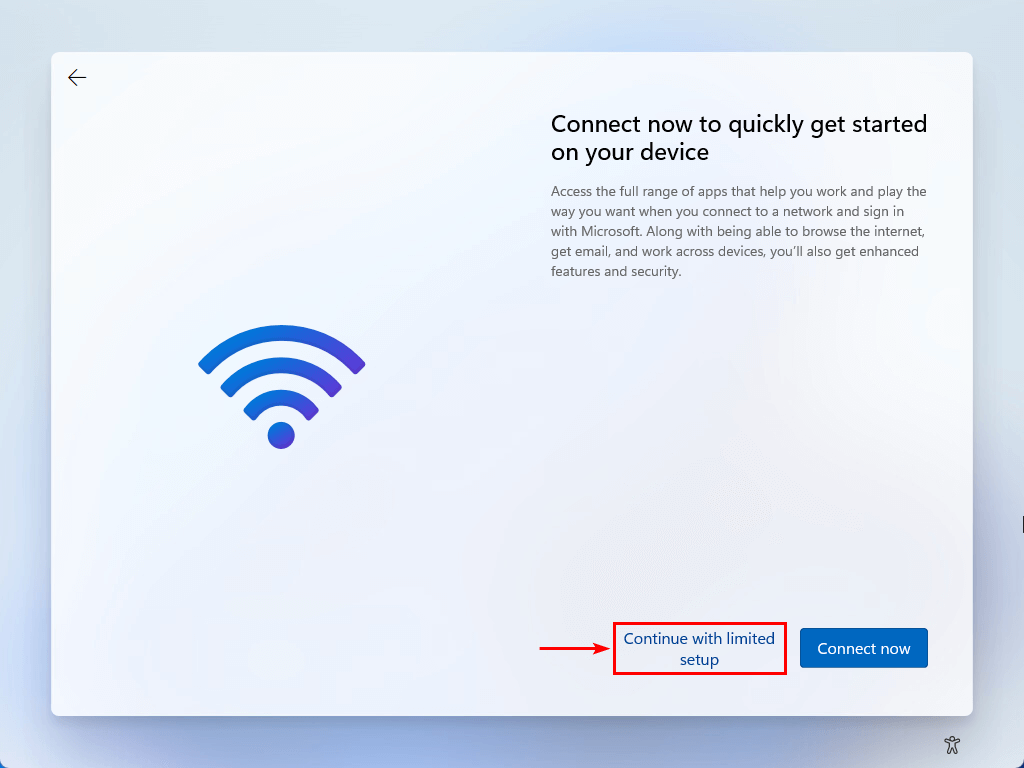
Click on Continue with limited setup.
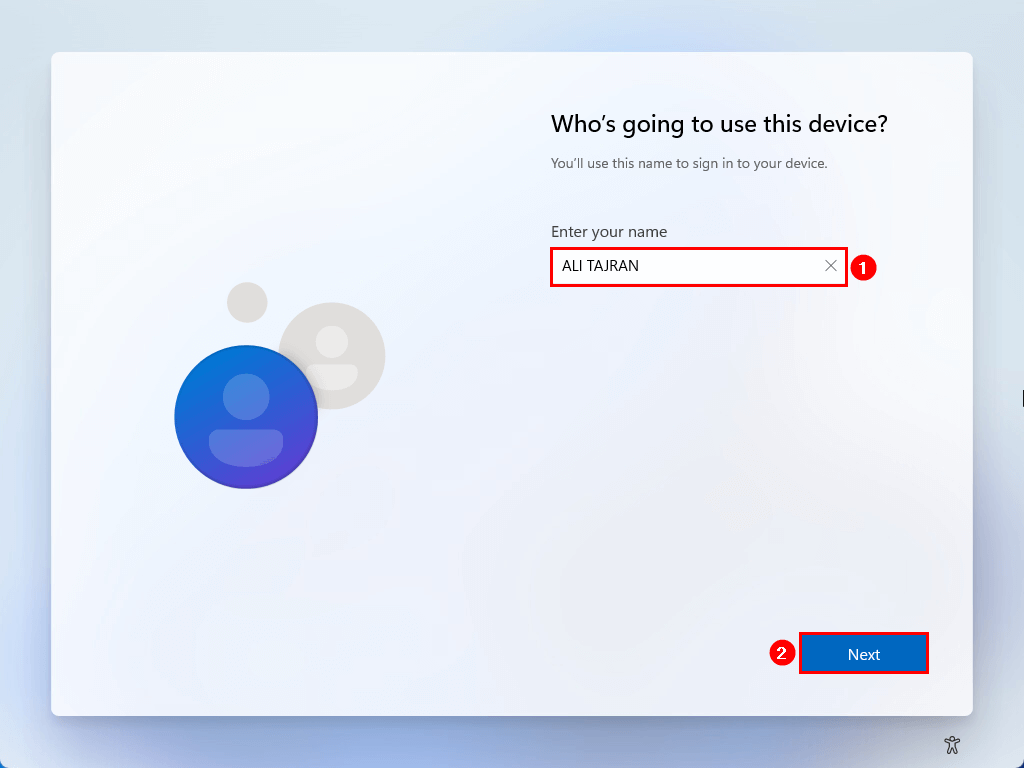
Enter your name. Click Next.
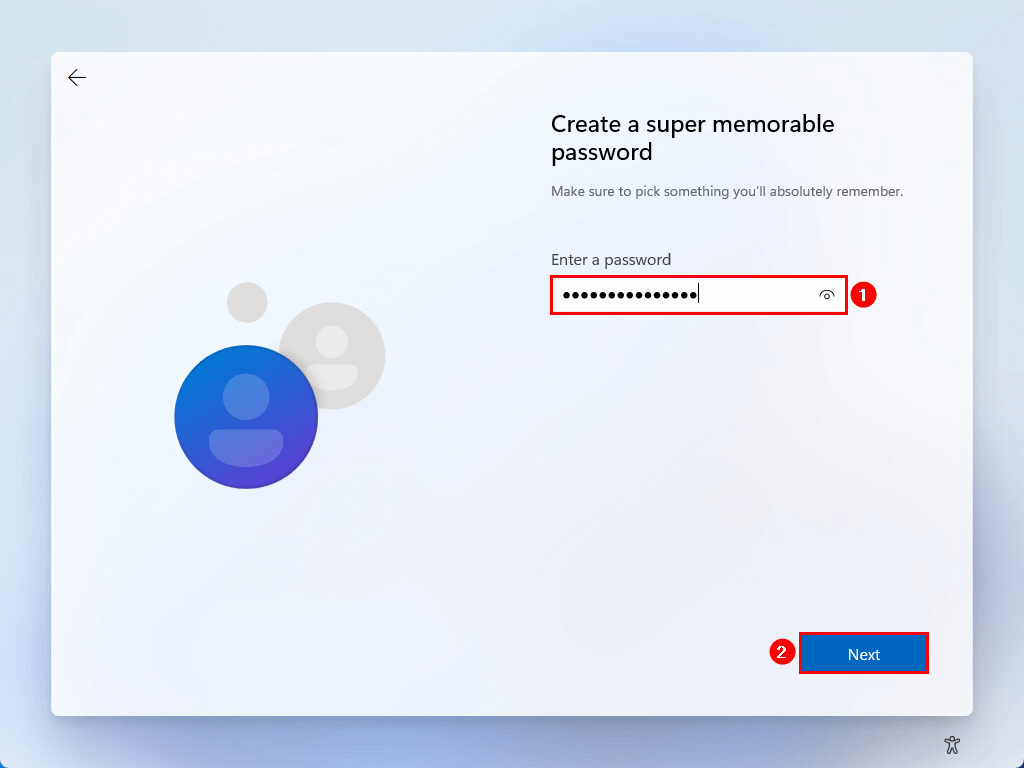
Enter a password. Click Next.
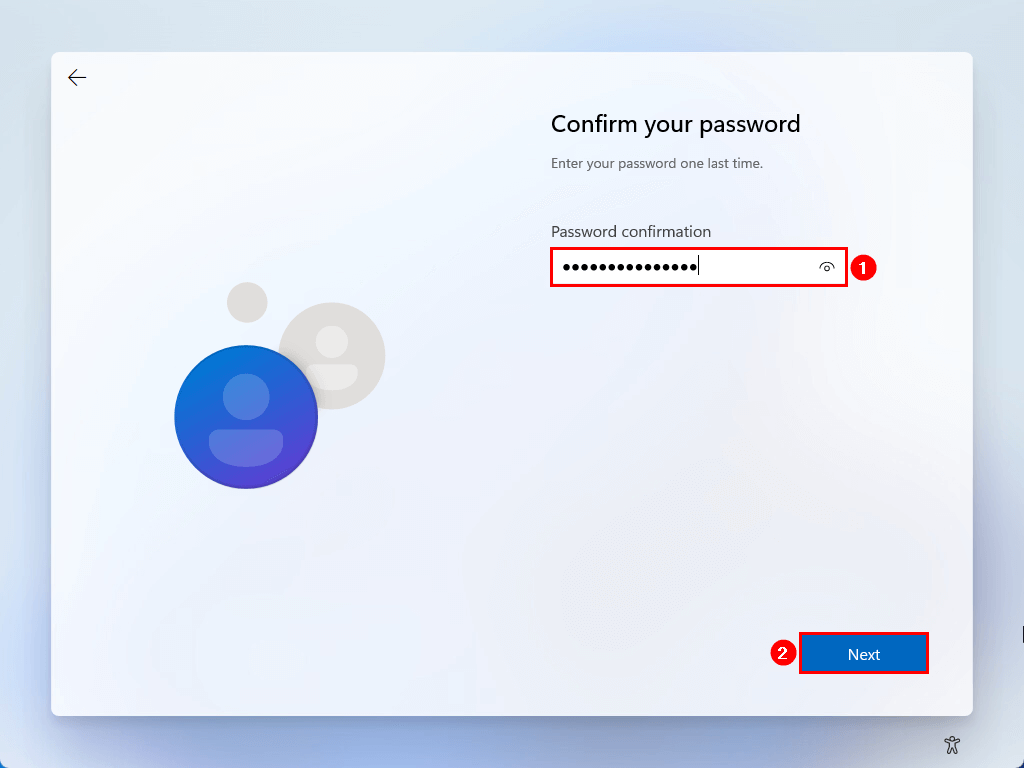
Confirm your password. Click Next.
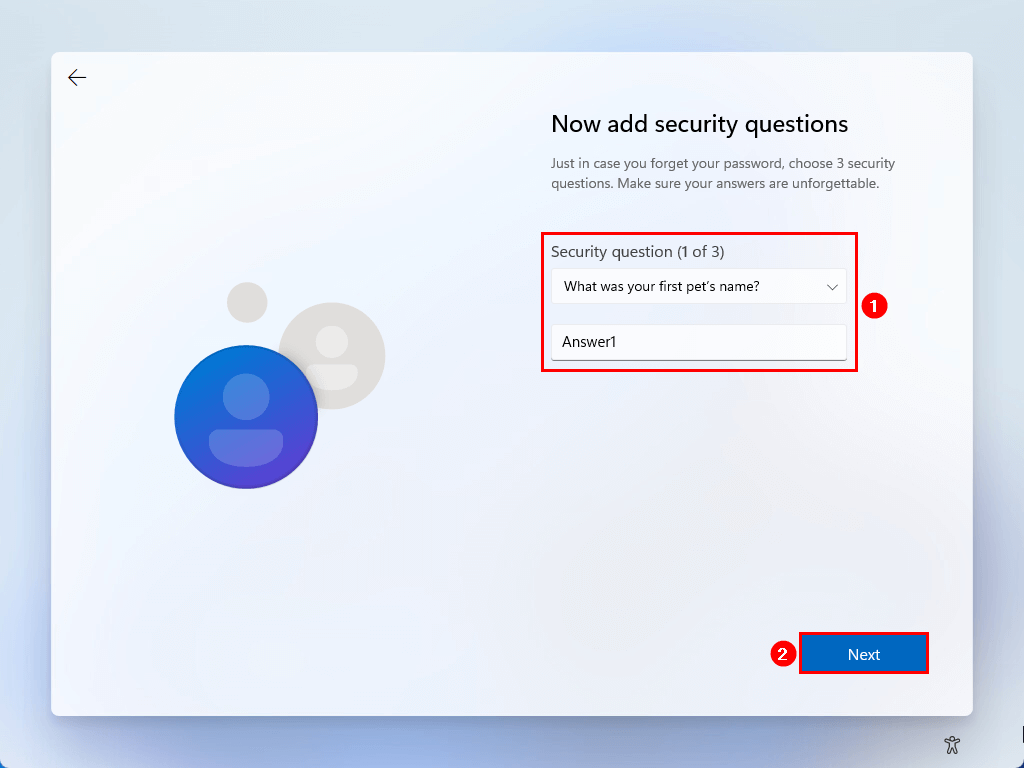
Select the first security question from the dropdown menu and add an answer. Click Next.
Select the second security question from the dropdown menu and add an answer. Click Next.

Select the third security question from the dropdown menu and add an answer. Click Next.

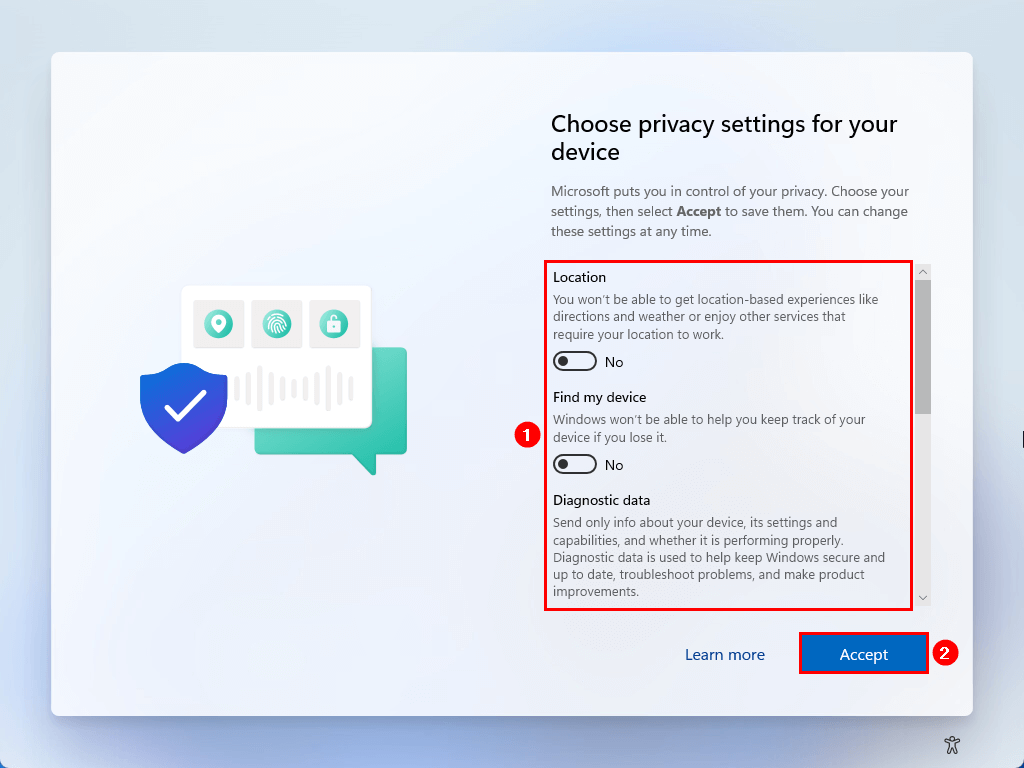
Choose your privacy settings for the device. In this example, we uncheck all checkboxes. Click Accept.
Windows 11 will initialize the last steps.

Windows 11 is almost there.

Windows 11 installation on Virtual Machine completed. But, there is no internet connection. Let’s install VMware Tools.
Install VMware Tools
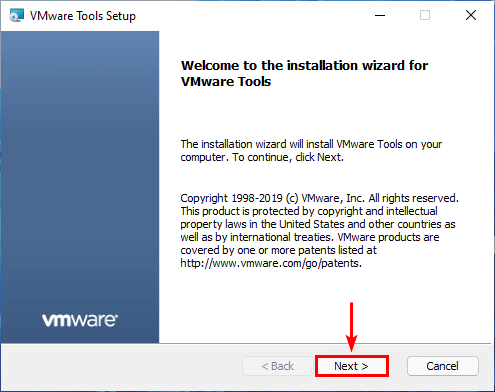
Mount the VMware Tools ISO and run the VMware Tools Setup. Click Next.
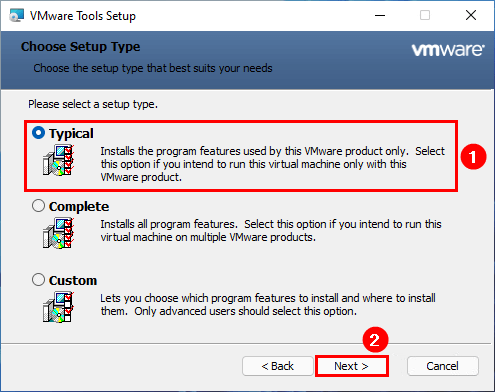
Choose setup type Typical. Click Next.
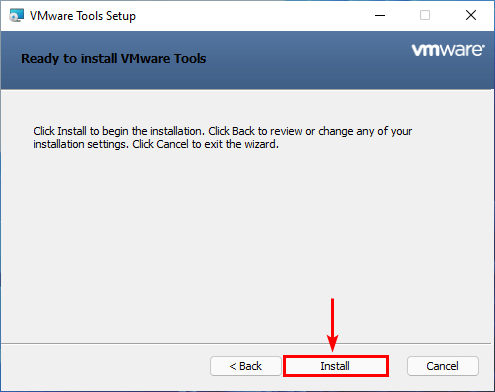
Click Install to start the VMware Tools installation.
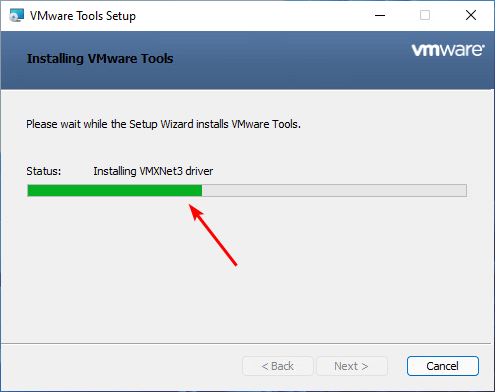
The Setup Wizard installs VMware Tools.
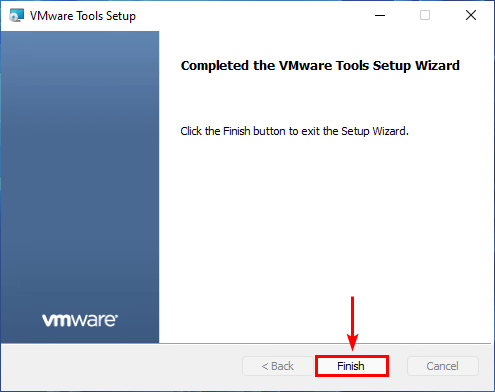
Vmware Tools Setup Wizard completed. Click Finish.
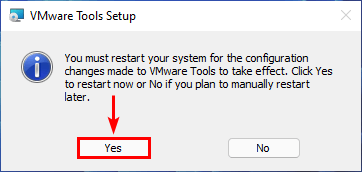
Restart the system for the configuration changes made to VMware Tools to take effect. Click Yes.
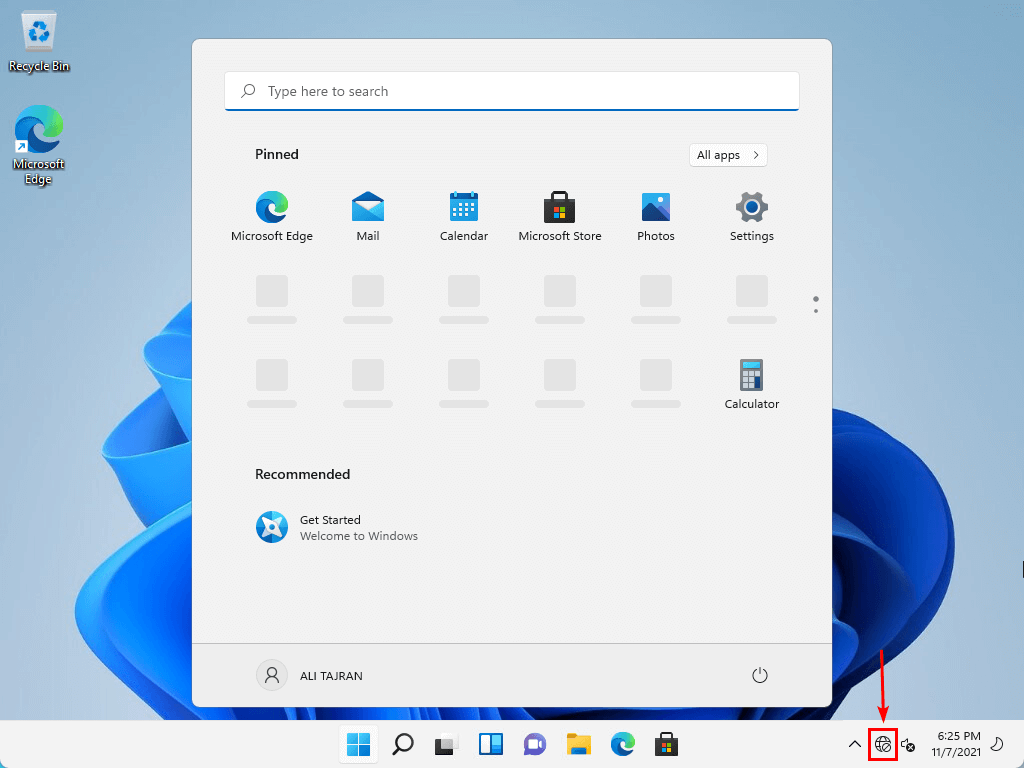
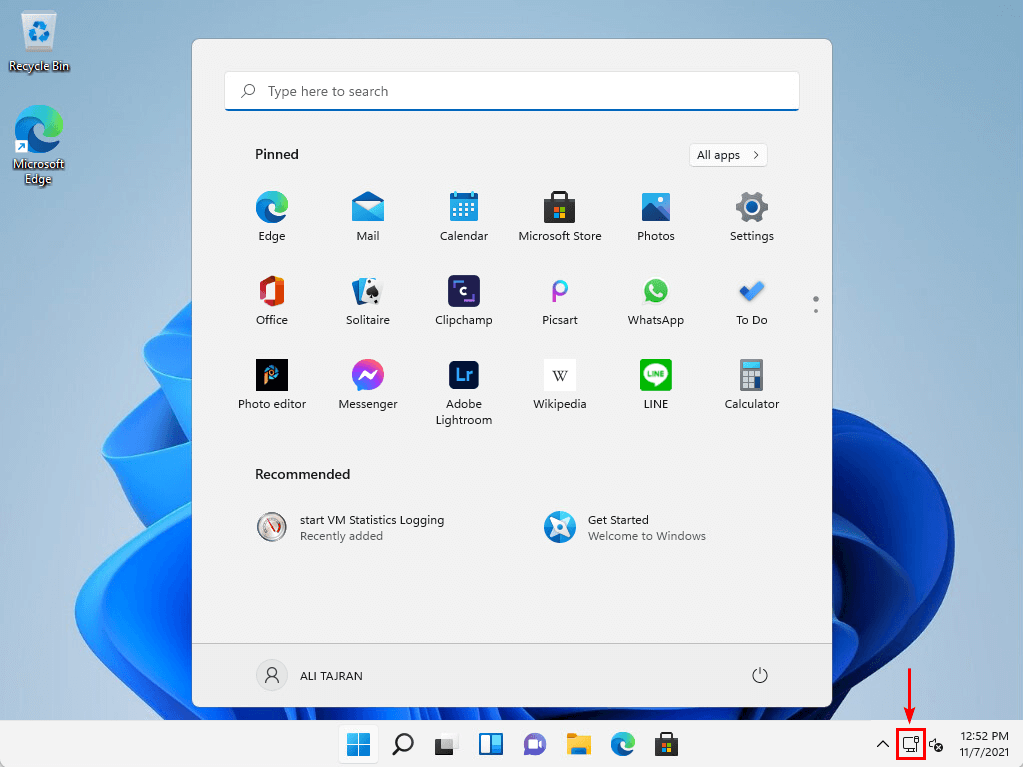
The icons start to show up in the applications section because the internet fetches the information.
You did successfully install Windows 11 on a VM. In this example, it was a Virtual Machine hosted on VMware ESXi.
Windows 11 post-installation configuration
Go through the Windows 11 post-installation configuration:
- Activate Windows
- Search for Windows Updates
- Configure a static IP address
- Join the Windows 11 computer to a domain
- Install a security product
Keep reading: Turn off Windows Defender in Windows 11 permanently »
Conclusion
You learned how to install Windows 11 on a Virtual Machine. The same steps will work on physical machines. Microsoft made the Windows 11 setup easy with two phases, which are collecting information and installing Windows. Remember to have a network connection to finalize the installation.
Did you enjoy this article? You may also like Convert thick provisioned disk to thin on VMware ESXi. Don’t forget to follow us and share this article.
This Post Has 0 Comments