There are no TLS settings configured on a new Windows Server install. Therefore, you must…
Install Windows Server on Virtual Machine
Microsoft Windows Server is a popular operating system running in almost every company. What if you want to install Windows Server in your home lab or an organization? Most of the time, you have a template that you can spin up within a few minutes. But sometimes, you need to install a new Windows Server manually.
In this article, you will learn how to install Windows Server 2019 on a Virtual Machine that’s running on VMware ESXi. The same steps will work if you want to install a different Windows Server version on another virtualization vendor or bare metal server.
Table of contents
Download Windows Server ISO file
Do you already have Windows Server on a USB stick or ISO file? You can skip this step. If you don’t, download Windows Server ISO by following the below steps:
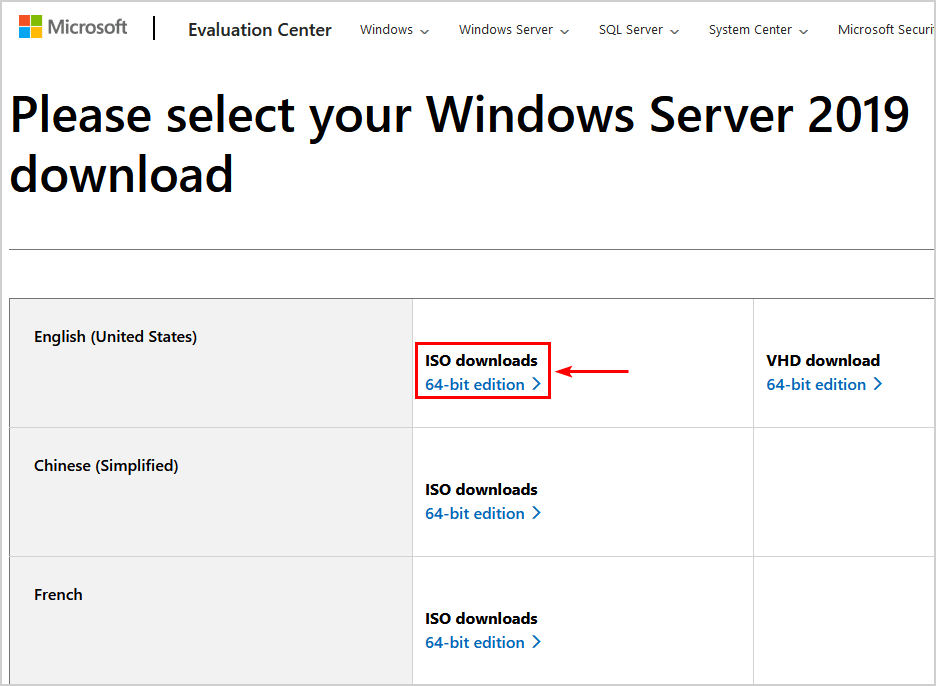
1. Download the Windows Server version from the Microsoft Evaluation Center:
2. Download the 64-bit edition in the language you want.
Note: We recommend downloading Windows Server English (United States) because it’s easier to troubleshoot when issues arise.
After the Windows Server ISO download finishes, we can go to the next step.
Mount Windows Server ISO
Connect the Windows Server ISO on the Virtual machine by following the steps:
1. Upload the Windows Server ISO to the datastore in VMware.
2. Create a new VM.
3. Edit the VM settings and connect the Windows Server ISO. Click on Save.
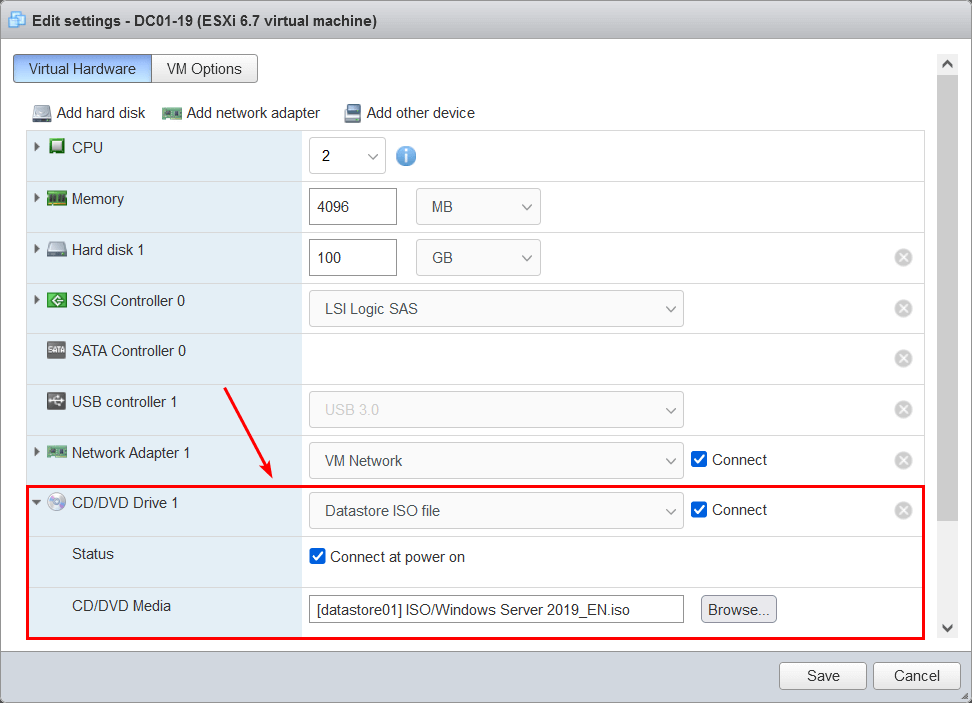
4. Boot the VM to start the Windows Server installation setup.
In the next step, we will install Windows Server on the Virtual Machine.
Install Windows Server
To install Windows Server, follow these steps:
1. When the VM is powered on, pay close attention, and press any key to boot from CD or DVD.

2. Windows is loading the installation setup.

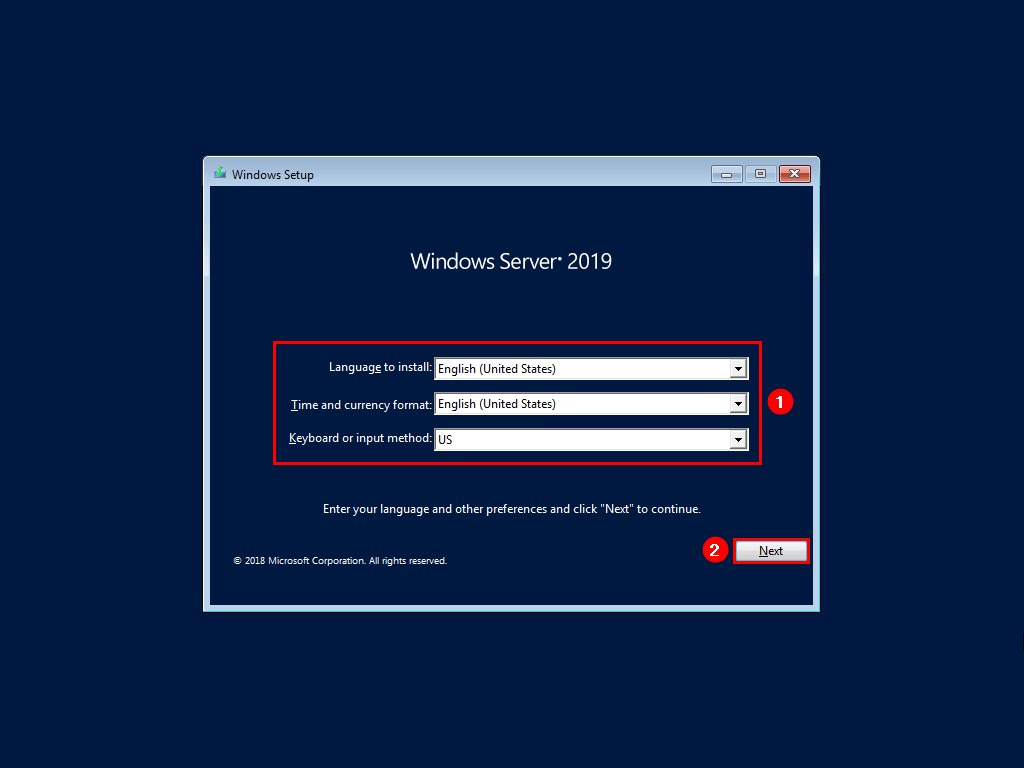
3. Select the preferences and click Next.
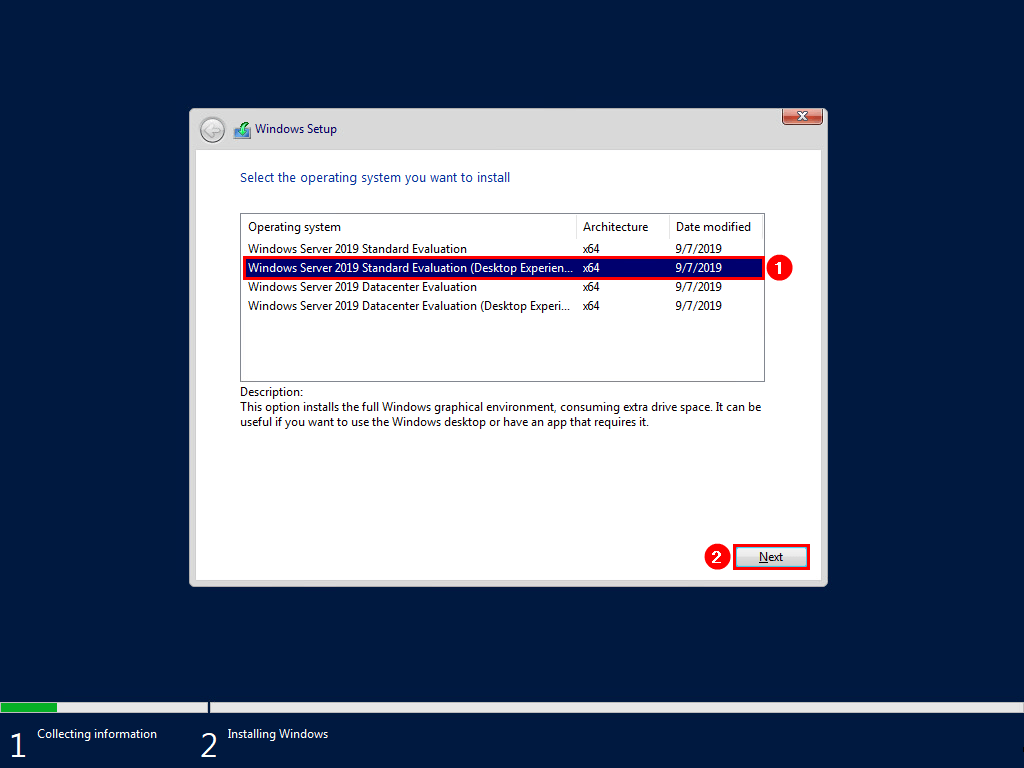
4. Select Windows Server 2019 Standard Evaluation (Desktop Experience). Click Next.
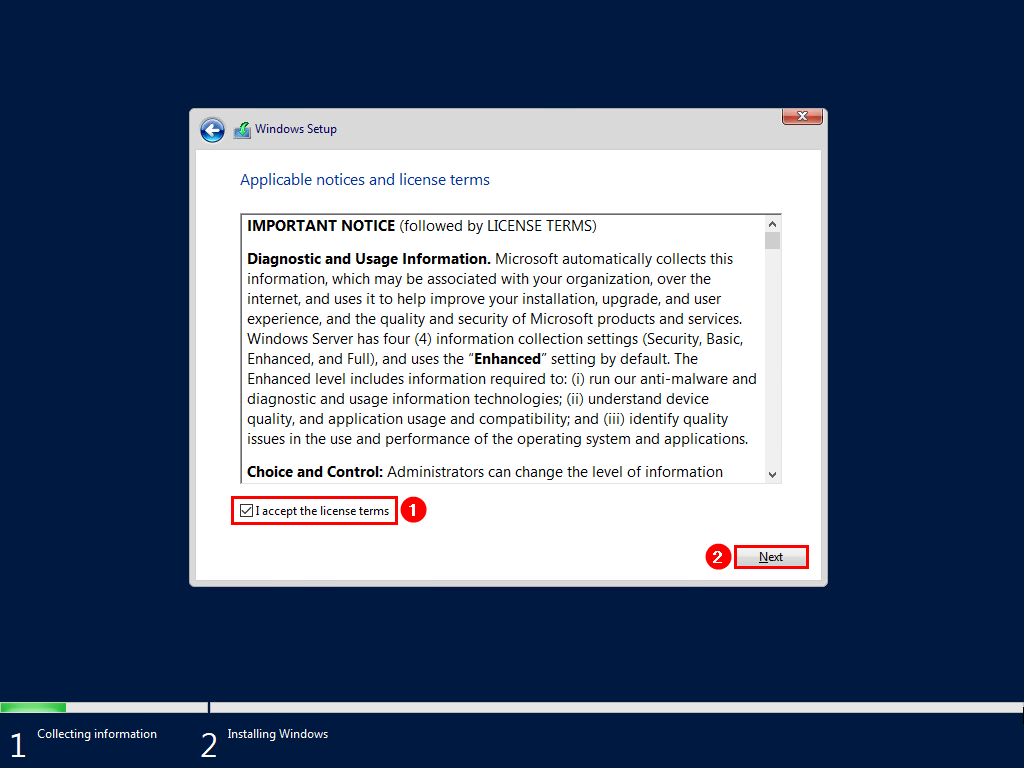
5. Accept the license terms and click Next.
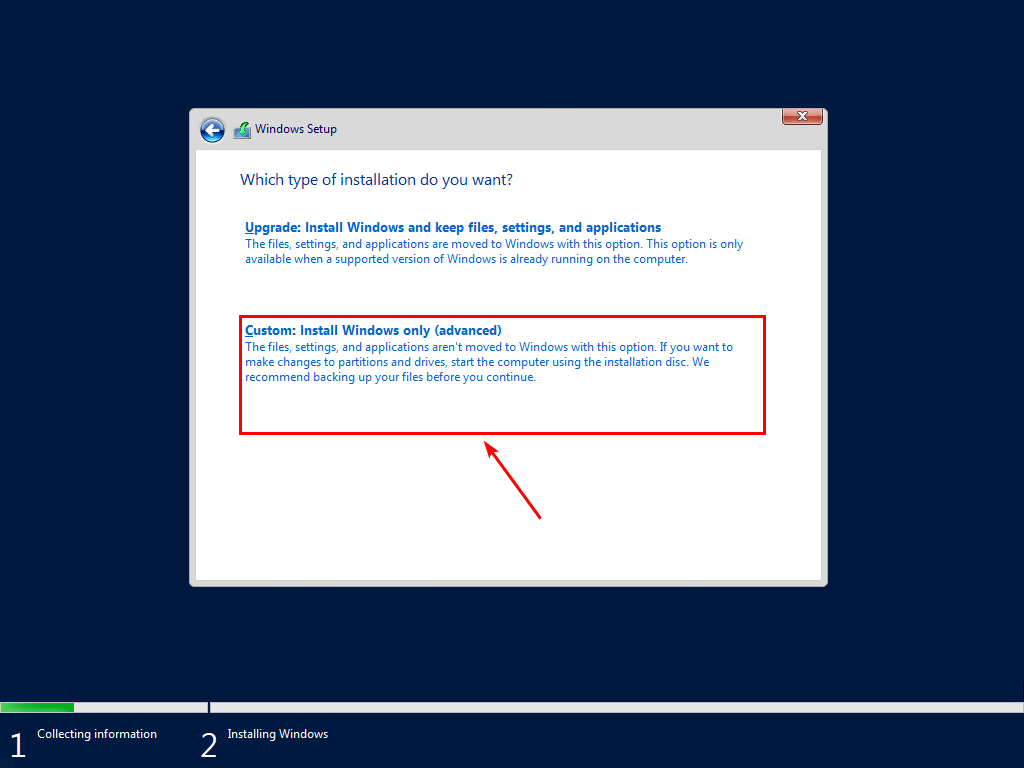
6. Click Custom: Install Windows only (advanced).
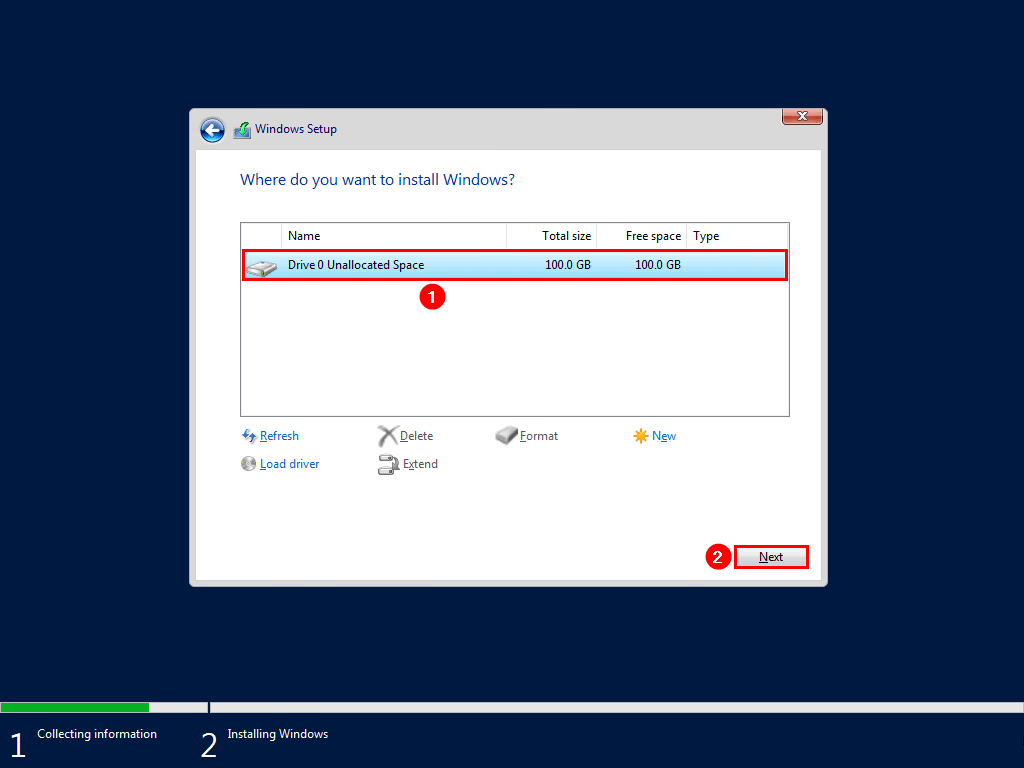
7. Click on the drive with Unallocated Space. Click Next.
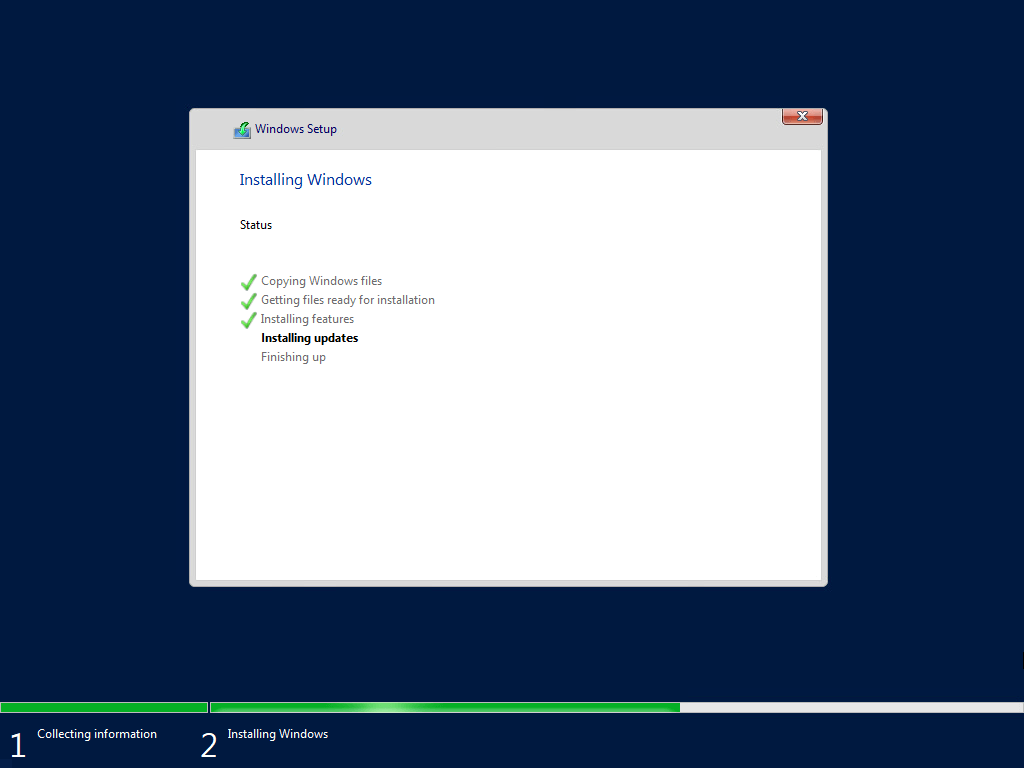
8. Windows Server installation will go through the steps:
- Copying Windows files
- Getting files ready for installation
- Installing features
- Installing updates
- Finishing up
9. Windows needs to restart to continue with the setup.
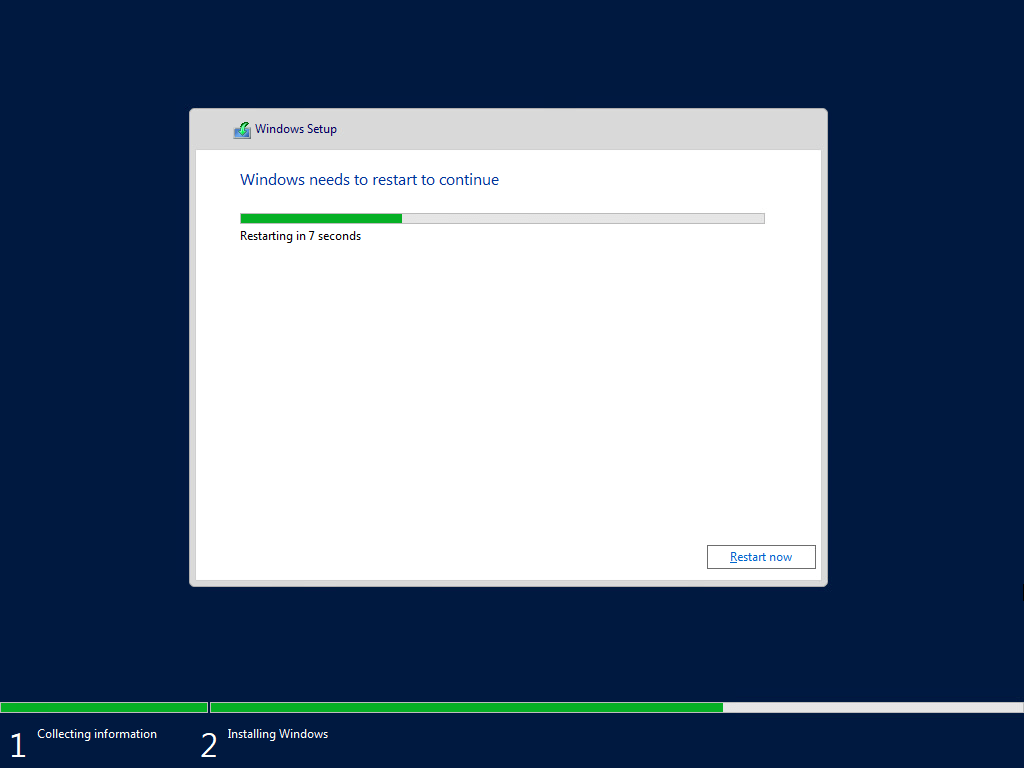
10. The Windows Server installation restarts several times and gets everything ready.

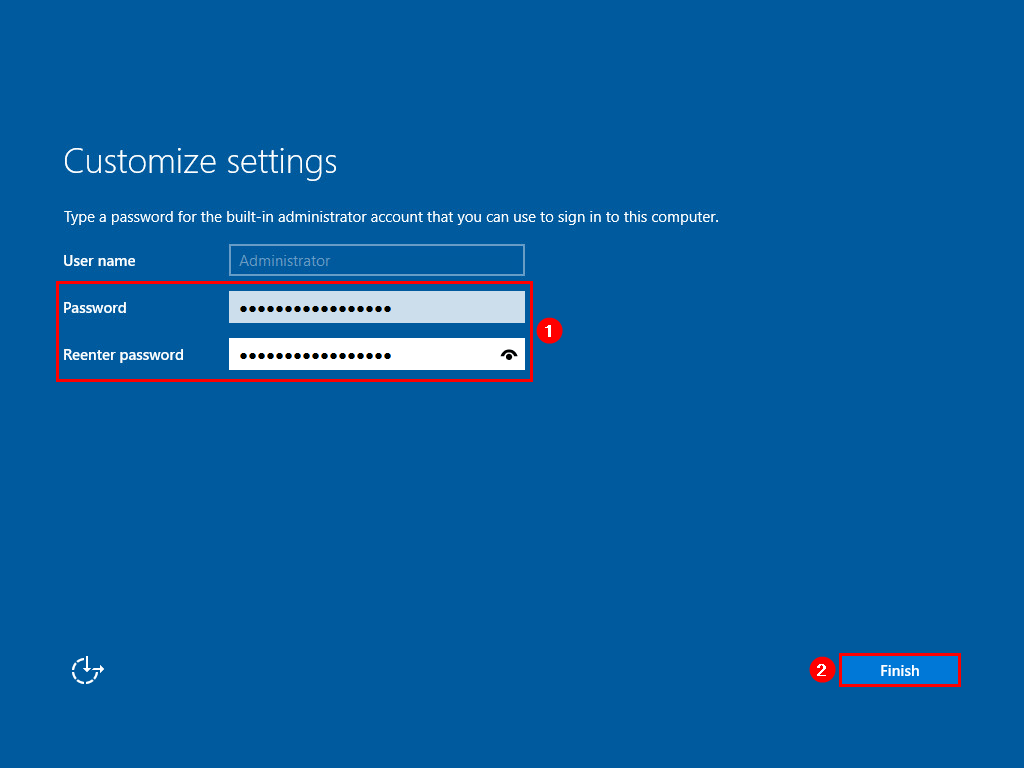
11. Fill in a password for the built-in administrator account. Click Finish.
Sign into Windows Server
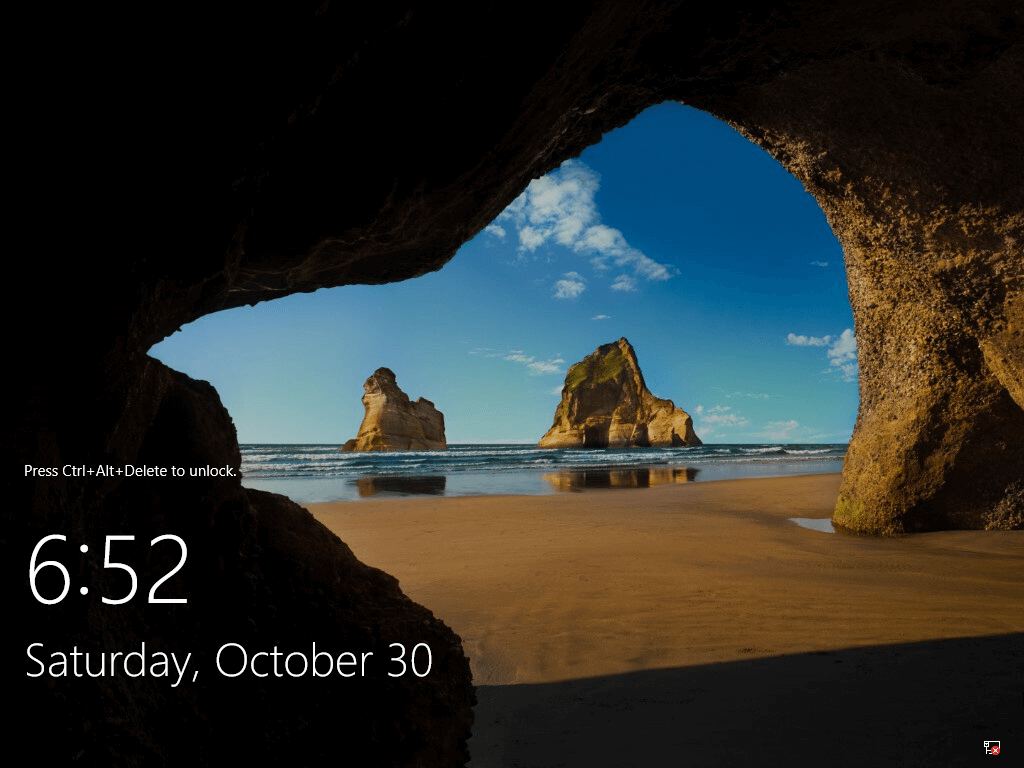
The Windows Start-up lock screen appears. Sign into Windows Server by going through the below steps:
1. Press Ctrl+Alt+Delete to unlock.
2. Fill in the administrator password, which you did enter in the previous step.
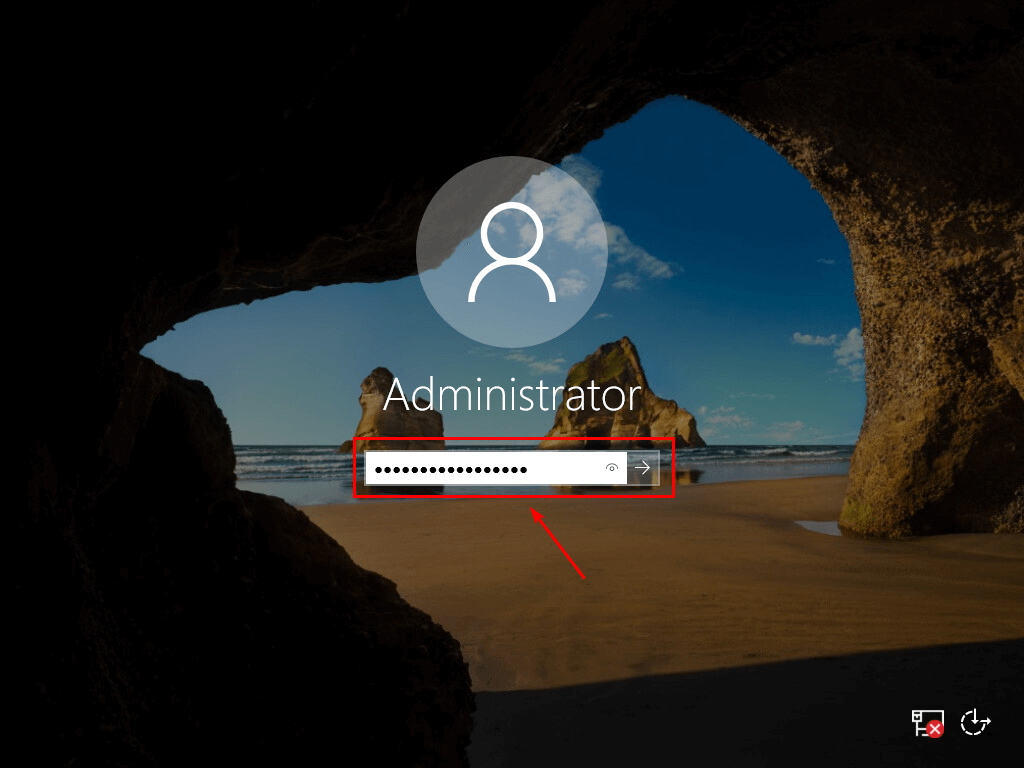
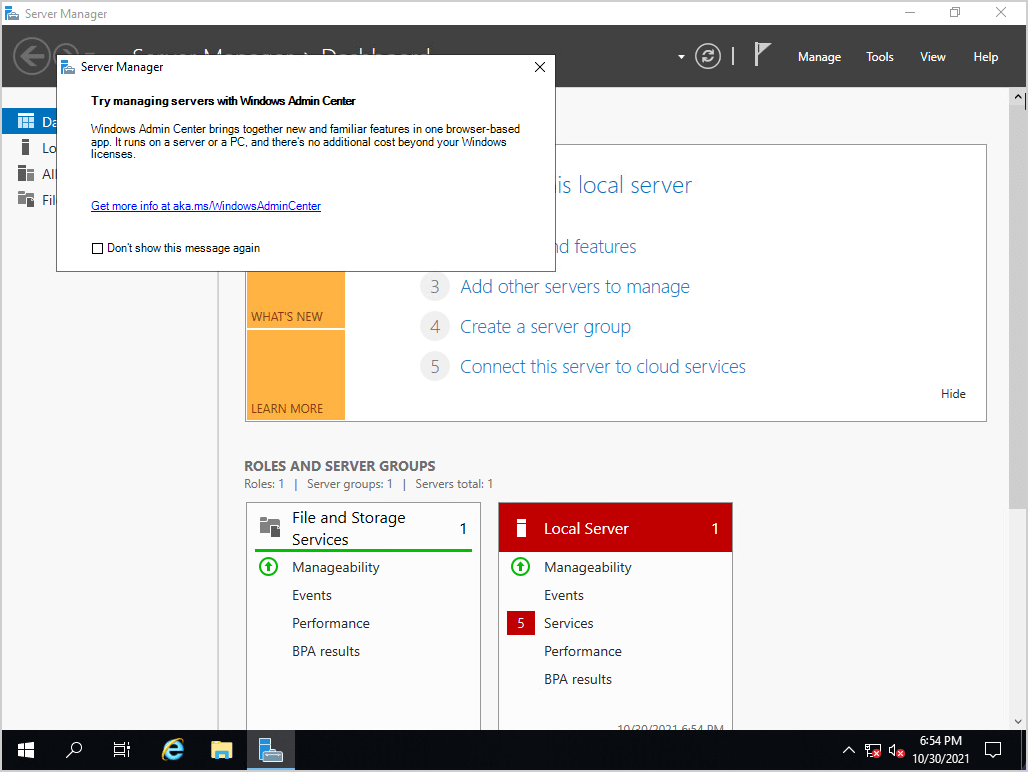
3. Server Manager starts automatically after signing in.
Windows Server is installed successfully on the Virtual Machine.
After installing Windows Server, you need to go through the Windows Server post-installation configuration.
Conclusion
You learned how to install Windows Server on a Virtual Machine. The same steps will work on physical servers. Microsoft made the Windows Server setup easy with two phases: collecting information and installing Windows.
Did you enjoy this article? You may also like Convert thick provisioned disk to thin on VMware ESXi. Don’t forget to follow us and share this article.
This Post Has 0 Comments