You want to synchronize your on-premises users with Office 365. Before you do that, ensure…
Setup SPF record for Exchange Server
After installing Exchange Server, it’s important to setup SPF record for Exchange Server. SPF stands for Sender Policy Framework. The SPF record allows a domain to specify which mail servers are permitted to send email for that domain name. If you don’t have an SPF record configured, you’re asking for problems. Your email may not arrive at the recipient or get in the JUNK folder. It’s not smart to ignore the SPF record. In this article, you will learn how to configure SPF record for Exchange Server.
Table of contents
What is Sender Policy Framework (SPF)?
SPF is a protocol that helps to reduce spam via email. An SPF record is set in the DNS zone of the domain name. Receiving mail servers can check for the presence of an SPF record. This check verifies that the server from which an email is being sent has permission to do so. The server that has permission to send emails on behalf of the domain name is listed in the SPF record.
Check if there is an SPF record configured
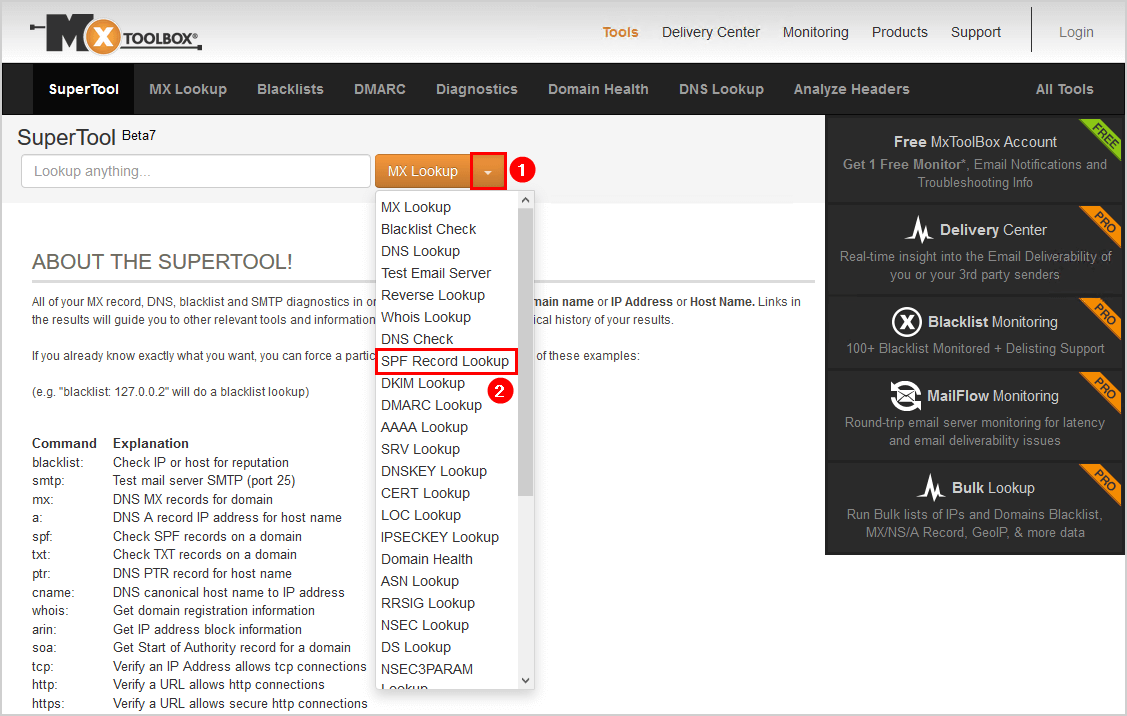
Go to the website MxToolbox SuperTool or go to MxToolbox and select SuperTool in the menu. Both ways will get you where you need to be, and that’s to check the SPF record. Select SPF Record Lookup from the dropdown menu.
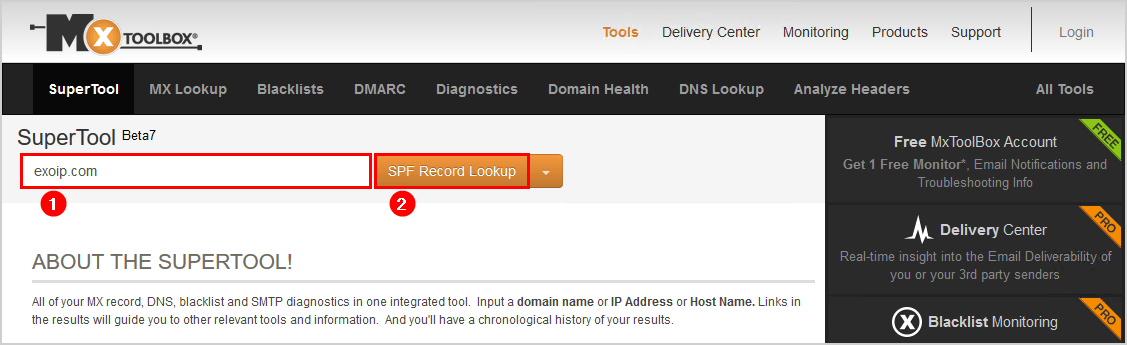
Fill in the domain that you like to check for. Click SPF Record Lookup to start searching.
The result shows that there is no SPF Record found.
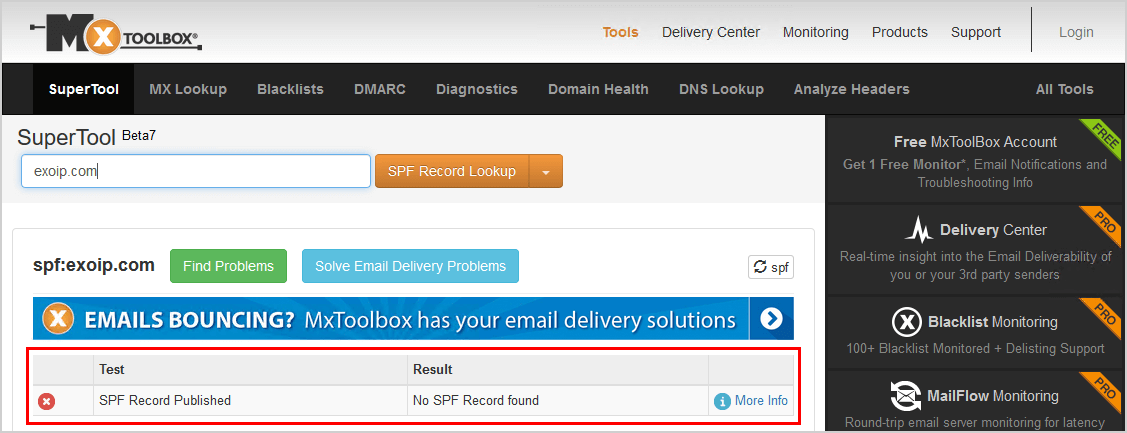
Sometimes an SPF record is already configured when you buy a domain. In the next steps, you will generate an SPF record and configure it in the Public (External) DNS.
SPF Record generator
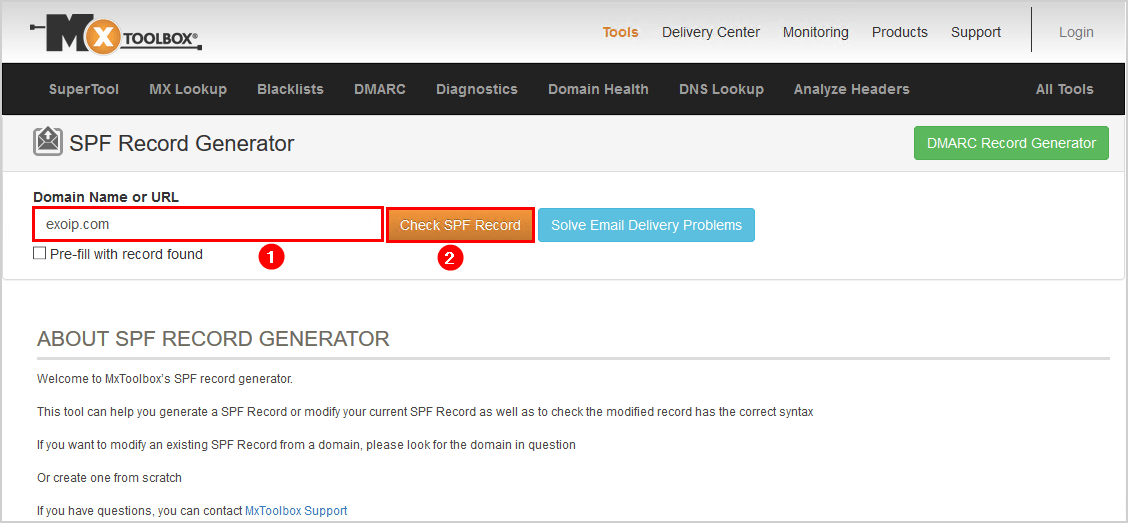
There are websites that you can use to create an SPF record. We are going to use the MxToolbox SPF Record Generator.
Fill in the domain and click Check SPF Record.
After checking the SPF record, the SPF wizard will show up. Answer the questions in the SPF Wizard. In my example, the webserver exoip.com is not sending any email. We are only going to send email from the same server that is configured in the MX records. Select the SPF policy strict. Strict means that when an email message is sent from a server that does not have permission, the message is rejected. The sender will receive a bounce message.
The suggested record will automatically populate down below the wizard. Copy the value. In my example, the value is v=spf1 mx -all.
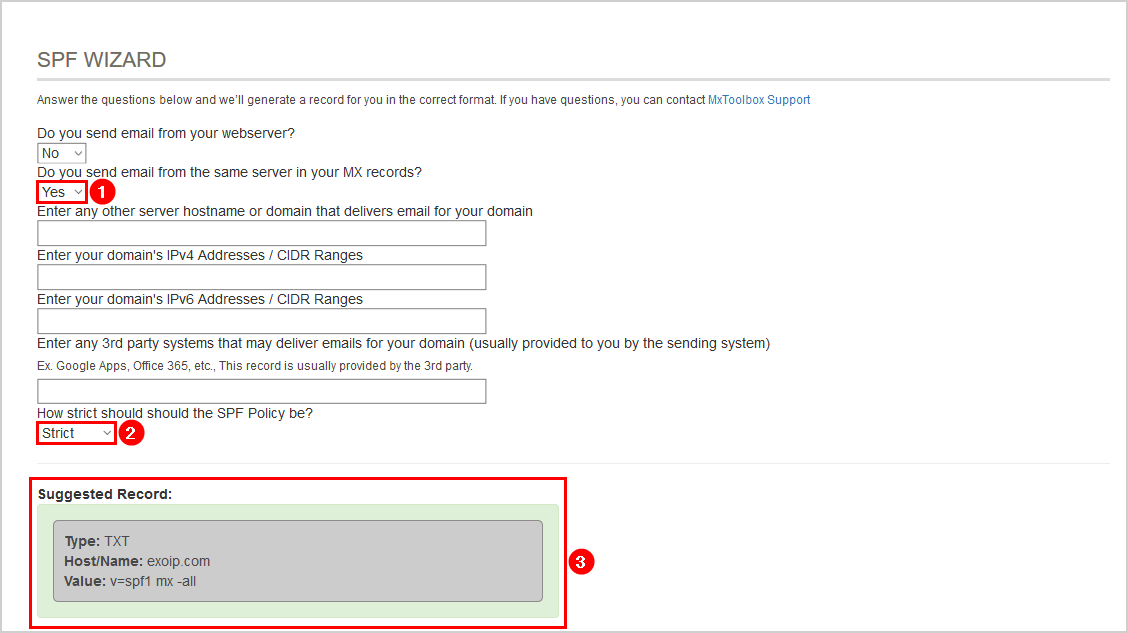
In the next step, you will configure the SPF value as a type TXT in public DNS.
Add the SPF record to your public DNS
Sign in to the public DNS and go to the domain you have configured in Exchange. Add the type TXT and paste the value you copied from the suggested record in MxToolbox. Make sure to apply the changes.
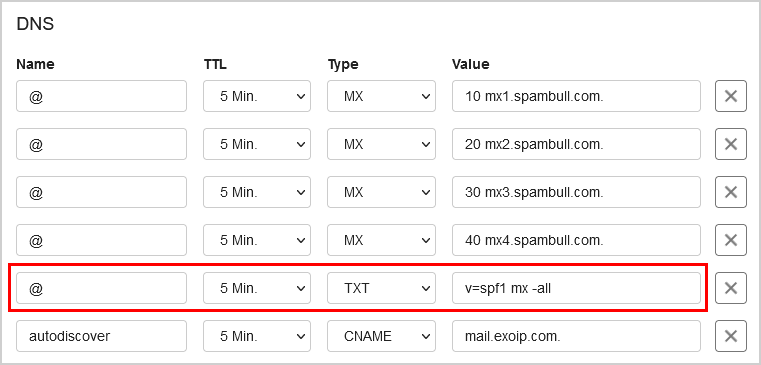
Note: We configure the SpamBull.com spam filter on all our environments. A cloud-based spam filter that protects the organization from sending and receiving spam messages.
Verify SPF record
Before you check the SPF record, it’s good to know that it can take up to 24 hours before the changes take effect and are visible.
Go to the MxToolbox SuperTool and type the domain name. Select SPF Record Lookup from the dropdown menu. Click SPF Record Lookup to start the search.
It shows the SPF record that is configured in the Public DNS with a green background. If it’s not green or not showing the record that you configured, something is wrong, and you should look into it.
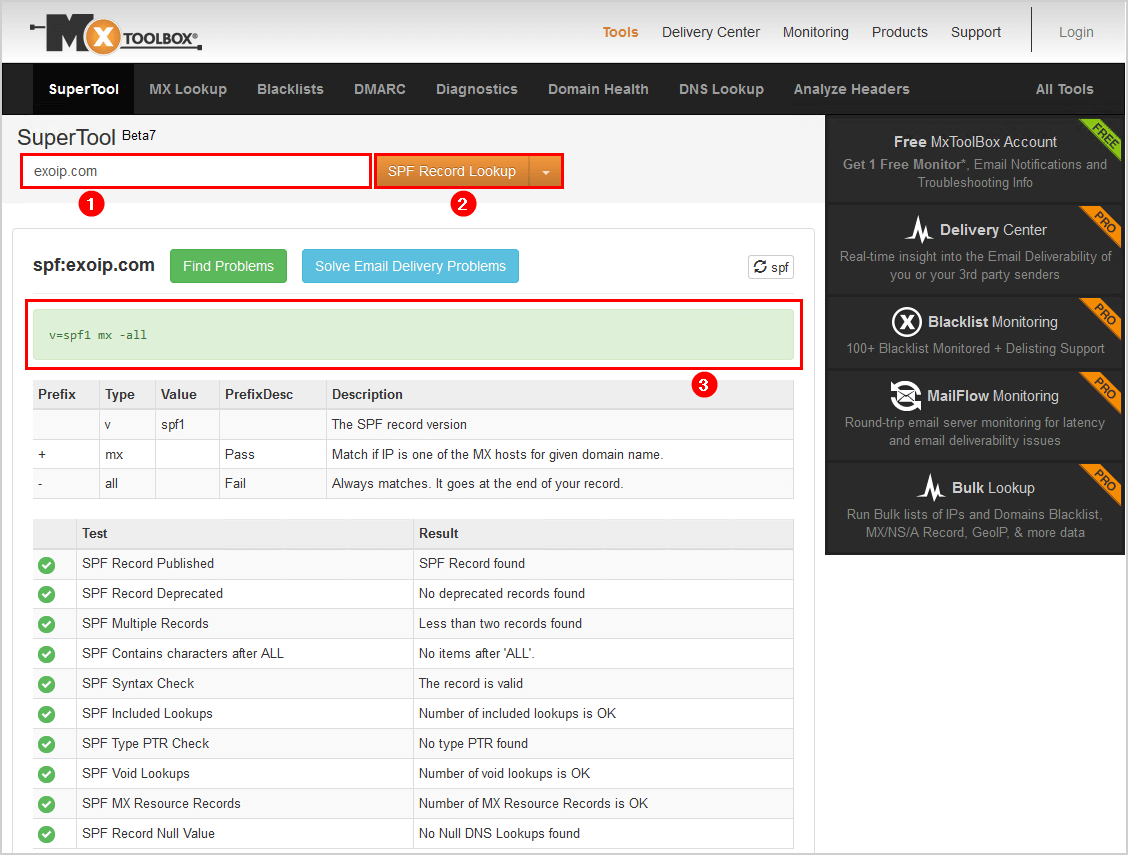
The next time an email is being sent, it will pass the SPF check. The SPF is configured that the server is assigned to send the email.
Always setup SPF record
Even if you do not use your domain name to send emails, it is advisable to set an SPF record. You can set the SPF record that no server has permission to send emails from the domain name. In that case, the record will look like v=spf1 -all. The domain will not send an email from that time.
Conclusion
You learned how to setup SPF record for Exchange Server. It’s important to create an SPF record for each domain configured in Exchange Server. To generate an SPF record, use MxToolbox SPF Record Generator. Use the MxToolbox SuperTool to check and verify the SPF record. Don’t forget to always configure an SPF record, even if you don’t use the domain name to send emails.
Did you enjoy this article? You may also like Check Let’s Encrypt certificate status. Don’t forget to follow us and share this article.
What Others Are Reading


This Post Has 0 Comments