Are you following the course Exchange Hybrid? You know that the Exchange Hybrid firewall ports…
Create bulk mailboxes in Exchange Server with PowerShell
In a previous article, we installed Exchange Server. It’s the first Exchange Server in the organization, which means that there are no mailboxes configured. Therefore, we need to create mailboxes for the existing users in the AD. In this article, you will learn how to create bulk mailboxes in Exchange Server with PowerShell.
Table of contents
Empty mailboxes area
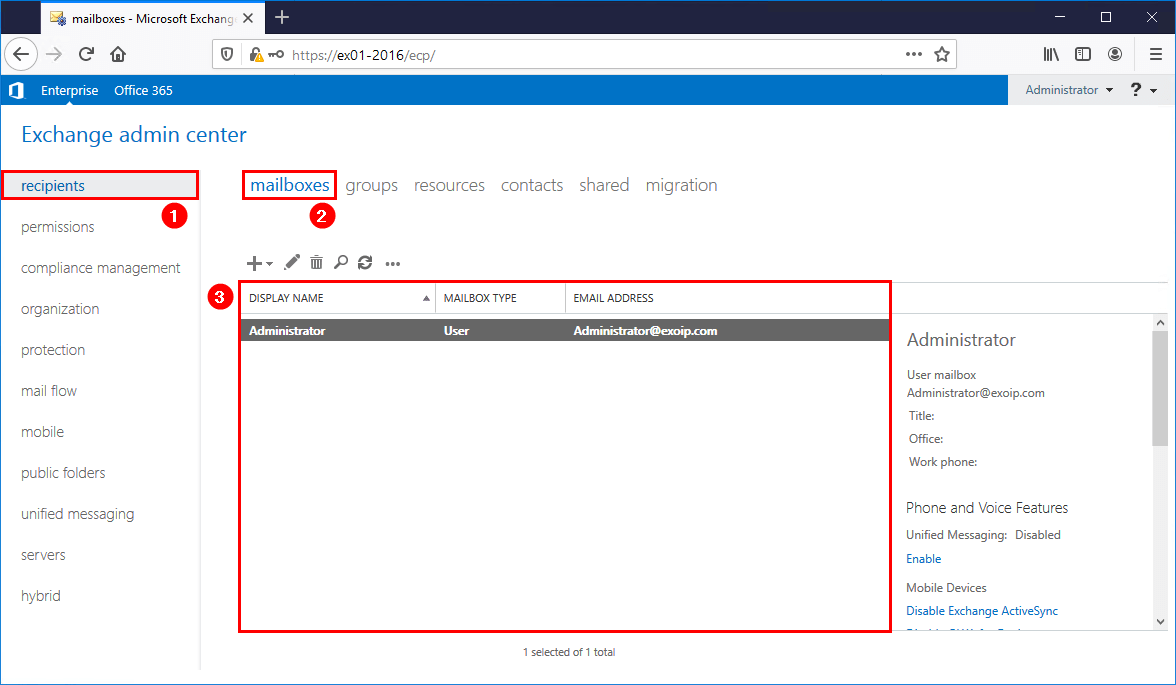
After installing Exchange Server, we like to look at the mailboxes area. Sign in to Exchange Admin Center, and navigate to recipients > mailboxes.
The mailboxes area is almost empty, except for one mailbox that appears. That’s the account that we used for installing Exchange Server.
We can create mailboxes in Exchange Admin Center by clicking the + icon and following the wizard. For a couple of users, that would be great. What if you have more than a thousand users? The answer is to bulk create mailboxes in Exchange Server with PowerShell.
Create mailbox for existing user
Run Exchange Management Shell as administrator. Verify that the user is in AD with the Get-User cmdlet.
Get-User -Identity "Sebastian Lambert"The output appears.
Name              RecipientType
----              -------------
Sebastian Lambert User
After that, use the Enable-Mailbox cmdlet to create a mailbox for the user in AD. If you have multiple databases, it will automatically find a healthy database and create the mailbox.
Get-User "Sebastian Lambert" | Enable-MailboxIt will show that the mailbox is created.
Name Alias ServerName ProhibitSendQuota
---- ----- ---------- -----------------
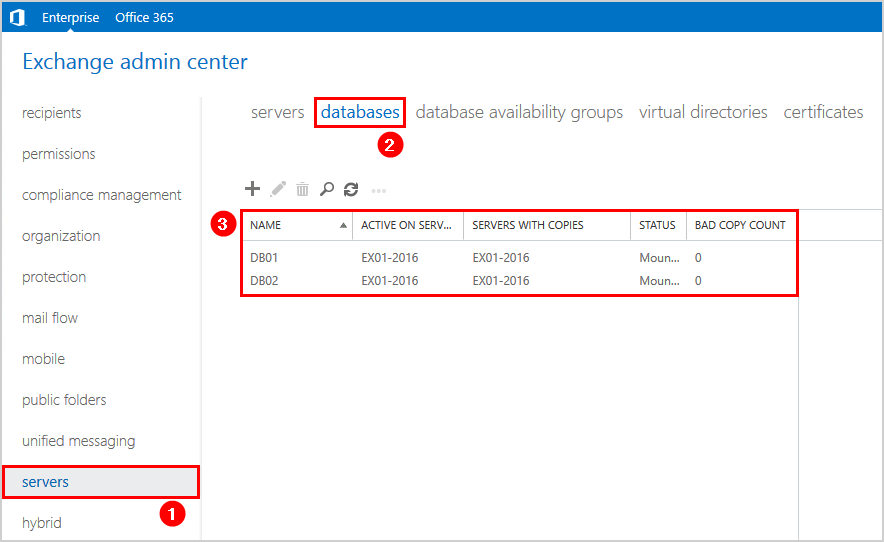
Sebastian Lambert Sebastian.Lambert ex01-2016 UnlimitedWe like to create a mailbox for an existing user in AD, but the mailbox needs to be created in a specific database. In our organization, we have two databases configured in Exchange.
Let’s create a new mailbox for the existing user in DB02. We are going to make use of the -Database parameter.
Get-User -Identity "Jasmine Turner" | Enable-Mailbox -Database "DB02"The mailbox is successfully created.
Name Alias ServerName ProhibitSendQuota
---- ----- ---------- -----------------
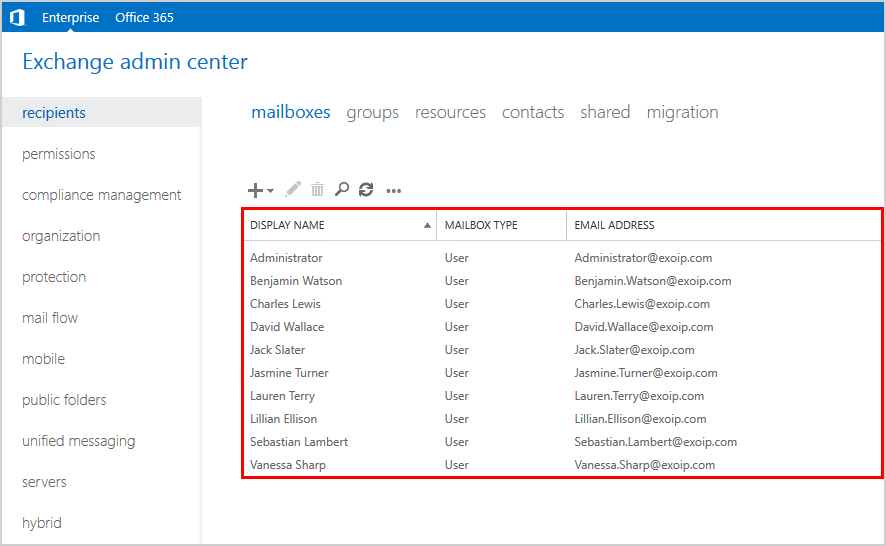
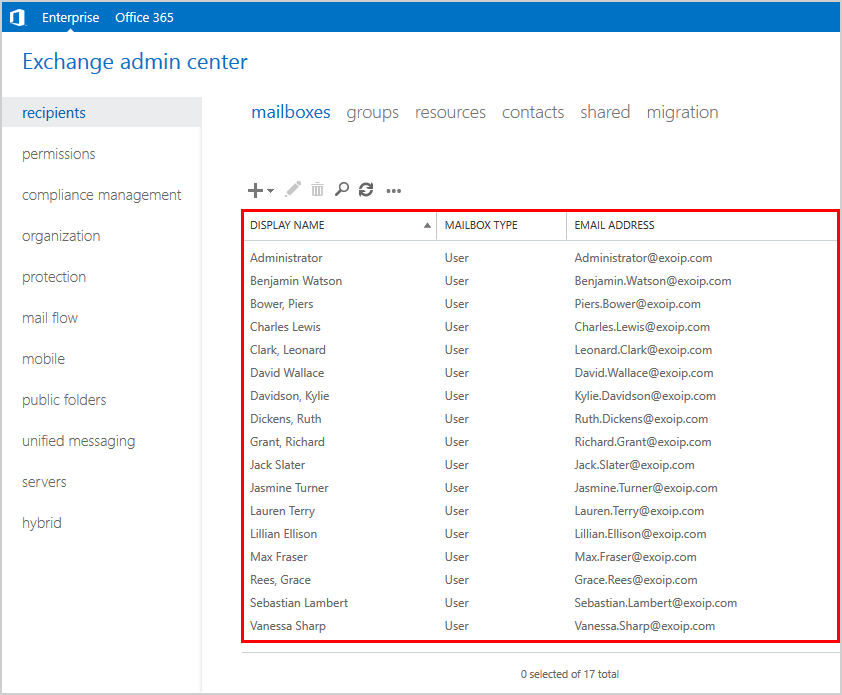
Jasmine Turner Jasmine.Turner ex01-2016 UnlimitedHave a look at EAC in the mailboxes area. Click the refresh icon, and two new mailboxes show up.

What if we need to enable a thousand mailboxes for existing users in AD? Let’s look at that in the next step.
Create bulk mailboxes for existing users
We like to bulk create mailboxes for existing users based on OU. The users in the OU Finance are going to need a mailbox. First, let’s find the distinguished name of the Organizational Unit with PowerShell.
Get-ADOrganizationalUnit -Properties CanonicalName -Filter * | Sort-Object CanonicalName | Format-Table CanonicalName, DistinguishedNameThe output appears.
CanonicalName                                    DistinguishedName
-------------                                    -----------------
exoip.local/Company                              OU=Company,DC=exoip,DC=local
exoip.local/Company/Exchange                     OU=Exchange,OU=Company,DC=exoip,DC=local
exoip.local/Company/Exchange/Distribution Groups OU=Distribution Groups,OU=Exchange,OU=Company,DC=exoip,DC=local
exoip.local/Company/Exchange/Security Groups     OU=Security Groups,OU=Exchange,OU=Company,DC=exoip,DC=local
exoip.local/Company/Exchange/SharedMailbox       OU=SharedMailbox,OU=Exchange,OU=Company,DC=exoip,DC=local
exoip.local/Company/Groups                       OU=Groups,OU=Company,DC=exoip,DC=local
exoip.local/Company/Servers                      OU=Servers,OU=Company,DC=exoip,DC=local
exoip.local/Company/Servers/Exchange             OU=Exchange,OU=Servers,OU=Company,DC=exoip,DC=local
exoip.local/Company/Users                        OU=Users,OU=Company,DC=exoip,DC=local
exoip.local/Company/Users/Finance                OU=Finance,OU=Users,OU=Company,DC=exoip,DC=local
exoip.local/Company/Users/HR                     OU=HR,OU=Users,OU=Company,DC=exoip,DC=local
exoip.local/Company/Users/IT                     OU=IT,OU=Users,OU=Company,DC=exoip,DC=local
exoip.local/Company/Users/Sales                  OU=Sales,OU=Users,OU=Company,DC=exoip,DC=local
exoip.local/Domain Controllers                   OU=Domain Controllers,DC=exoip,DC=local
exoip.local/Microsoft Exchange Security Groups   OU=Microsoft Exchange Security Groups,DC=exoip,DC=local
Copy the Distinguished Name value and paste it into the next command.
Get-User -OrganizationalUnit "OU=Finance,OU=Users,OU=Company,DC=exoip,DC=local"Verify that the users appear in the output.
Name            RecipientType
----            -------------
Jack Slater     User
David Wallace   User
Lillian Ellison User
Benjamin Watson User
Charles Lewis   User
Vanessa Sharp   User
Lauren Terry    User
After that, enable the mailbox for the users in the OU Finance.
Get-User -OrganizationalUnit "OU=Finance,OU=Users,OU=Company,DC=exoip,DC=local" | Enable-MailboxThe output appears.
Name                      Alias                ServerName       ProhibitSendQuota
----                      -----                ----------       -----------------
Jack Slater               Jack.Slater          ex01-2016        Unlimited
David Wallace             David.Wallace        ex01-2016        Unlimited
Lillian Ellison           Lillian.Ellison      ex01-2016        Unlimited
Benjamin Watson           Benjamin.Watson      ex01-2016        Unlimited
Charles Lewis             Charles.Lewis        ex01-2016        Unlimited
Vanessa Sharp             Vanessa.Sharp        ex01-2016        Unlimited
Lauren Terry              Lauren.Terry         ex01-2016        Unlimited
The mailboxes for the users in OU Finance are created, that’s great. We are going to confirm that in EAC by clicking the refresh icon.
Create bulk mailboxes from text file
What if you like to bulk create mailboxes for selected users? Let’s say that only seven users of the IT OU need to get a mailbox, but the IT department contains fifty users.
First, let’s get a list of users in the OU (in our example, we will only output ten users).
Get-ADUser -ResultSetSize $Null -Filter * -SearchBase "OU=IT,OU=Users,OU=Company,DC=exoip,DC=local" | Select-Object -ExpandProperty NameThe output appears.
Amy Pullman
Deirdre Gray
Kevin Glover
Ryan Carr
Sam MacDonald
Katherine Peters
Irene Alsop
Faith Dowd
Stephanie Underwood
Amanda Clarkson
After that, export the AD users from the given OU to a text file.
Get-ADUser -ResultSetSize $Null -filter * -SearchBase "OU=IT,OU=Users,OU=Company,DC=exoip,DC=local" | Select-Object -ExpandProperty Name | Out-File "C:\export_users.txt" -Encoding UTF8Find the text file in the exported path. The text file contains, in our example, 50 users.
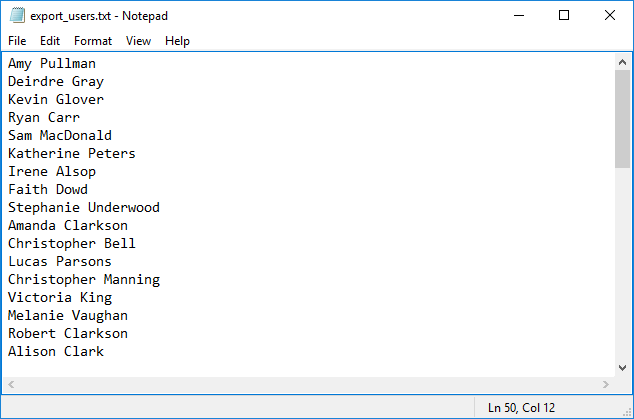
Edit the list by removing or adding extra users to it. Now, it contains seven users. Save the text file as import_users in the (C:) drive.
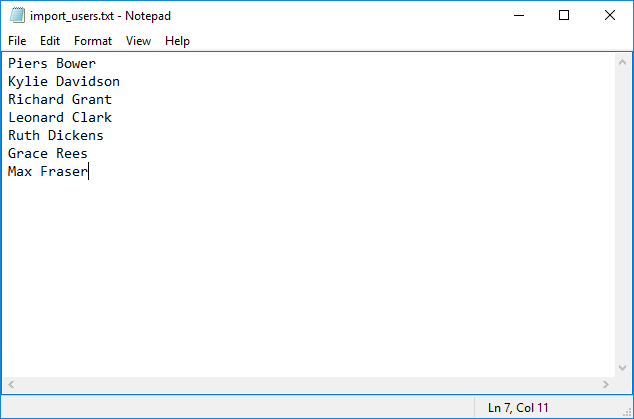
Now, let’s bulk create mailboxes for the users from the text file.
Get-Content "C:\import_users.txt" | Enable-MailboxThe output shows that the mailboxes from the text file are created.
Name                      Alias                ServerName       ProhibitSendQuota
----                      -----                ----------       -----------------
Piers Bower               Piers.Bower          ex01-2016        Unlimited
Kylie Davidson            Kylie.Davidson       ex01-2016        Unlimited
Richard Grant             Richard.Grant        ex01-2016        Unlimited
Leonard Clark             Leonard.Clark        ex01-2016        Unlimited
Ruth Dickens              Ruth.dickens         ex01-2016        Unlimited
Grace Rees                Grace.Rees           ex01-2016        Unlimited
Max Fraser                Max.Fraser           ex01-2016        Unlimited
Let’s have a look at EAC. Click the refresh icon.
The mailboxes are showing in EAC. I hope that this helped you to bulk create new mailboxes for existing users in AD. It’s faster when you do it with PowerShell.
Keep reading: Bulk move AD users to another OU with PowerShell »
Conclusion
You learned how to create bulk mailboxes in Exchange Server with PowerShell. If there is a small group that you need to create a mailbox for, you can do it in Exchange Admin Center (EAC). On the other hand, if you have many users who need a mailbox, bulk create new mailboxes with PowerShell to save time.
Did you enjoy this article? You may also like Bulk create Office 365 mailboxes in Exchange Hybrid. Don’t forget to follow us and share this article.
What Others Are Reading
Fabulous article !
I just created 54 bulk AD accounts (using another article from Ali Tajran) + 54 mailbox accounts in less than 1 minute !
THANK YOU !
I have been able to accomplish a lot through this article – something that could have taken much of my time to accomplish.
Thank you and good job.
Keep it up!
Como resetar contas do user pelo powershell?
Hi Ali,
Do you have something for Bulk mailbox creations and enabling Litigation hold for all these bulk creations in an Exchange Hybrid?
Hello
I tried it but wrong with pipeline
thanks for the script
I found this tutorial very helpful and easy to understand. Great tutorial !