Install Exchange Server step by step on Windows Server. Before you start installing Exchange Server,…
Install Exchange Server with GUI step by step
Install Exchange Server with GUI step by step on Windows Server. Before installing Exchange Server, make sure to install Exchange Server prerequisites first. You don’t have to prepare Active Directory and domains for Exchange Server, as the setup wizard will do it automatically. After that, you are ready to install Exchange Server.
Table of contents
- Before installing Exchange Server
- Download Exchange Server
- Install Exchange Server with GUI (setup wizard)
- 1. Mount Exchange Server ISO
- 2. Run Exchange Server setup
- 3. Check for updates
- 4. Copying files
- 5. Introduction
- 6. License agreement
- 7. Recommended settings
- 8. Server role selection
- 9. Installation space and location
- 10. Exchange organization
- 11. Malware protection settings
- 12. Readiness checks
- 13. Setup progress
- 14. Monitor setup progress
- 15. Setup completed
- Sign in to Exchange Admin Center (EAC)
- Conclusion
Before installing Exchange Server
There are two options for installing Exchange Server:
- Install Exchange Mailbox server using the setup wizard (this article)
- Install Exchange Mailbox server using unattended mode
The Exchange setup wizard will guide you to install Exchange Server with GUI. The Exchange unattended mode will install Exchange Server with the command line.
Before starting to install Exchange Server on Windows Server, make sure that the following is configured:
- Server name
- Fixed IP address
- Joined to the domain
- Prerequisites installed on the server
- Account needs to be a member of the Schema Admins and Enterprise Admins security groups*
*Open Active Directory and add both groups to your account if it’s not set already. These are high privilege groups. We recommend removing your account from the groups when you’re done with this task.
Note: If you’ve just added yourself to these groups, you’ll need to log out and back into the server for the new group membership to take effect.
Important: After you install Exchange on a server, you must not change the server name. Renaming a server after you’ve installed an Exchange server role is not supported.
Download Exchange Server
Go to the official page of Microsoft to get a list of the Exchange Server build numbers and release dates. Scroll down and select your Exchange Server version. Download and save the ISO image.
At the moment of writing, the latest version of Exchange Server 2016 is Exchange Server 2016 CU3. The release date is September 20, 2016. The build number is 15.1.544.27.
Note: We recommend downloading the latest Exchange Server build version.
Install Exchange Server with GUI (setup wizard)
To install Exchange Server on Windows Server, follow these steps:
1. Mount Exchange Server ISO
In File Explorer, right-click on the Exchange Server ISO image file and select Mount. It will mount the ISO to a drive.
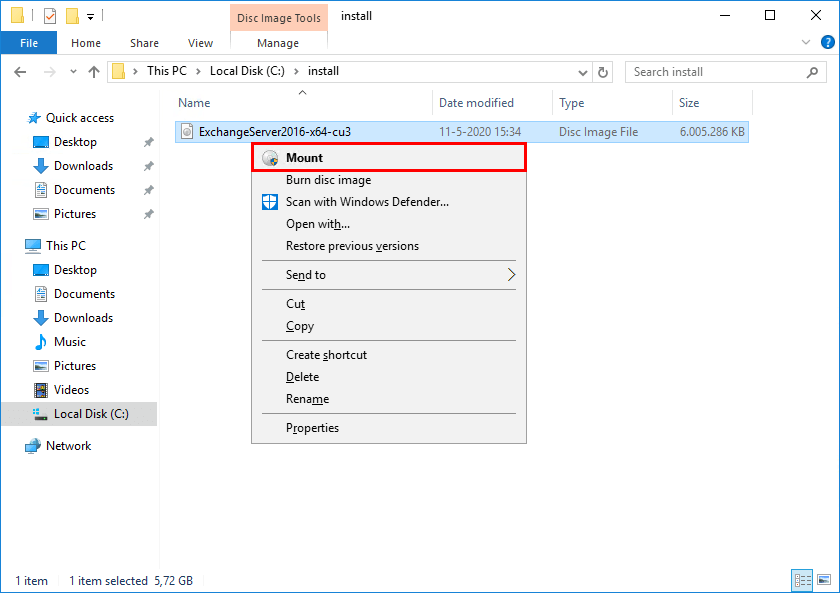
In our example, it mounted the Exchange ISO to the (E:) drive. The (E:) drive contains the Exchange installation files.
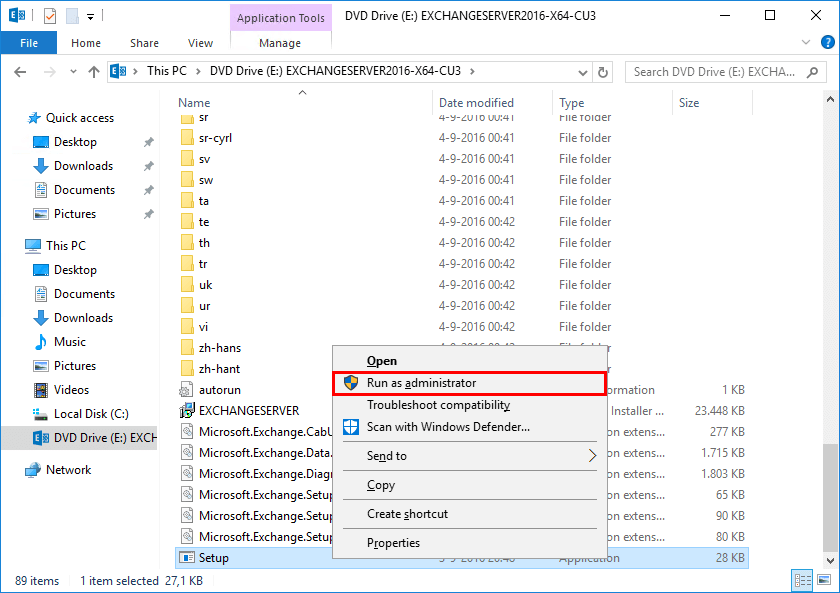
2. Run Exchange Server setup
Open the (E:) drive and right-click Setup. Click Run as administrator.
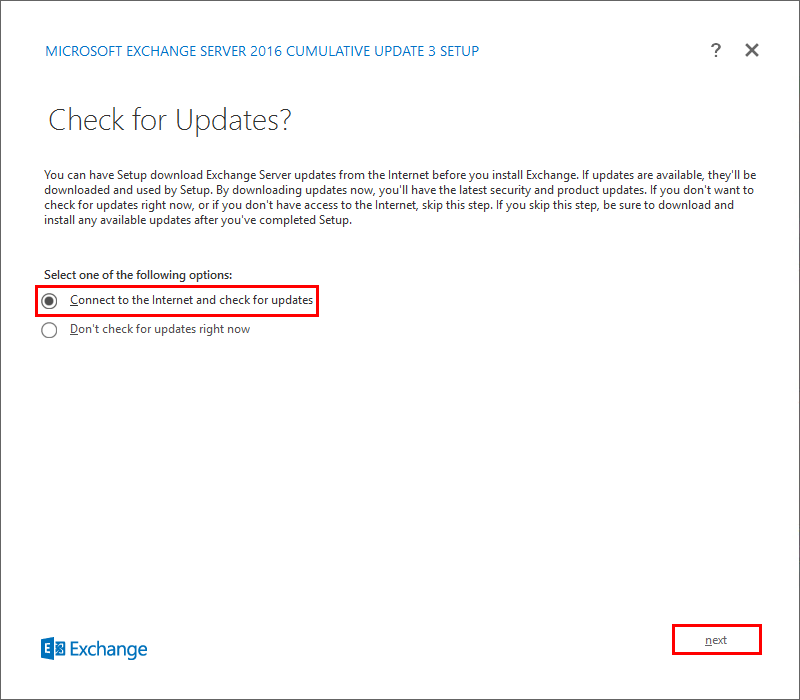
3. Check for updates
The installation of Exchange Server is starting, and the first screen presenting you is about checking for updates. It’s recommended to check for updates for security reasons.
Select Connect to the Internet and check for updates and click Next.
The setup is downloading updates. In this example, the system is up to date, and there are no updates. Click Next.

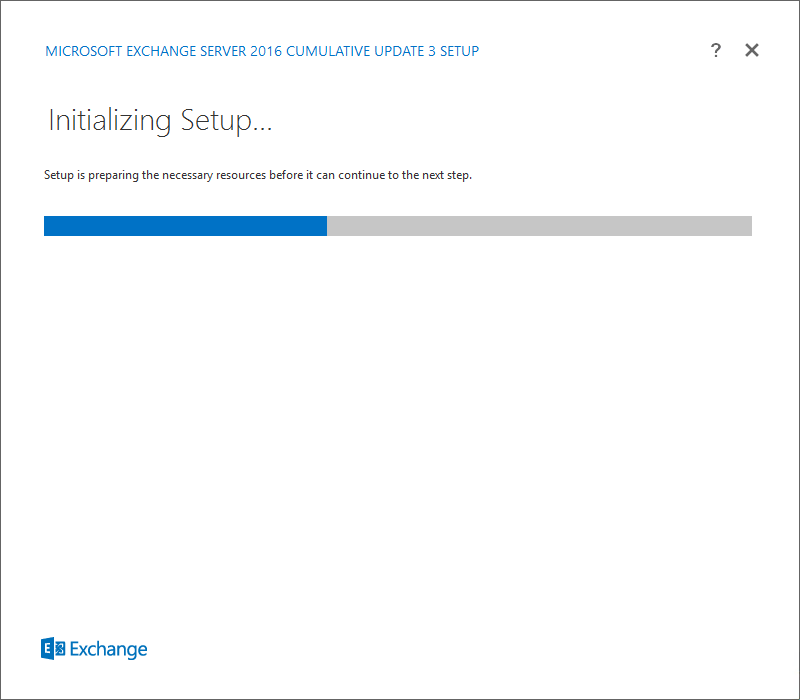
4. Copying files
The setup will copy the files to %winDir%\Temp\ExchangeSetup.
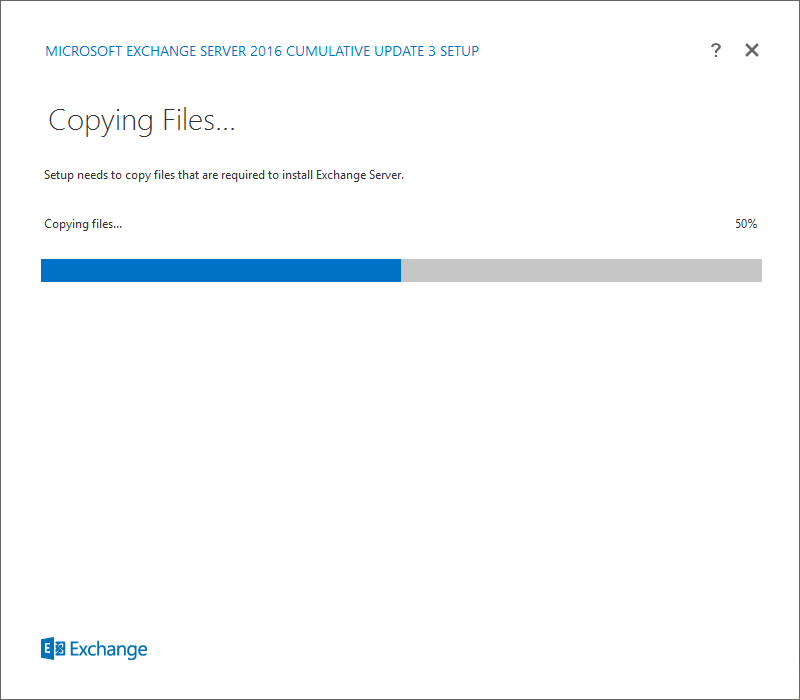
It’s initializing setup before it can continue to the next step.
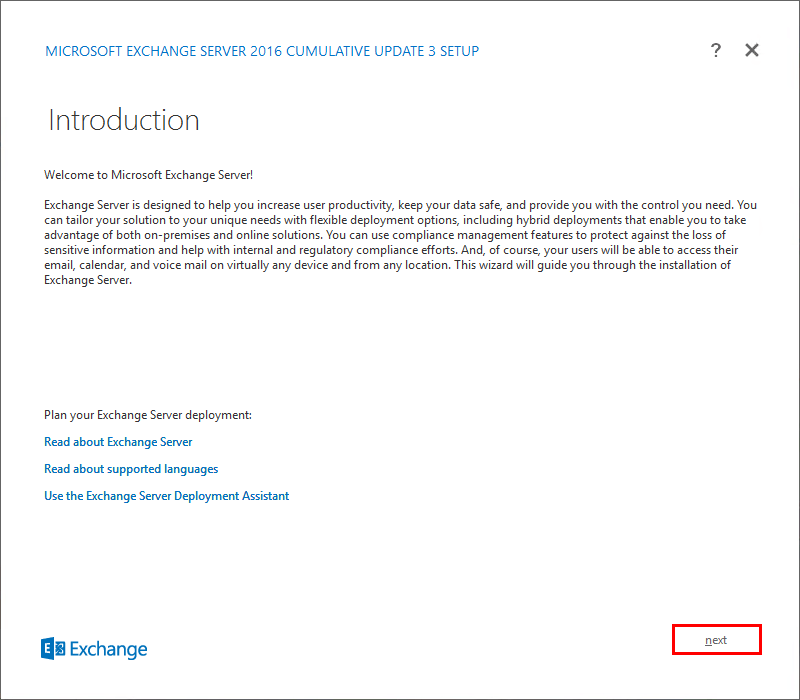
5. Introduction
The introduction screen shows general information. Make sure that you have the Exchange Server prerequisites configured before proceeding. If you proceed without configuring the Exchange Server prerequisites, it will fail, and explain why it failed.
Click Next.
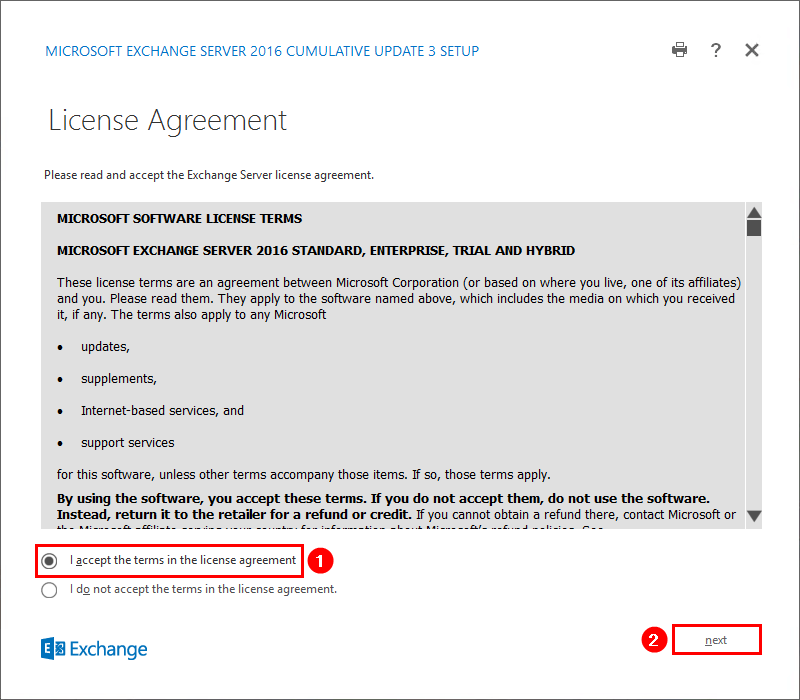
6. License agreement
Read the license agreement, select I accept the terms in the license agreement, and click Next.
7. Recommended settings
Choose Use recommended settings and click Next. These settings are mainly used to send error reports, information about your system hardware, and Exchange usage to Microsoft.

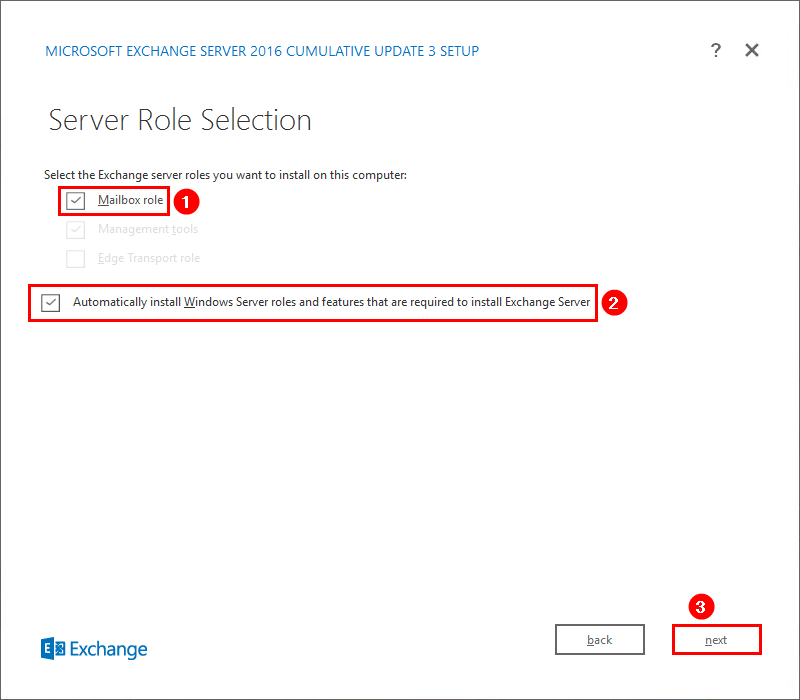
8. Server role selection
In the Server Role Selection screen:
- Check the checkbox Mailbox role. When checking the checkbox, the setup will install the Management tools automatically.
- Check the checkbox Automatically install Windows Server roles and features that are required to install Exchange Server. Find the required roles and features in the article Install Exchange Server prerequisites.
Click Next.
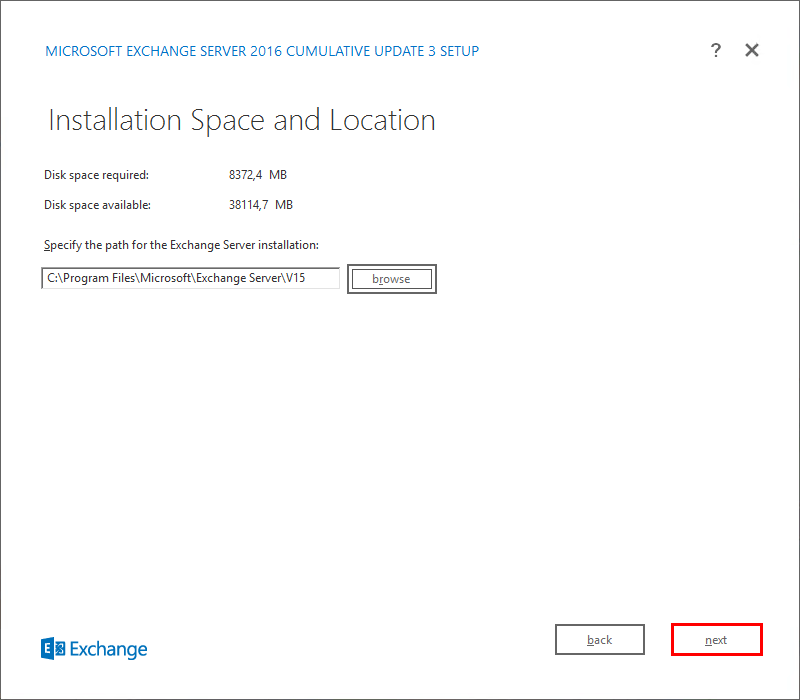
9. Installation space and location
Change the Exchange location to your needs and click Next.
In our example, we will install Exchange Server in the default location.
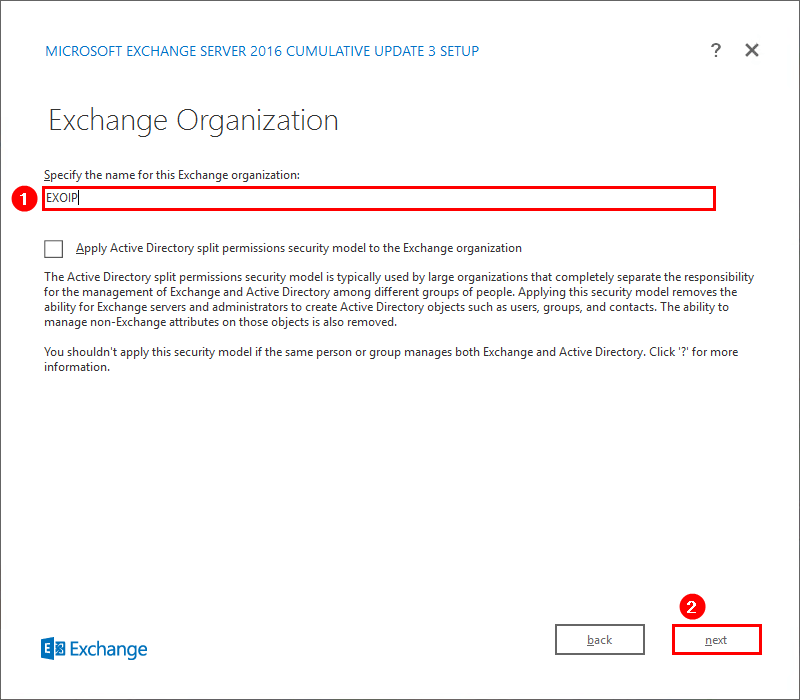
10. Exchange organization
The Exchange Organization window will show if you are installing your first Exchange Server in the organization. Fill in the name and click Next.
Note: You need to select a name for the Exchange organization. The organization’s name is used internally by Exchange. It isn’t typically seen by users and doesn’t affect the functionality of Exchange. Also, it doesn’t determine what you can use for email addresses. The organization name can’t contain more than 64 characters, and can’t be blank. Valid characters are A to Z, a to z, 0 to 9, hyphen or dash (-), and space, but leading or trailing spaces aren’t allowed. You can’t change the organization name after it’s set.
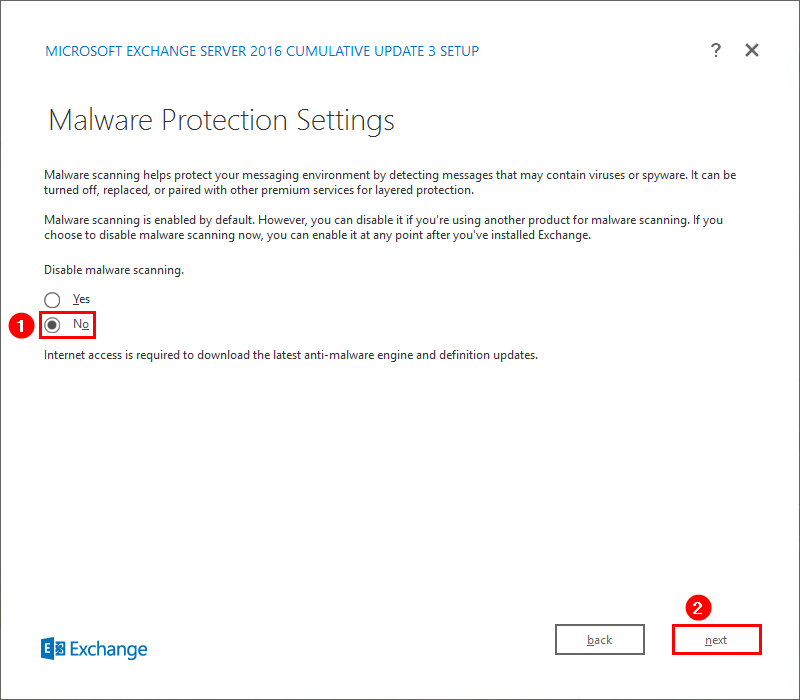
11. Malware protection settings
Keep Malware Protection enabled. The malware protection automatically scans messages for viruses and spyware. Click No and click Next.
12. Readiness checks
The system is being checked to verify if the setup can continue.
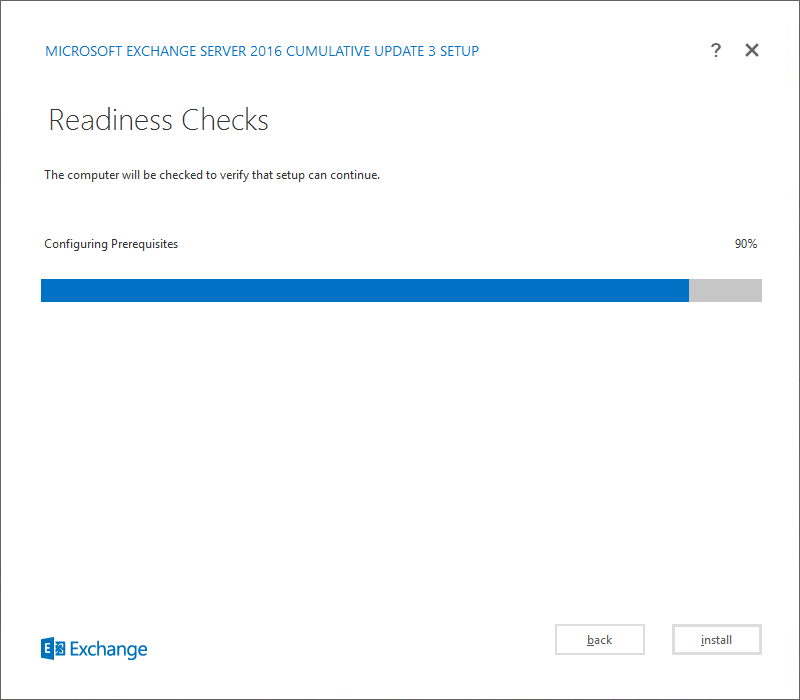
After the readiness checks are completed, a screen will show the warnings and errors. If you have errors, you can’t proceed further with installing Exchange Server. Read them carefully and fix them. After that, rerun the setup.
In our example, we only have warnings and no errors. It shows we don’t have an Exchange Server 2010 and Exchange Server 2013 in the organization. That’s correct, as we are installing our first Exchange Server 2016. The setup will prepare active directory and domains for Exchange Server.
Click Install to start the Exchange Server installation.

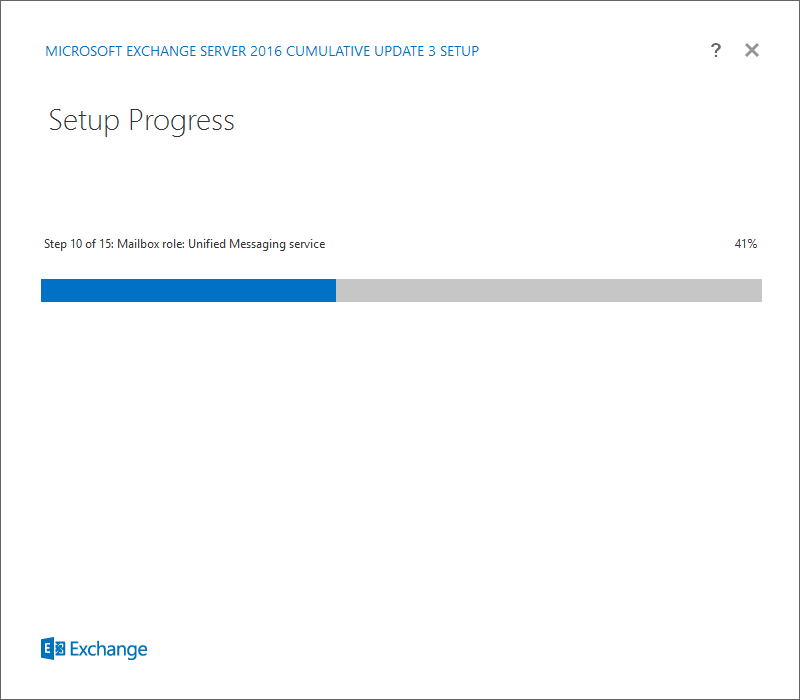
13. Setup progress
The Exchange Server installation starts and the setup progress appears.
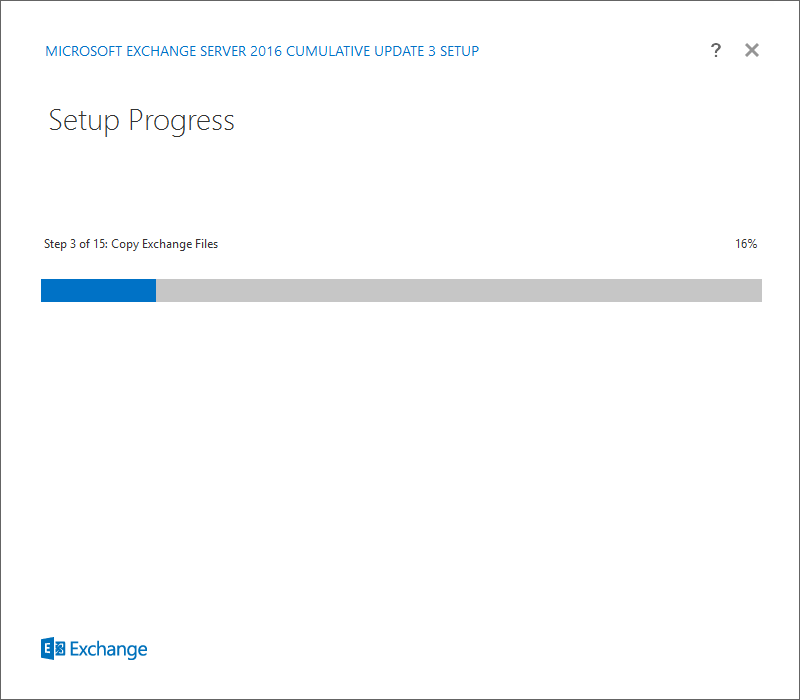
It can take some time before it finishes installing Exchange Server.
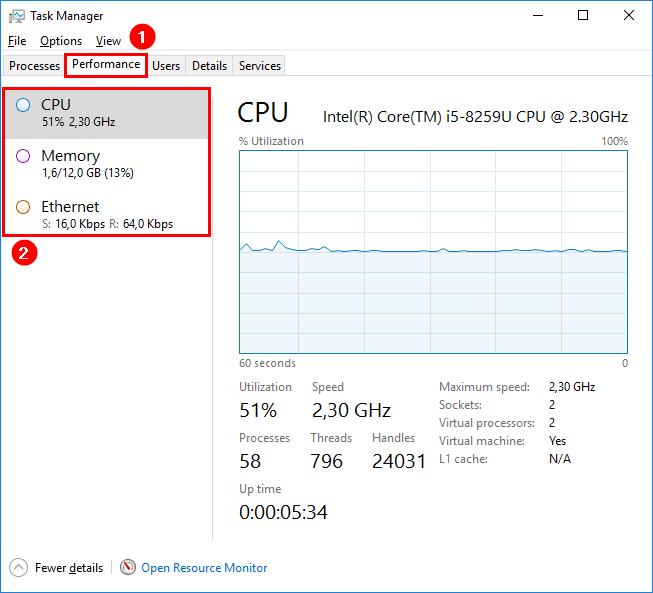
14. Monitor setup progress
Start Task Manager and click the performance tab. You can monitor the CPU and Memory.
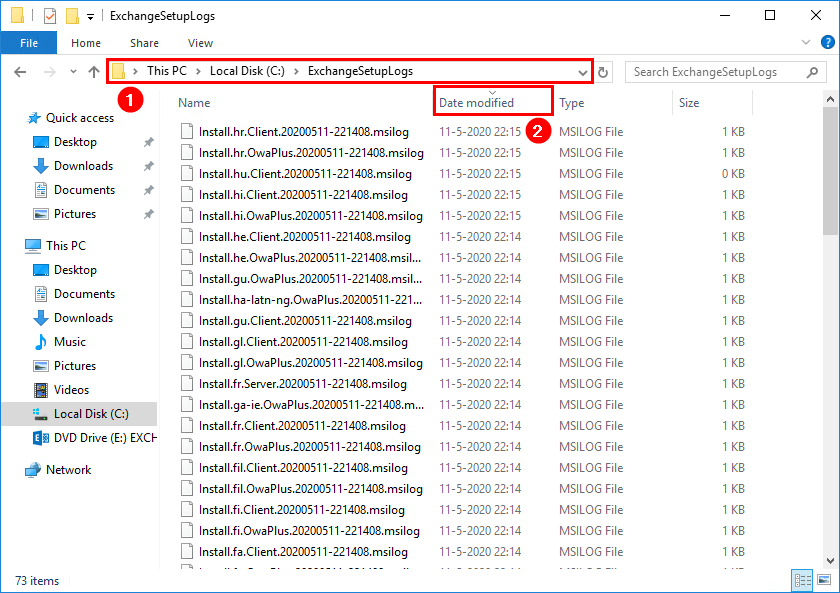
Check the Exchange setup logs to know what the setup wizard configures in the back end. Open File Explorer and navigate to C:\ExchangeSetupLogs. Sort on Date Modified.
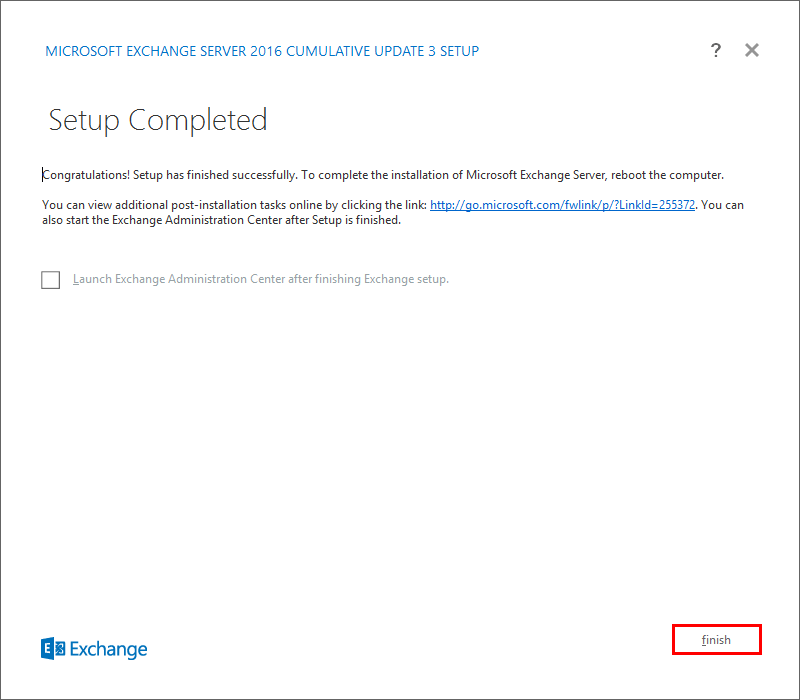
15. Setup completed
Click Finish after completing the installation of Exchange and restart the system.
Sign in to Exchange Admin Center (EAC)
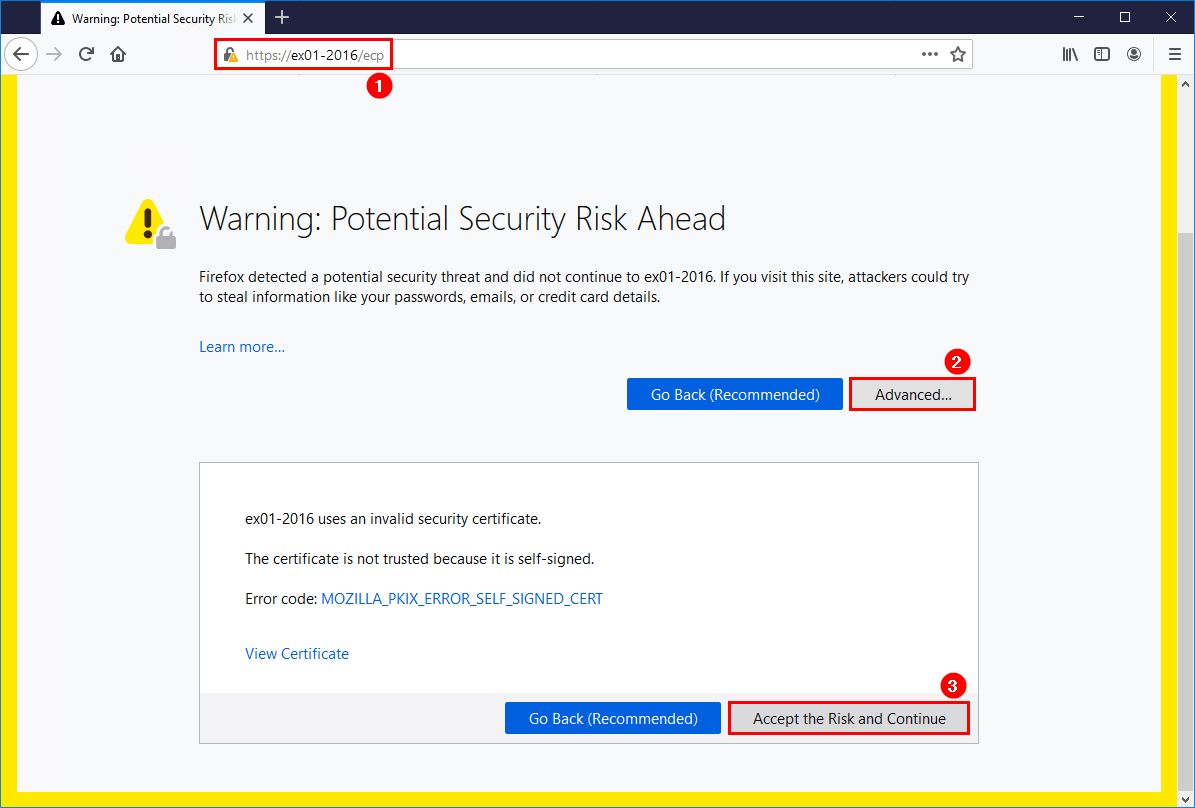
Sign in to Exchange Admin Center (EAC). Open your favorite browser and go to https://hostname/ecp. Change the hostname to yours. Another way is to use https://localhost/ecp.
You will get a certificate warning in your browser. Accept the risk and continue.
In our example, the Exchange Server hostname is EX01-2016.
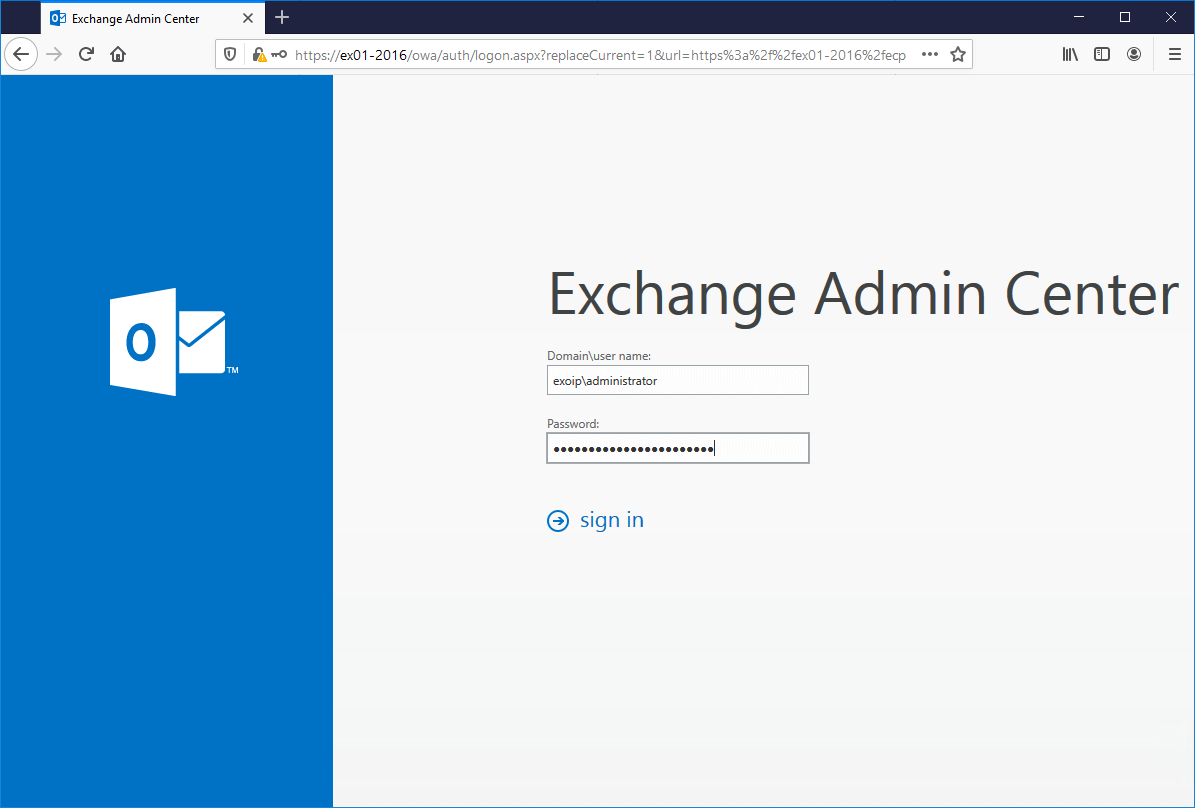
Fill in the domain and administrator credentials. Click the sign in button.
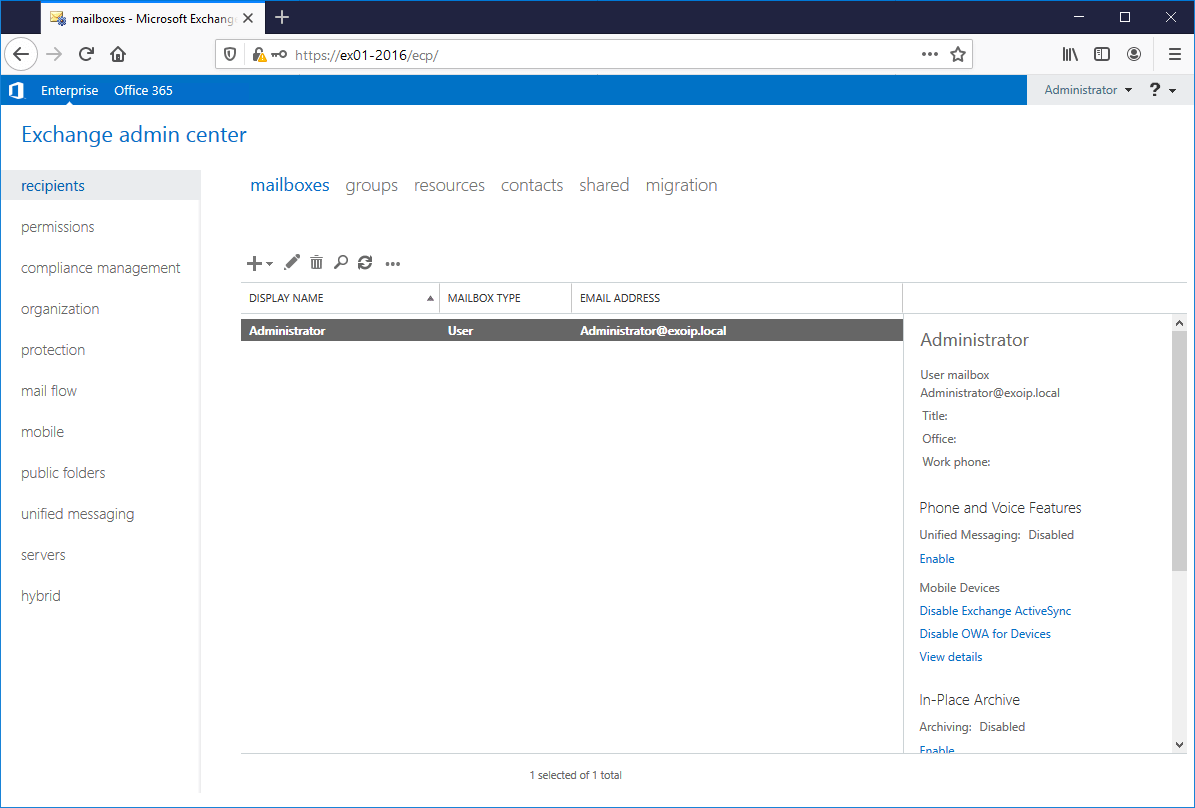
The mailboxes area is almost empty, except for one mailbox that is showing. That’s the account that we used for installing Exchange Server.
Did this article help you to install Exchange Server on Windows Server with GUI?
The next step is to configure Exchange Server »
Conclusion
You learned how to install Exchange Server step by step on Windows Server. We did install the Mailbox Server Role with the GUI (setup wizard). It’s good to monitor the CPU and Memory when installing Exchange Server.
Did you enjoy this article? If so, you may like the article Exchange database best practices. Don’t forget to follow us and share this article.
What Others Are Reading

Good day. Did all the steps, with prereqs and AD prep, but after entering credentials, i get the following :
This page isn’t working right now. localhost cant currently handle request. HTTP ERROR 500