We did migrate from ADFS to Password Hash Synchronization (PHS). The password sync time interval…
Change AD DS Connector account
How to change AD DS Connector account in Azure AD Connect? After creating an AD DS Connect account with the correct permissions, it’s time to use the new AD DS Connector service account. Let’s look at how to change AD DS Connector account without permission issues and downtime.
Table of contents
Before you start
Before you change the AD DS Connector account, you need to have an AD DS Connector account with the correct permissions. Go through both the articles to understand and configure the AD DS Connector account:
Once you have the AD DS Connector service account configured, let’s proceed on.
Note: Did you change your AD DS Connector account password in Active Directory Users and Computers? You have to insert the new password in Azure AD Connect. Otherwise, synchronization will not work, and you will see the status no-start-credentials in Synchronization Service Manager.
How to change AD DS Connector account
Start Synchronization Service Manager on the Azure AD Connect Server.
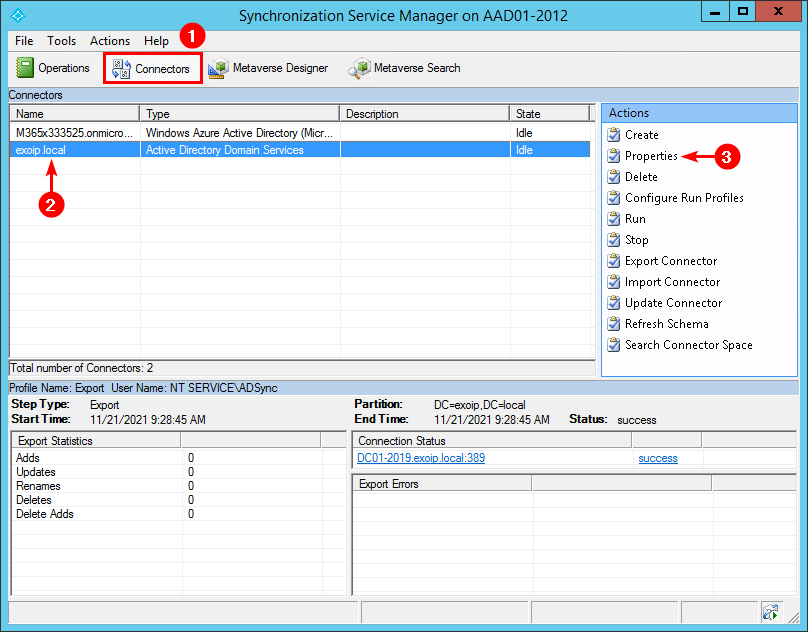
Click on Connectors > internal domain > Properties.
In our example, it’s the internal domain with the name exoip.local.
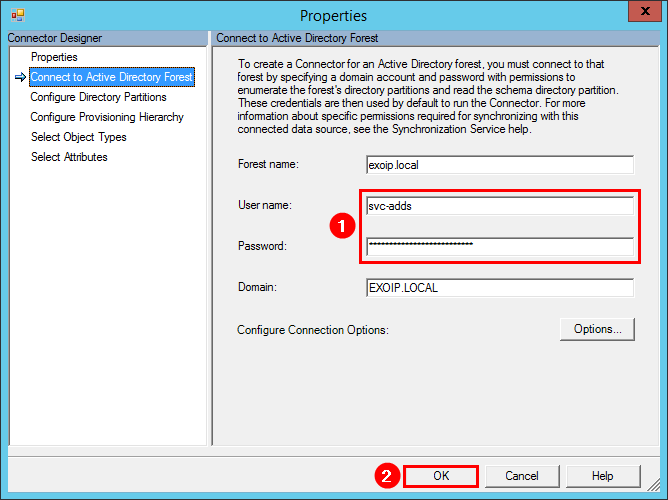
Click Connect to Active Directory Forest. The user name shows the AD DS Connector account.
In our example, it’s the user name MSOL_b3c27fcc1296.
Note: If the user name has the prefix MSOL_, Azure AD Connect created the account in Azure AD Connect setup.

Fill in the new AD DS Connector account details. Click OK to save.
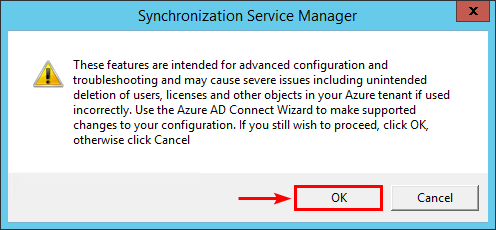
A warning prompt shows up. Click OK.
Disable old AD DS Connector account in Active Directory Users and Computers.

Restart the Microsoft Azure AD Sync service under Windows Services. This is to ensure that any reference to the old password is removed from the memory cache.

Let’s verify that the Azure AD Connect synchronization works excellent in the next step.
Verify AD DS Connector account synchronization
Start Windows PowerShell as administrator on the Azure AD Connect Server. Then, run the cmdlet to force sync Azure AD Connect (delta sync). The delta sync will only sync the changes between on-premises AD and Azure AD.
PS C:\> Start-ADSyncSyncCycle -PolicyType Delta

Result
------
Success
The Synchronization Service Manager shows the status of success.
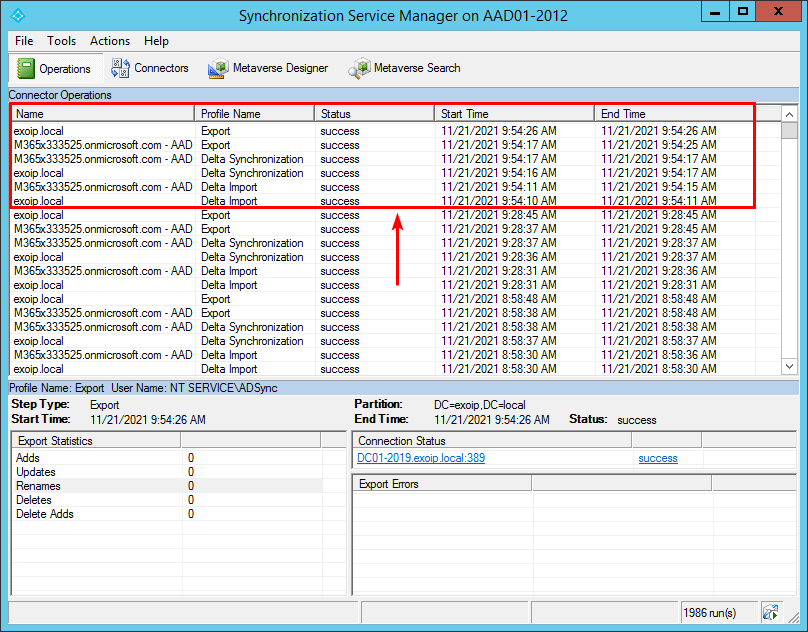
Click on the internal domain and verify that AD objects synchronization works.

You successfully changed the AD DS Connector account.
Read more: Conditional Access MFA breaks Azure AD Connect synchronization »
Conclusion
You learned how to change the AD DS Connector account in Azure AD Connect:
- Ensure that you have set up the correct AD DS Connector account permissions before you proceed.
- Edit the account credentials and restart the Microsoft Azure AD Sync service.
- Don’t forget to disable the old AD DS Connector account and remove it after a couple of days when you are satisfied with the results.
Did you enjoy this article? You may also like Move Azure AD Connect to new tenant. Don’t forget to follow us and share this article.
What Others Are Reading
Hi Ali,
thanks for your sharing.
AAD Connector Account mistakenly made Administrator account instead of MSOL. In your example, after you changed the account, the old MSOL account was disabled. Would it be a problem if I wouldn’t do this for the Administrator account?
Thank you
If you use the administrator account for other purposes, you should not disable that account.