The default calendar sharing permissions in Exchange Online are set as AvailabilityOnly. What if you…
Export Microsoft 365 distribution group members to CSV with PowerShell
There are many distribution groups, and we like to get all the members and owners. We can go through the groups in the Microsoft 365 admin center individually, but that takes a lot of time. So let’s automate the task and export a report with all members, owners, and more information. In this article, you will learn how to bulk export Microsoft 365 distribution group members to CSV file with PowerShell script.
Table of contents
Find Microsoft 365 distribution groups
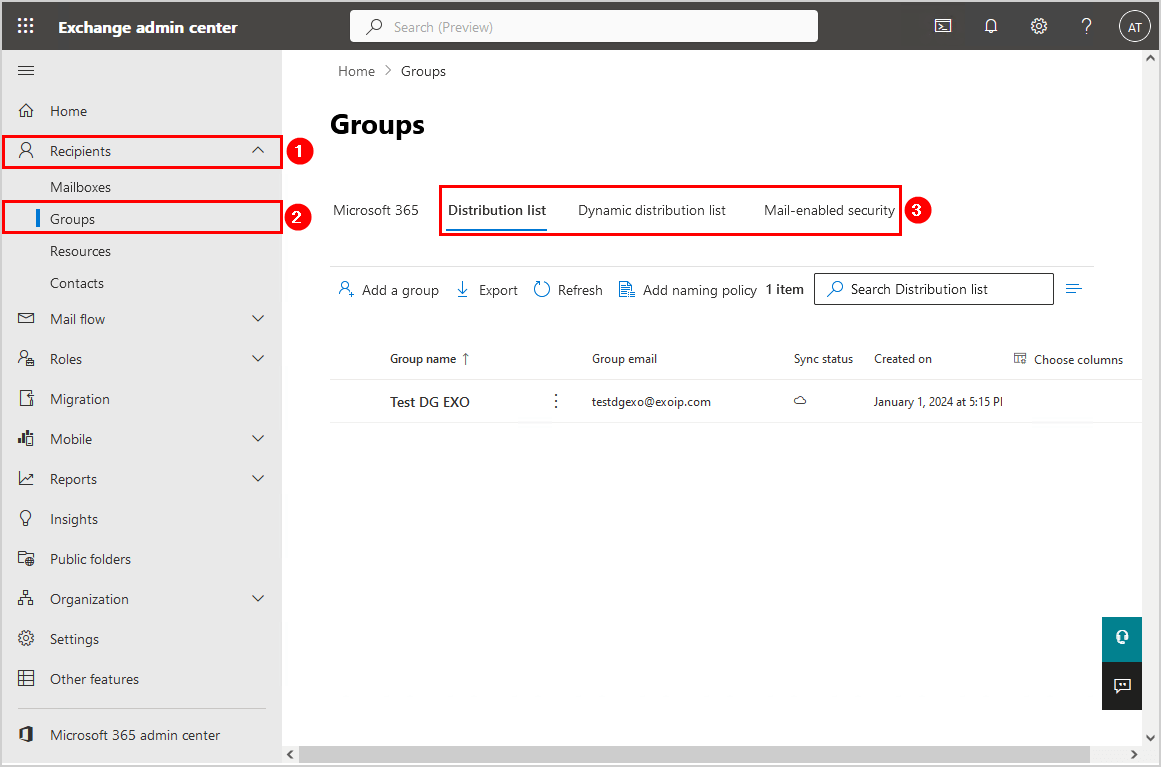
To find all the distribution groups in Microsoft 365, follow these steps:
- Sign in to Microsoft Exchange admin center
- Click Recipients > Groups
- Click on the group type to list the distribution groups
Let’s look at the next step on how to export Microsoft 365 distribution group members with PowerShell.
Get Microsoft 365 distribution group members with PowerShell script
The Export-M365DGMembers.ps1 PowerShell will get all the Microsoft 365 distribution groups, including their members, and export them to a CSV file.
For every Microsoft 365 distribution group, it gathers the following information:
- DisplayName
- Description
- PrimarySmtpAddress
- SecondarySmtpAddress
- Alias
- GroupType
- RecipientType
- SyncedFromOnPremises
- Member
- MemberPrimarySmtpAddress
- MemberType
- Owners
- HiddenFromAddressLists
- MemberJoinRestriction
- MemberDepartRestriction
- RequireSenderAuthenticationEnabled
- AcceptMessagesOnlyFrom
- SendonBehalf
- SendAs
- WhenCreated
- WhenChanged
Note: Do you want to get a list of all the distribution group members in Exchange Server? Read the article Export distribution group members to CSV with PowerShell.
1. Install Microsoft Graph PowerShell module
Before we can proceed further and get the Microsoft 365 members and owners from all the distribution groups, we need to Install the Microsoft Graph PowerShell module.
Start Windows PowerShell as administrator and run the below commands.
Install-Module Microsoft.Graph -ForceInstall-Module Microsoft.Graph.Beta -AllowClobber -ForceImportant: Always install the Microsoft Graph PowerShell and Microsoft Graph Beta PowerShell modules. That’s because some cmdlets are not yet available in the final version, and they will not work. Update both modules to the latest version before you run a cmdlet or script to prevent errors and incorrect results.
2. Prepare Export Microsoft 365 distribution group members PowerShell script
Create two folders on the (C:) drive:
- Temp
- Scripts
Download the Export-M365DGMembers.ps1 PowerShell script and place it in C:\scripts folder. The script will export the CSV file to the C:\temp folder.
Ensure the file is unblocked to prevent errors when running the script. Read more in the article Not digitally signed error when running PowerShell script.
Another option is to copy and paste the code below into Notepad. Give it the name Export-M365DGMembers.ps1 and place it in the C:\scripts folder.
<#
    .SYNOPSIS
    Export-M365DGMembers.ps1

    .DESCRIPTION
    Export Microsoft 365 Distribution Group Members to CSV file with PowerShell.

    .LINK
    www.alitajran.com/export-microsoft-365-distribution-group-members-to-csv-powershell/

    .NOTES
    Written by: ALI TAJRAN
    Website:    www.alitajran.com
    LinkedIn:   linkedin.com/in/alitajran

    .CHANGELOG
    V1.00, 03/21/2024 - Initial version
    V1.10, 04/20/2024 - Added MemberType property and report members on seperate row
#>

# CSV file export path
$Csvfile = "C:\temp\M365DGMembers.csv"

# Connect to Exchange Online PowerShell
Connect-ExchangeOnline

# Get all distribution groups
$Groups = Get-DistributionGroup -ResultSize Unlimited

# Create an empty array to store the custom objects
$customObjects = @()

# Set up the progress bar parameters
$totalGroups = $Groups.Count
$currentGroup = 0

# Loop through distribution groups and store custom objects in the array
foreach ($Group in $Groups) {
    $GroupDN = $Group.DistinguishedName
    $DisplayName = $Group.DisplayName
    $Description = $Group.Description
    $PrimarySmtpAddress = $Group.PrimarySmtpAddress
    $SecondarySmtpAddress = $Group.EmailAddresses | Where-Object { $_ -clike "smtp*" } | ForEach-Object { $_ -replace "smtp:", "" }
    $GroupType = $Group.GroupType
    $RecipientType = $Group.RecipientType
    $IsDirSynced = $Group.IsDirSynced
    $Members = Get-DistributionGroupMember $GroupDN -ResultSize Unlimited
    $Owner = $Group.ManagedBy | ForEach-Object { (Get-Recipient $_ -ErrorAction SilentlyContinue).DisplayName }
    $Alias = $Group.Alias
    $HiddenFromAddressLists = $Group.HiddenFromAddressListsEnabled
    $MemberJoinRestriction = $Group.MemberJoinRestriction
    $MemberDepartRestriction = $Group.MemberDepartRestriction
    $RequireSenderAuthenticationEnabled = $Group.RequireSenderAuthenticationEnabled
    $AcceptMessagesOnlyFromIDs = $Group.AcceptMessagesOnlyFrom
    $AcceptMessagesDisplayNames = $AcceptMessagesOnlyFromIDs | ForEach-Object { (Get-Recipient $_).PrimarySmtpAddress }
    $GrantSendOnBehalfToIDs = $Group.GrantSendOnBehalfTo
    $GrantSendOnBehalfToDisplayNames = $GrantSendOnBehalfToIDs | ForEach-Object { (Get-User $_ -ErrorAction SilentlyContinue).DisplayName }
    $WhenCreated = $Group.WhenCreated
    $WhenChanged = $Group.WhenChanged

    # Get SendAs permissions
    $SendAsPermissions = Get-RecipientPermission -Identity $PrimarySmtpAddress
    $SendAsTrustees = $SendAsPermissions.Trustee

    foreach ($Member in $Members) {
        # Create a custom object for each member and add it to the array
        $customObject = [PSCustomObject]@{
            DisplayName                        = $DisplayName
            Description                        = $Description
            PrimarySmtpAddress                 = $PrimarySmtpAddress
            SecondarySmtpAddress               = ($SecondarySmtpAddress -join ',')
            Alias                              = $Alias
            GroupType                          = $GroupType
            RecipientType                      = $RecipientType
            SyncedFromOnPremises               = $IsDirSynced
            Member                             = $Member.DisplayName
            MemberPrimarySmtpAddress           = $Member.PrimarySmtpAddress
            MemberType                         = $Member.RecipientType
            Owners                             = ($Owner -join ',')
            HiddenFromAddressLists             = $HiddenFromAddressLists
            MemberJoinRestriction              = $MemberJoinRestriction
            MemberDepartRestriction            = $MemberDepartRestriction
            RequireSenderAuthenticationEnabled = $RequireSenderAuthenticationEnabled
            AcceptMessagesOnlyFrom             = ($AcceptMessagesDisplayNames -join ',')
            SendOnBehalf                       = ($GrantSendOnBehalfToDisplayNames -join ',')
            SendAs                             = ($SendAsTrustees -join ',')
            WhenCreated                        = $WhenCreated
            WhenChanged                        = $WhenChanged
        }

        $customObjects += $customObject
    }

    # Update the progress bar
    $currentGroup++
    $status = "{0:N0}" -f ($currentGroup / $totalGroups * 100)

    $progressParams = @{
        Activity        = "Retrieving Group Members"
        Status          = "Processing group: $($group.DisplayName) - $currentGroup of $totalGroups : $status% completed"
        PercentComplete = ($currentGroup / $totalGroups) * 100
    }

    Write-Progress @progressParams
}

# Complete the progress bar
Write-Progress -Activity "Retrieving Group Members" -Completed

# Output the custom objects array, sort them, and display in a grid view
$customObjects | Sort-Object DisplayName | Out-GridView -Title "M365 Distribution Group Members"

# Export report to CSV file
$customObjects | Sort-Object DisplayName | Export-Csv -Path $Csvfile -NoTypeInformation -Encoding utf8- Line 22: Edit the CSV file path
3. Run Export Microsoft 365 distribution group members PowerShell script
Get all the Microsoft 365 distribution groups, including their members and owners, and export them to a CSV file.
Run the below command to run the script Export-M365DGMembers.ps1.
c:\scripts\.\Export-M365DGMembers.ps14. Open Microsoft 365 distribution group members report
The Export-M365DGMembers.ps1 PowerShell script exports all the Microsoft 365 distribution group members to a CSV file.
Find the file M365DGMembers.csv in the path C:\temp.
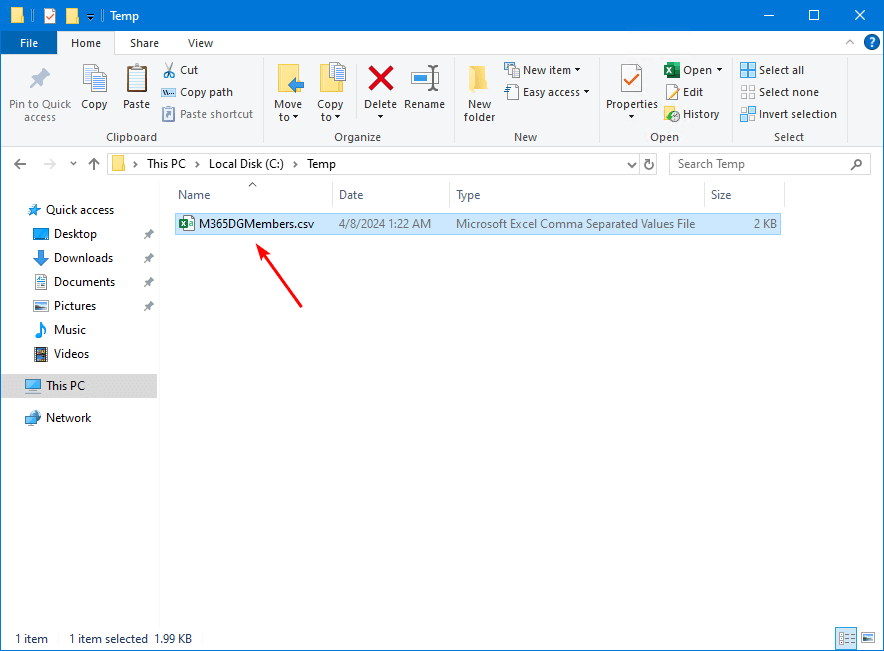
Open the CSV file with your favorite application. In our example, it’s Microsoft Excel.
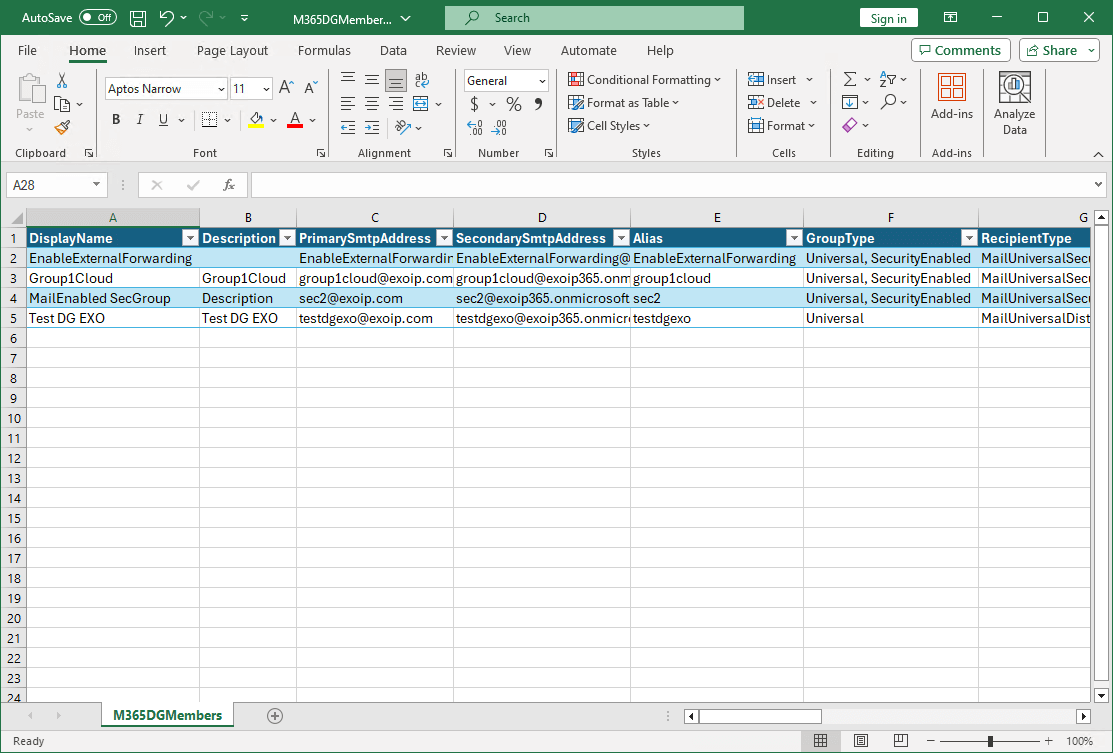
The Microsoft 365 distribution group members and owners report looks great!
Read more: Create distribution group in Exchange Hybrid »
Conclusion
You learned how to export Microsoft 365 distribution group members to CSV with PowerShell. The export in the admin center does not give you all the properties you want. It’s best to use the PowerShell script because you can customize it to your needs.
Did you enjoy this article? You may also like Export Entra ID app registrations Certificates and Secrets expiry report. Don’t forget to follow us and share this article.
What Others Are Reading

This Post Has 0 Comments