Microsoft Exchange Server depends on Internet Information Services (IIS). Sometimes you have to restart IIS,…
Configure ReFS volume Exchange 2013/2016/2019
Configure the ReFS volume before or after installing Exchange Server 2013/2016/2019. It’s important to configure the correct ReFS block size on the volume for Exchange. Before you start, run Windows Updates and reboot the system. This article will learn how to configure ReFS volume for Exchange Server 2013/2016/2019.
Table of contents
Support for ReFS Exchange Server 2013/2016/2019
- ReFS is supported for volumes containing Exchange database files, log files, and content index files.
- ReFS is not supported for volumes containing Exchange binaries (the program files).
- ReFS is not supported for volumes containing the system partition.
- ReFS integrity features are recommended to be disabled.
Disable ReFS integrity streams for performance
It’s good to know why it’s recommended to disable ReFS integrity features. Though integrity streams provide greater data integrity for the system, it also incurs a performance cost. There are a couple of different reasons for this:
- If integrity streams are enabled, all write operations become allocate-on-write operations. Though this avoids any read-modify-write bottlenecks since ReFS doesn’t need to read or modify any existing data, file data frequently becomes fragmented, which delays read.
- Depending on the workload and underlying storage of the system, the computational cost of computing and validating the checksum can cause IO latency to increase.
Note: Because integrity streams carry a performance cost, it’s recommended to leave integrity streams disabled on performance-sensitive systems.
Create ReFS volume in Exchange 2013/2016/2019
In the next steps, we will create a ReFS volume with PowerShell.
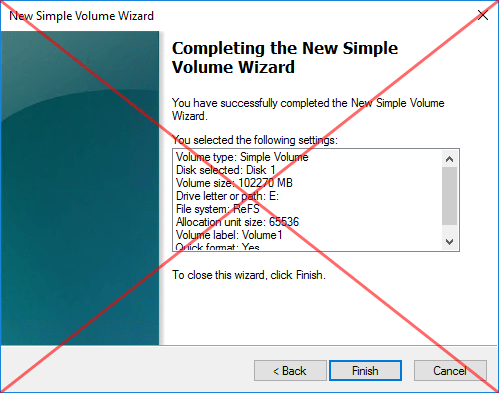
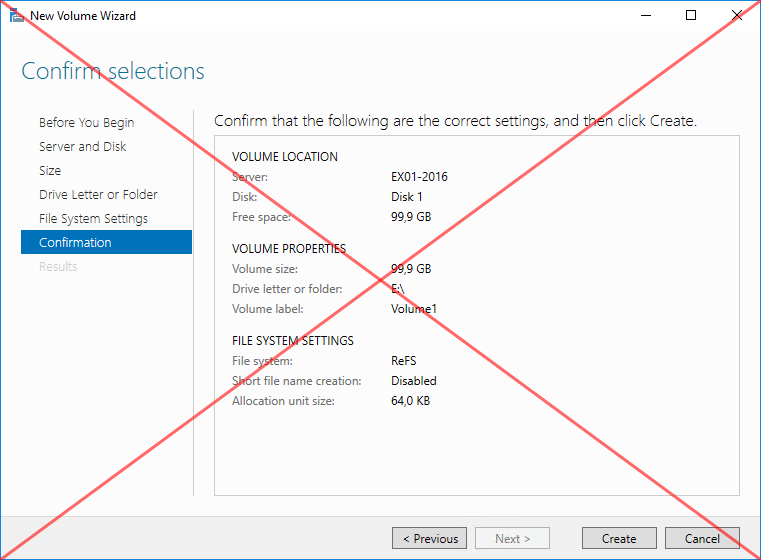
Important: Don’t use the New Volume Wizard when creating ReFS volumes. It does not give you the option to disable ReFS integrity streams at the volume level. To set it at the volume level itself, use PowerShell when configuring new volumes.
Get disk status
Note: It’s important to know how many volumes you need for the database and log files. This is different per Exchange Server design. Read the article Exchange database best practice before creating the ReFS volume.
Get information regarding the disks in the system. Run the Get-Disk cmdlet.
PS C:\> Get-Disk | Format-Table -AutoSize
Number Friendly Name Serial Number HealthStatus OperationalStatus Total Size Partition Style
------ ------------- ------------- ------------ ----------------- ---------- ---------------
0 VMware Virtual disk 6000c2905397f746b506a29e5ae7fe22 Healthy Online 60 GB GPT
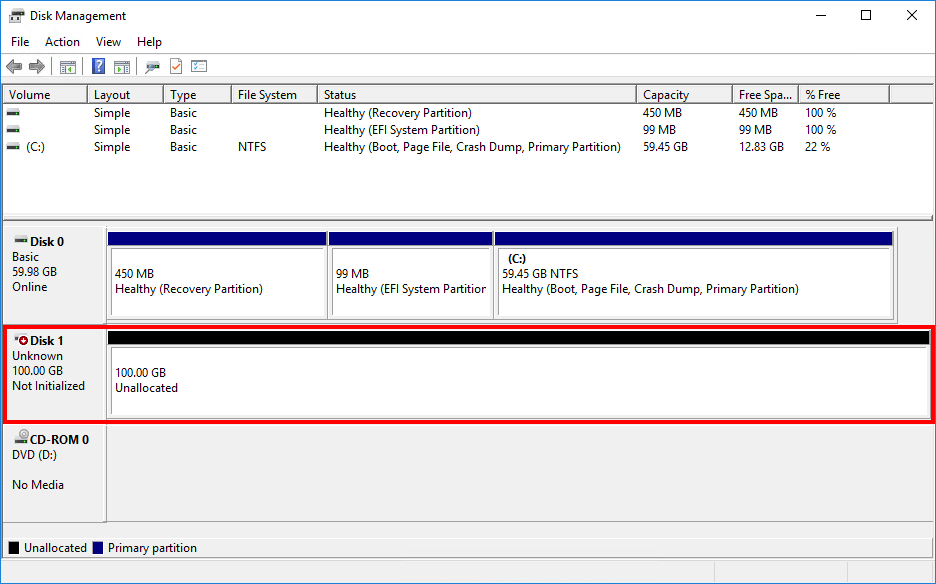
1 VMware Virtual disk 6000c29f28ba1e1b6d4b418ee5eec5c2 Healthy Offline 100 GB RAWThe (C:) drive shows as number 0. The 100GB disk that we want to configure shows as Number 1, and it’s offline.
Set disk online
Set the disk online and check the disk operational status. Run the Set-Disk cmdlet.
PS C:\> Set-Disk -Number 1 -IsOffline $False

PS C:\> Get-Disk | Format-Table -AutoSize

Number Friendly Name       Serial Number                    HealthStatus OperationalStatus Total Size Partition Style
------ -------------       -------------                    ------------ ----------------- ---------- ---------------
0      VMware Virtual disk 6000c2905397f746b506a29e5ae7fe22 Healthy      Online                 60 GB GPT
1      VMware Virtual disk 6000c29f28ba1e1b6d4b418ee5eec5c2 Healthy      Online                100 GB RAW
The disk is Online.
Convert the disk to partition style GPT
The partition style of disk number 1 shows as RAW. Let’s initialize the partition as GPT (GUID partition table).
PS C:\> Get-Disk 1 | Initialize-Disk -PartitionStyle GPT
PS C:\> Get-Disk | Format-Table -AutoSize
Number Friendly Name Serial Number HealthStatus OperationalStatus Total Size Partition Style
------ ------------- ------------- ------------ ----------------- ---------- ---------------
0 VMware Virtual disk 6000c2905397f746b506a29e5ae7fe22 Healthy Online 60 GB GPT
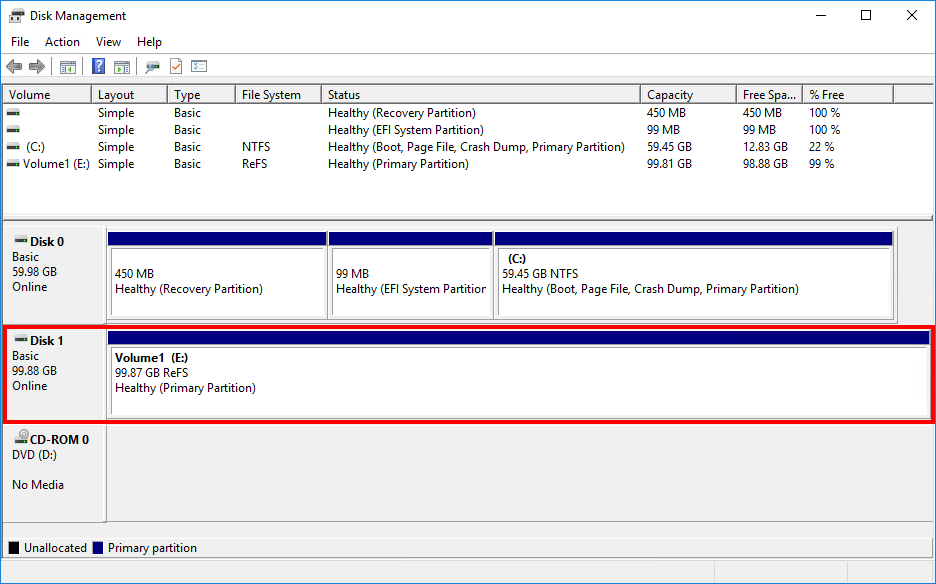
1 VMware Virtual disk 6000c29f28ba1e1b6d4b418ee5eec5c2 Healthy Online 100 GB GPTIn Disk Management it will change the disk from Unknown/Not Initialized to Basic/Online.

Mount the partition as drive letter E with the format volume ReFS and allocation unit size of 64K. We recommend configuring 64K allocation unit size/block size on the ReFS volume in Exchange.
In this example, the name of the new volume will be Volume1, and the ReFS integrity streams will be disabled.
PS C:\> Get-Disk 1 | New-Partition -UseMaximumSize -DriveLetter E | Format-Volume -FileSystem REFS -AllocationUnitSize 65536 -NewFileSystemLabel "Volume1" -SetIntegrityStreams $false
DriveLetter FileSystemLabel FileSystem DriveType HealthStatus OperationalStatus SizeRemaining Size
----------- --------------- ---------- --------- ------------ ----------------- ------------- ----
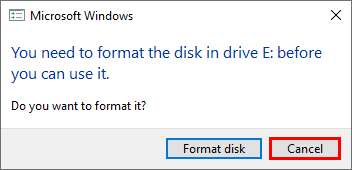
E Volume1 ReFS Fixed Healthy OK 98.88 GB 99.81 GBIf you get a popup to format the disk drive, click Cancel.
The ReFS volume is successfully configured.
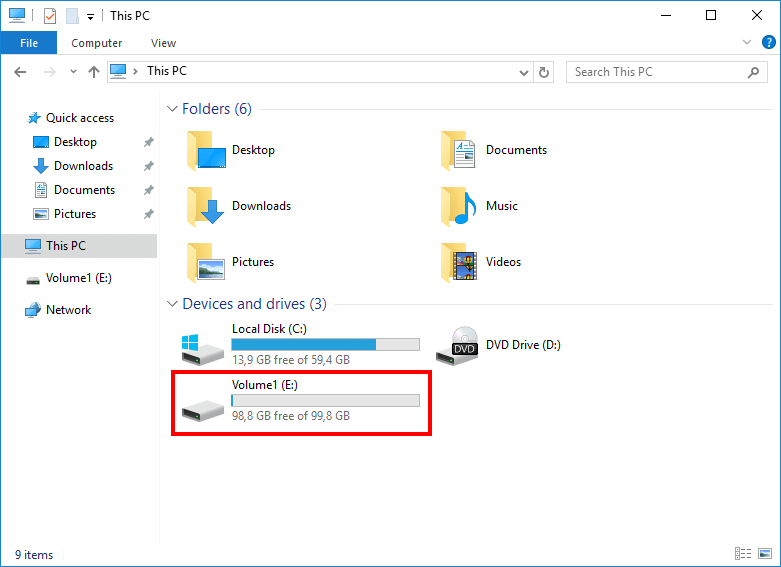
Start Windows Explorer and go to This PC. The (E:) drive shows up.
Verify ReFS volume in Exchange 2013/2016/2019
It’s always important to verify that the ReFS volume is successfully created.
Verify ReFS allocation unit size/block size
Check and get the allocation unit size. The block size will show as 65536. This means that it’s 64K.
PS C:\> Get-CimInstance -ClassName Win32_Volume | Select-Object Label, BlockSize | Format-Table -AutoSize

Label    BlockSize
-----    ---------
              4096
Volume1      65536
Recovery      4096
Verify ReFS data integrity status
Create a test.txt file on the (E:) drive. Run the Get-FileIntegrity cmdlet. It will show that it’s not Enabled.
PS C:\> Get-FileIntegrity E:\Test.txt

FileName    Enabled Enforced
--------    ------- --------
E:\Test.txt False   True
PowerShell one-liner creating ReFS volume
Create the ReFS volume with a PowerShell one-liner. This will save you some time if you have to configure more than one ReFS volume.
In the below example, it will create 4 volumes.
Get-Disk 1 | Initialize-Disk -PartitionStyle GPT -PassThru | New-Partition -UseMaximumSize -DriveLetter E | Format-Volume -FileSystem REFS -AllocationUnitSize 65536 -NewFileSystemLabel "DB01 Data" -SetIntegrityStreams $false
Get-Disk 2 | Initialize-Disk -PartitionStyle GPT -PassThru | New-Partition -UseMaximumSize -DriveLetter F | Format-Volume -FileSystem REFS -AllocationUnitSize 65536 -NewFileSystemLabel "DB01 Logs" -SetIntegrityStreams $false
Get-Disk 3 | Initialize-Disk -PartitionStyle GPT -PassThru | New-Partition -UseMaximumSize -DriveLetter G | Format-Volume -FileSystem REFS -AllocationUnitSize 65536 -NewFileSystemLabel "DB02 Data" -SetIntegrityStreams $false
Get-Disk 4 | Initialize-Disk -PartitionStyle GPT -PassThru | New-Partition -UseMaximumSize -DriveLetter H | Format-Volume -FileSystem REFS -AllocationUnitSize 65536 -NewFileSystemLabel "DB02 Logs" -SetIntegrityStreams $false
That’s it!
Note: Suppose you need to add more than 26 drives, you will hit the maximum number of drive letters you can create. An excellent way is to Configure mount points for Exchange Server and mount unlimited volumes to Exchange Server.
Conclusion
You learned how to configure ReFS volume in Exchange 2013/2016/2019. Create the ReFS volumes in Exchange before or after installing Exchange Server. Use PowerShell when creating ReFS volumes, otherwise you can’t disable ReFS integrity streams on the volume.
Did you enjoy this article? You may also like Exchange database dismounts unexpectedly. Don’t forget to follow us and share this article.
What Others Are Reading

Great article again! However, it’s worth noting that in Server 2016 – all ReFS volumes created by the GUI automatically have Integrity streams disabled by default.
I can confirm this. Thanks for letting us know, Gary.
Thank you for the great article, very interesting!
And on that note… WHY, Microsoft, WHY? Time and time again you cannot do essential things with the standard tools, no, you have to fiddle around with power shell or other things! This is so frustrating! What is so difficult to put one or more check boxes into that create volume wizard?
Why has some functionality to be hidden and to be accessed via another tool?
You have great products, but the lenghts you create that someone has to go through…..
Rant \end
Because it works? Quit whining – GUI’s are over.
They tried that with Exchange 2007. And people whined why MS took out the GUI.
So Exchange 2010 brought it back.