IPv6 is not enabled by default in the Microsoft 365 tenant for Exchange Online. You…
How to enable Group Writeback in Microsoft Entra Connect Sync
Group Writeback enables the synchronization of Microsoft 365 groups with your on-premises AD through Microsoft Entra Connect Sync. It’s an excellent feature to manage groups in the cloud while controlling access to on-premises applications and resources. In this article, you will learn how to enable Group Writeback in Microsoft Entra Connect Sync.
Table of contents
Group writeback prerequisites
The following are prerequisites for group writeback:
- Azure AD Premium 1 or Azure AD Premium 2 license
- Azure AD Connect version 2.0.89.0 or later
Check Azure AD Connect version
You must have at least Azure AD Connect version 2.0.89.0 or higher installed to enable group writeback in Azure AD Connect.
- Sign in on the Azure AD Connect server
- Run PowerShell as administrator
- Run the below commands to get the Azure AD Connect version
In our example, Azure AD Connect 2.1.20.0 is installed.
Import-Module ADSync
(Get-ADSyncGlobalSettingsParameter | Where-Object { $_.Name -eq 'Microsoft.Synchronize.ServerConfigurationVersion'}).Value
It’s recommended to keep Azure AD Connect up to date. Follow the article Upgrade Azure AD Connect.
How to enable group writeback in Microsoft Entra Connect Sync
To enable and configure group writeback in Microsoft Entra Connect Sync, follow the below steps:
Step 1. Create OUs in AD
Start Active Directory Users and Computers and create two separate OUs:
- AAD: Azure Active Directory
- AD: Active Directory
If you already have different OUs for the groups, you don’t have to create an AD OU and move all the groups into it. Only create a new OU named AAD.
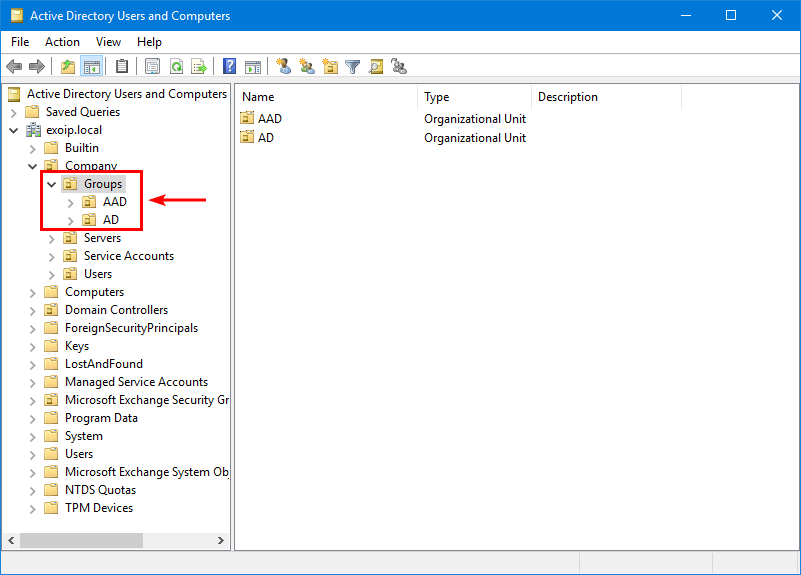
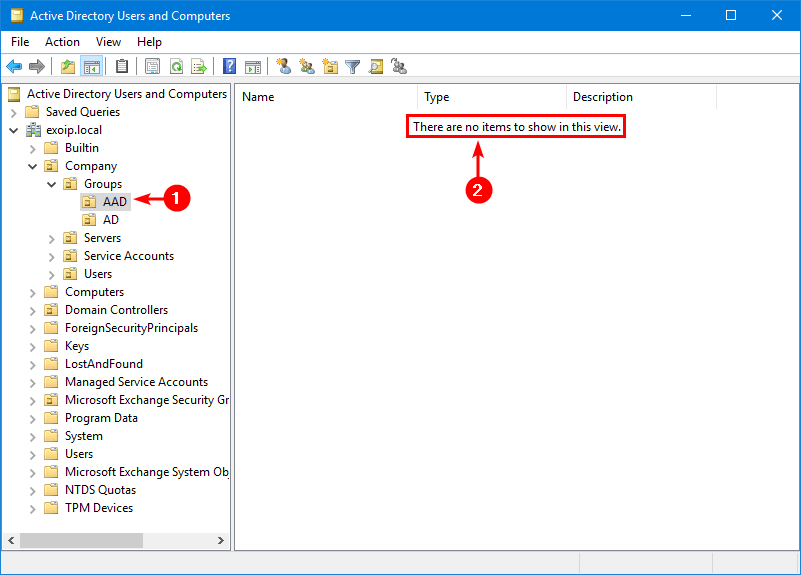
The AAD OU is empty because the group writeback is not yet configured. This is the OU where all the groups will be written back to from the cloud.
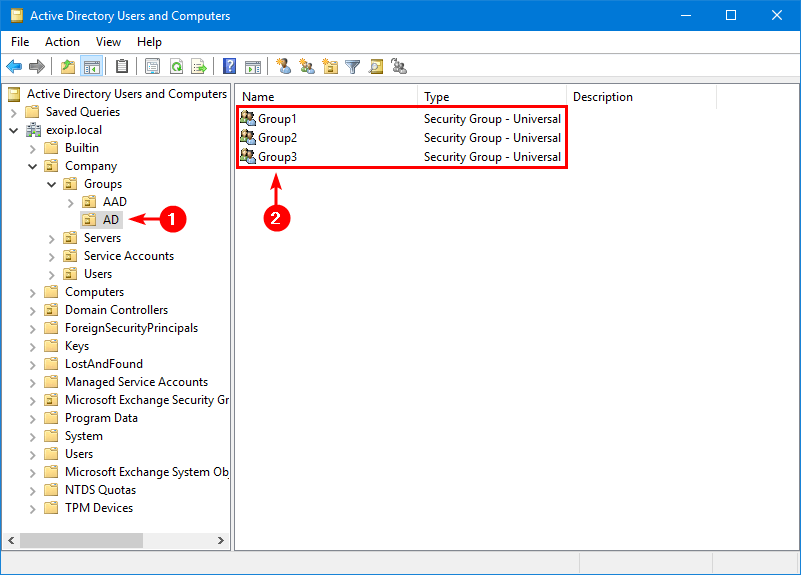
The AD OU already has three groups.
Step 2. Get group writeback status
Run the Get-ADSyncAADCompanyFeature PowerShell cmdlet to check the group writeback status.
Get-ADSyncAADCompanyFeatureThe PowerShell output shows that UnifiedGroupWriteback is disabled because the value is False.
Note: UnifiedGroupWriteback refers to the original version, which will keep working. GroupWritebackV2 refers to the new version that will be discontinued in June 2024.
Get-ADSyncAADCompanyFeature

PasswordHashSync           : True
ForcePasswordChangeOnLogOn : False
UserWriteback              : False
DeviceWriteback            : False
UnifiedGroupWriteback      : False
GroupWritebackV2           : False
Step 3. Enable group writeback in Azure AD Connect
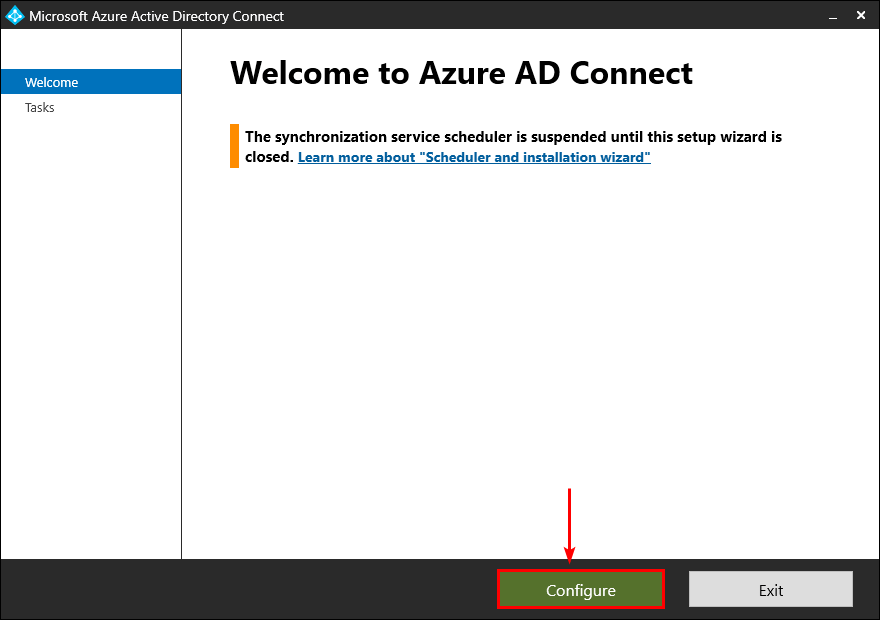
- On your Azure AD Connect server, open Azure AD Connect.
- Select Configure.
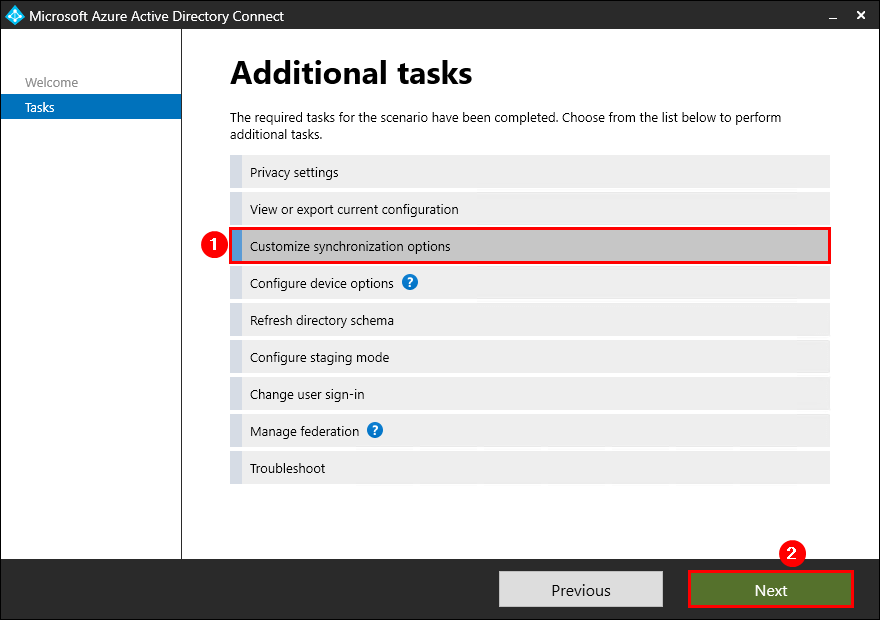
- Select Customize synchronization options, and then select Next.
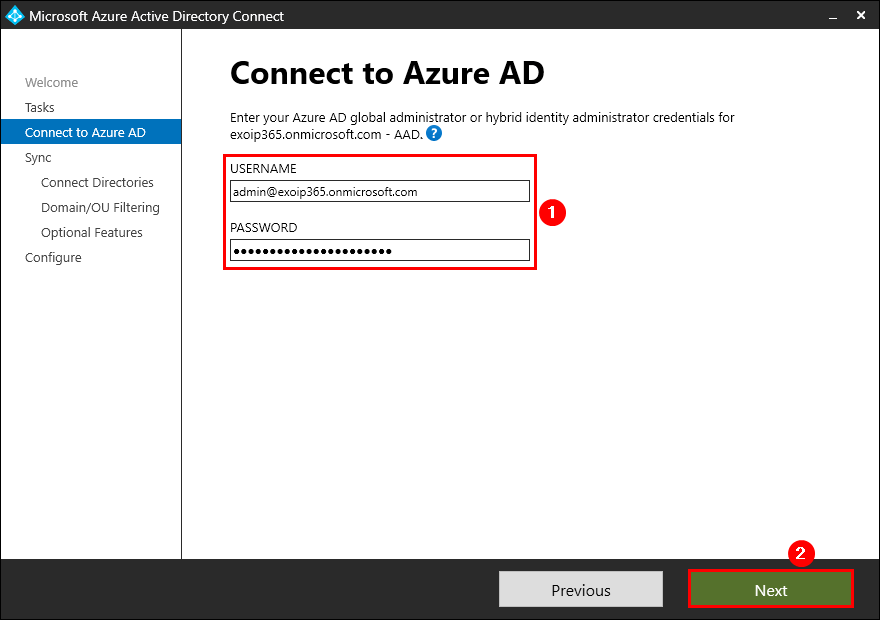
- On the Connect to Azure AD page, enter your credentials. Select Next.
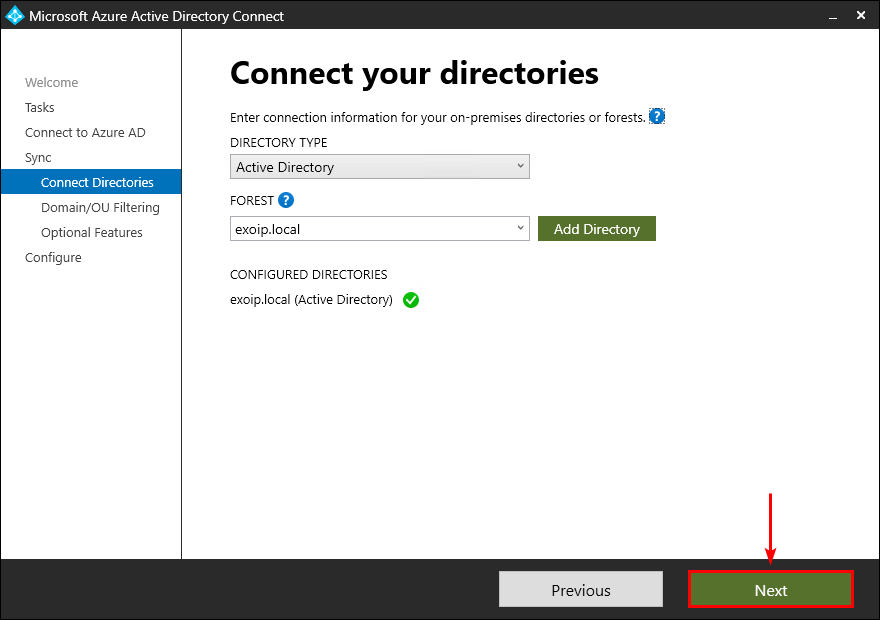
- On the Connect your directories page, verify that the configured directories appear correctly and click on Next.
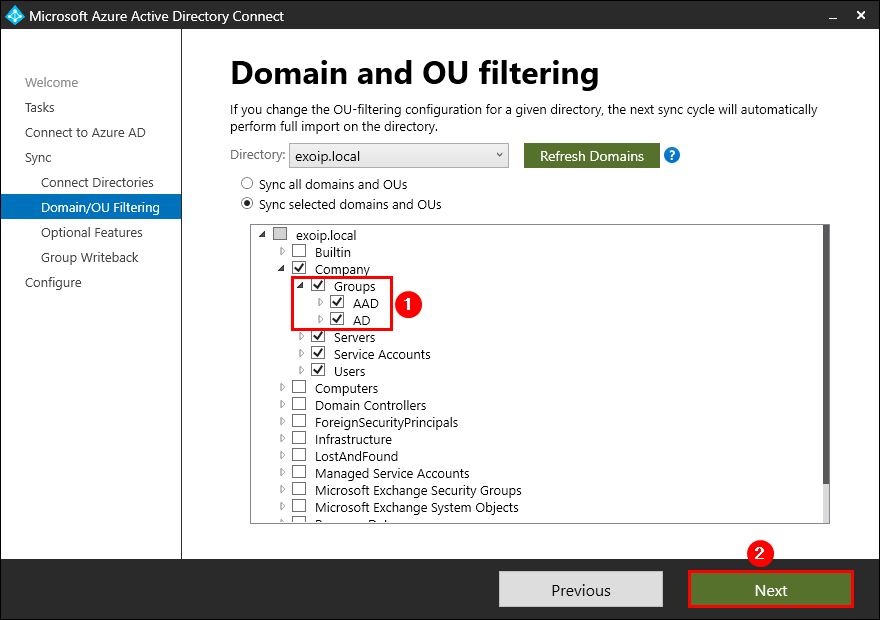
- On the Domain and OU filtering page, ensure you have the groups selected (that you created in the previous step) and click on Next.
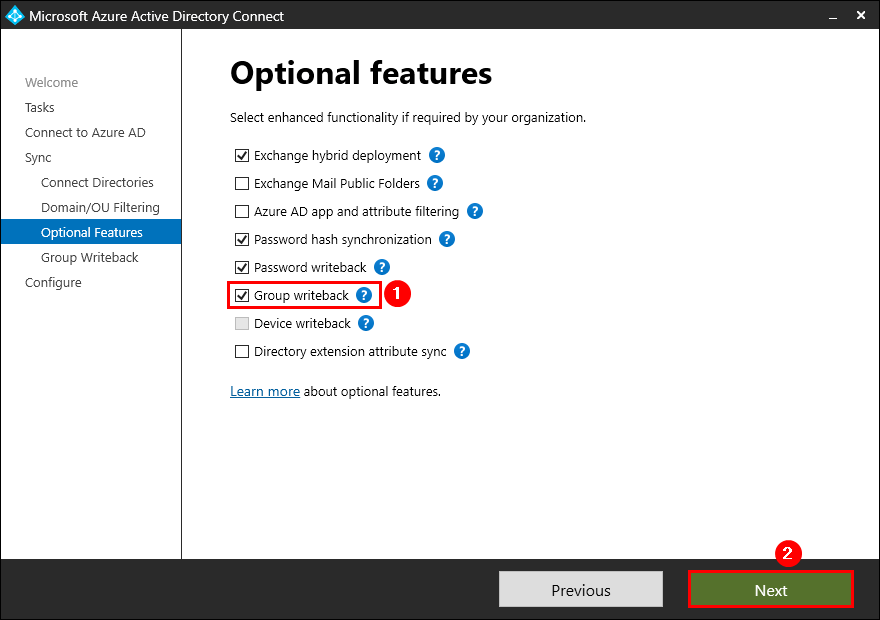
- On the Optional features page, select Group Writeback, and then select Next.
Note: Suppose you don’t have Password writeback enabled, read the article Enable Self-Service Password Reset (SSPR).
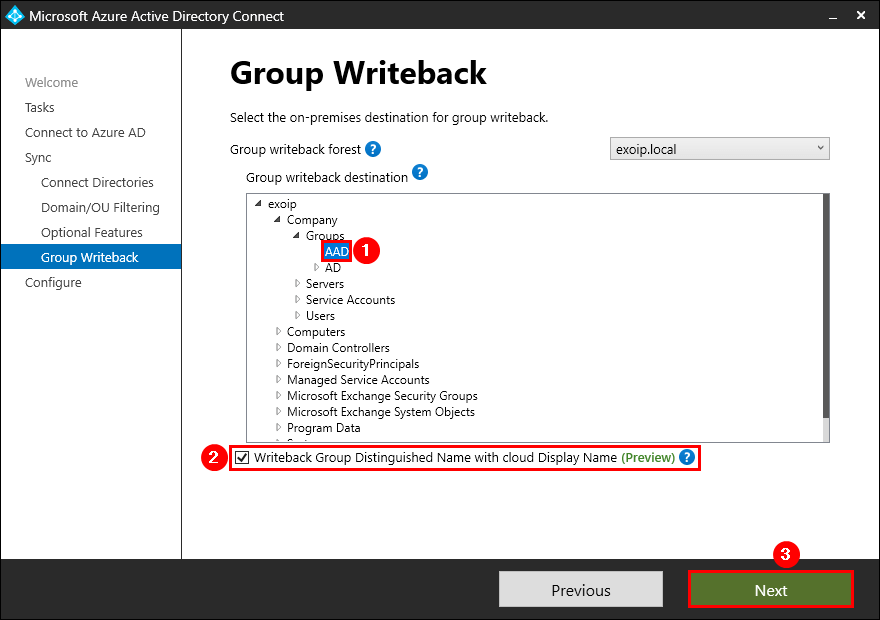
- On the Group Writeback page, select the AAD organization unit (OU) to store objects that are synchronized from Microsoft 365/Azure to your on-premises organization and select Writeback Group Distinguished Name with cloud Display Name and select Next.
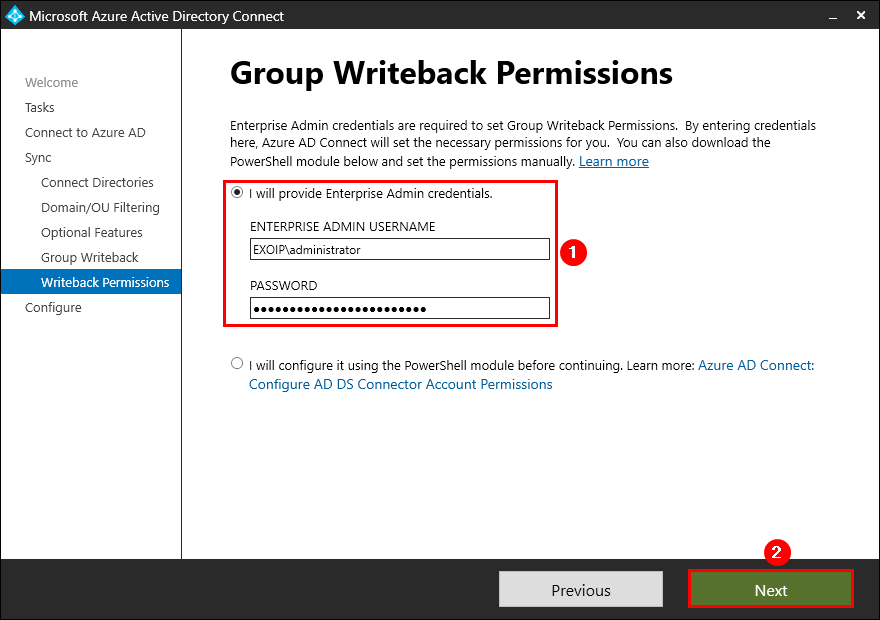
- On the Group Writeback Permissions page, fill in the Enterprise Admin Credentials and click Next.
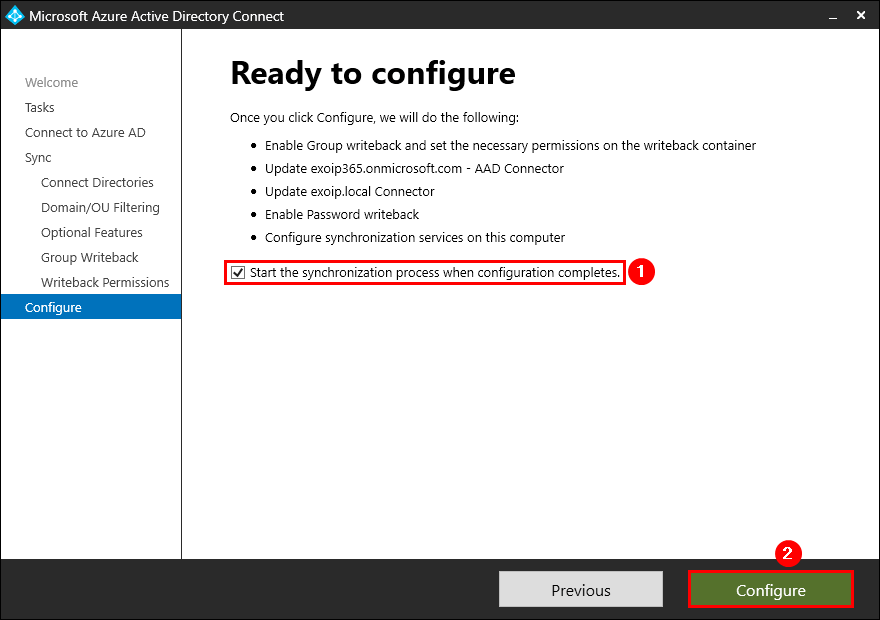
- On the Ready to configure page, select Start the synchronization process when configuration completes and click Configure.
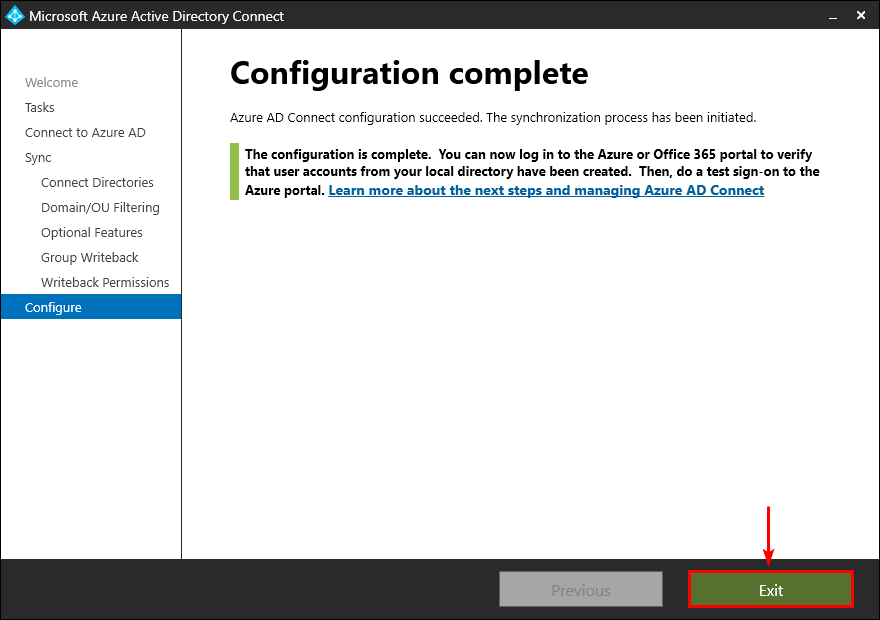
- On the Configuration complete page, select Exit.
Step 4. Verify Microsoft 365 groups appear in on-premises AD
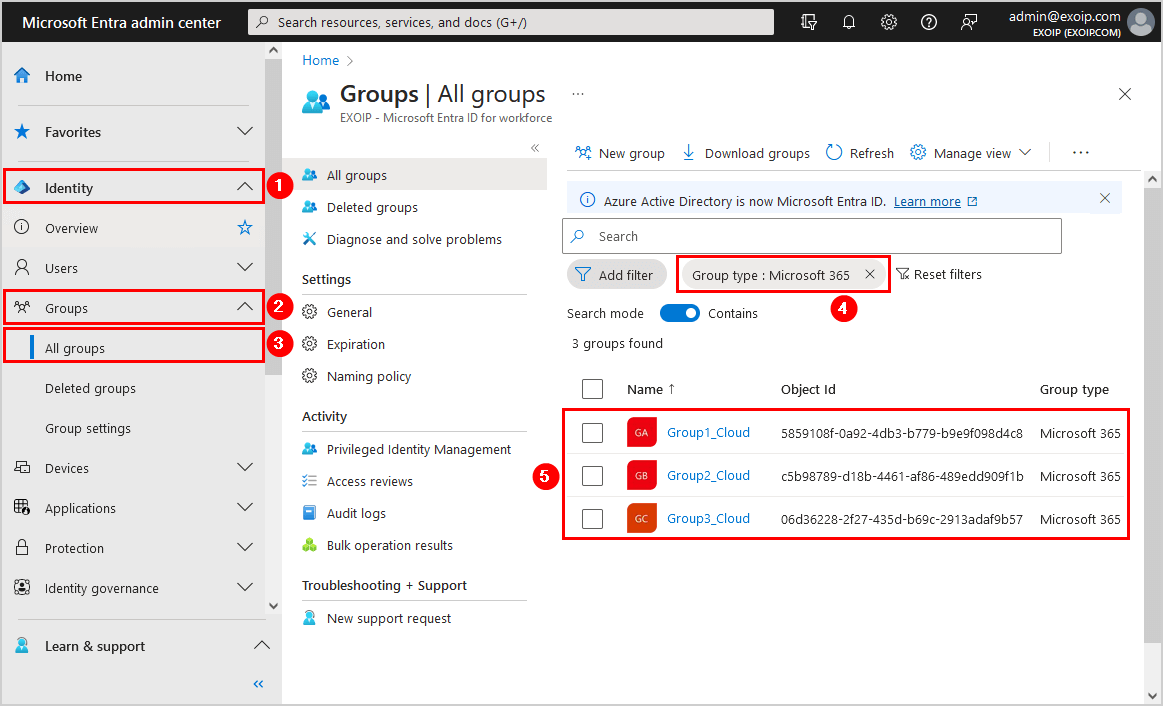
Sign in to Microsoft Entra admin center. Click on Identity > Groups > All groups. Filter the group type on Microsoft 365 and check the Microsoft 365 groups in the list.
In our example, we have three Microsoft 365 groups.
Note: Only Microsoft 365 groups will write back to your on-premises AD. The Security groups will not write back.
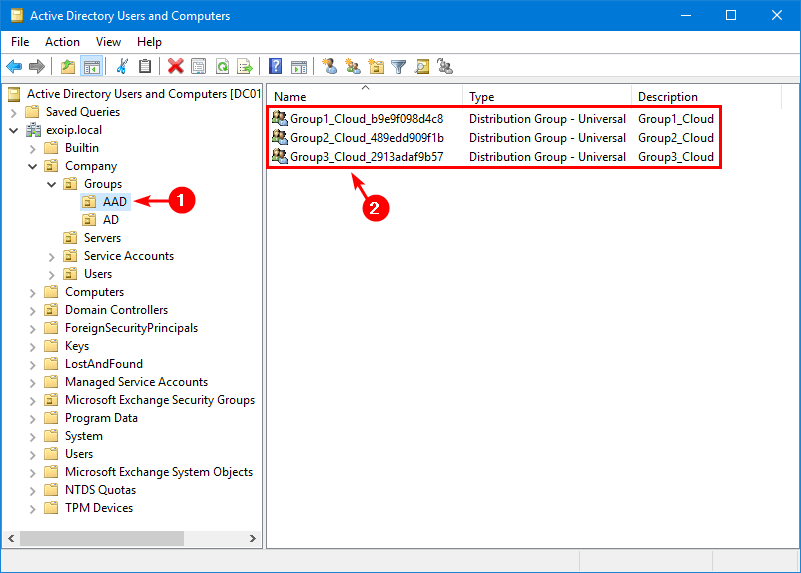
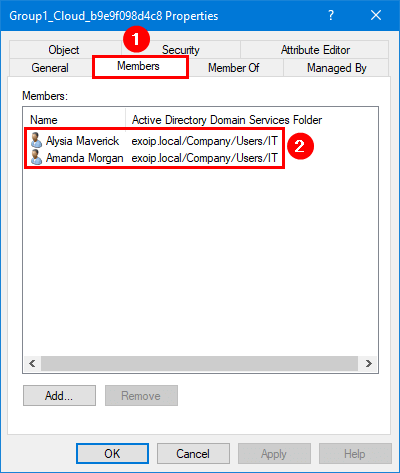
Open Active Directory Users and Computers, open the AAD OU, and check that the Microsoft 365 groups are written back to on-premises AD.
We have three users in the Microsoft 365 group Group1_Cloud.
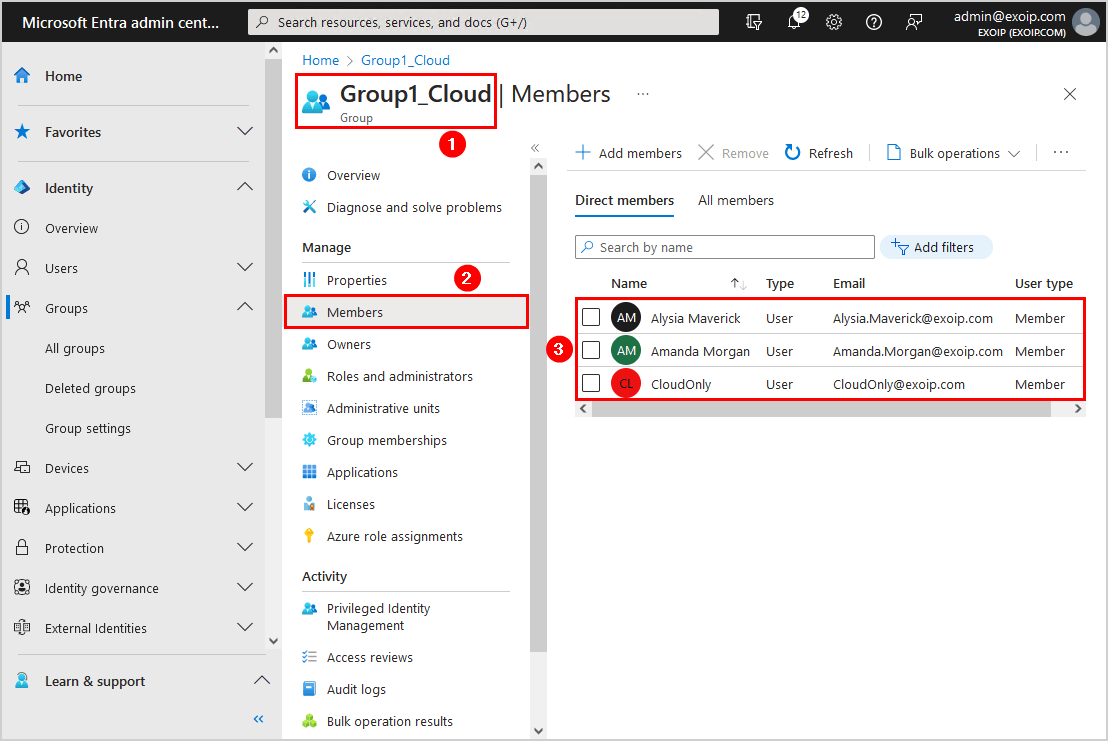
However, only two users appear in the synced group in AD. That’s because the CloudOnly user is created in the Azure AD and not in on-premises AD.
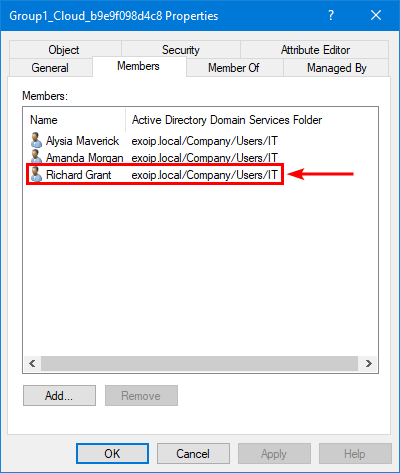
Suppose you edit the AAD group in on-premises AD. The next sync will undo the changes.
In this example, we did add the user Richard Grant to the AAD group from on-premises AD.
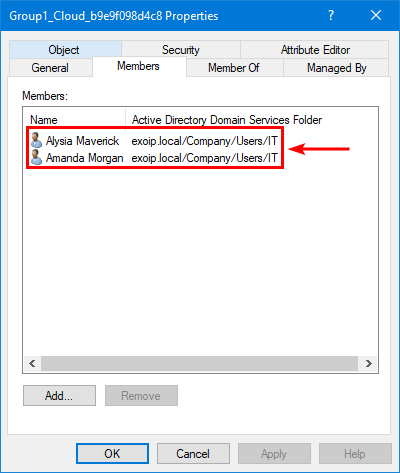
The sync deleted the user Richard Grant from the group because the group needs to be changed in Azure AD and not from on-premises AD.
Note: The authority for the AAD groups is in Azure AD and not on-premises AD. It’s not a two-way sync and only a one-way sync from Azure AD to on-premises AD. Always update the group in Azure AD, and the changes will reflect in on-premises AD.
That’s it!
You successfully did configure group writeback in Azure AD.
Read more: Configure Microsoft 365 groups in Exchange Hybrid »
Conclusion
You learned how to enable Group Writeback in Microsoft Entra Connect Sync. First, enable Group Writeback through the Azure AD Connect wizard. Next, verify that the Microsoft 365 groups are written back successfully.
Did you enjoy this article? You may also like Create Microsoft Entra ID Users from CSV with PowerShell. Don’t forget to follow us and share this article.
What Others Are Reading

Will this allow external emails to be sent to the distribution groups in a hybrid environment?
Does the writeback group appear in the GAL ?
For Exchange on-premises users, it will NOT appear in the GAL.
For Exchange Online users, it will appear in the GAL.
Hi,
thank you for the comprehensive tutorial.
Do you need a special license for Writeback from AAD to Onpremises AD?
Best regards
Orhan
Hi Orhan,
You need Azure AD Premium 1 or 2.
I updated the article with this information.