What happens to the Exchange attributes after you uninstall the last Exchange Server? Will the…
Change TTL for DNS record in Windows Server
Before we change the DNS record in Windows Server, changing the TTL value to a lower value is essential. We want the TTL to be as short as possible so that if we make a change, the old record will expire from the cache quickly, and the client and servers will be using the new record instead. In this article, you will learn how to change the TTL for a record in Windows Server.
Table of contents
DNS TTL (Time to Live)
DNS TTL (Time to Live) is a field on DNS records that tells the DNS resolver how long to cache a query before requesting a new one.
- Shorter TTLs can cause heavier loads on an authoritative name server, but can be useful when changing the address of critical services like web servers or MX records, and therefore are often lowered prior to a service being moved, in order to reduce possible disruptions.
- Longer TTLs speed up DNS lookups by increasing the chance of cached results, but a longer TTL also means that updates to your records take longer to go into effect.
The TTL changes should be made at least an hour before the cutover to the new IP address to ensure that anything that’s still caching one of those DNS records is only likely to be caching it for one minute instead of one hour.
So you might like to make that TTL change the day before or several days before you plan to do the cut over.
How to change TTL for DNS record
To change the TTL value for a DNS record in Windows Server, follow the below steps:
1. Sign in to the Domain Controller
2. Start DNS Manager
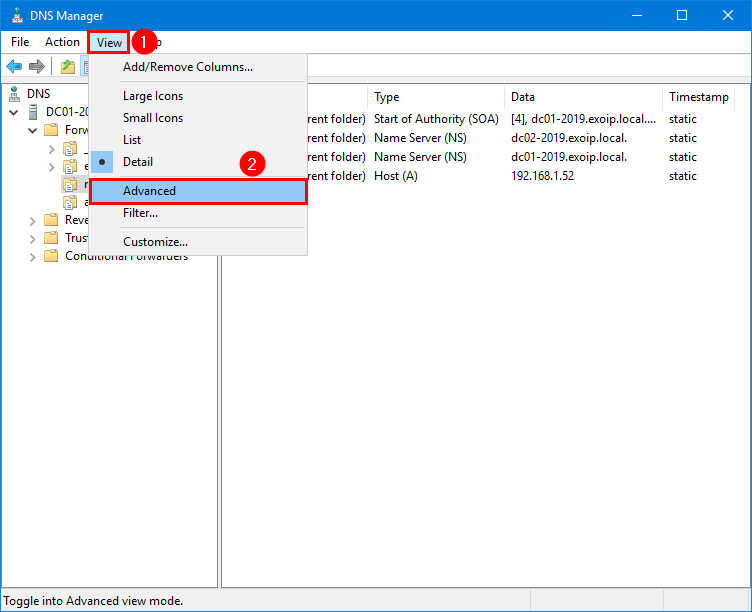
3. Click on View > Advanced
Note: If you don’t enable Advanced in the view section, you cannot see the TTL values for the DNS records in Windows Server DNS Manager.
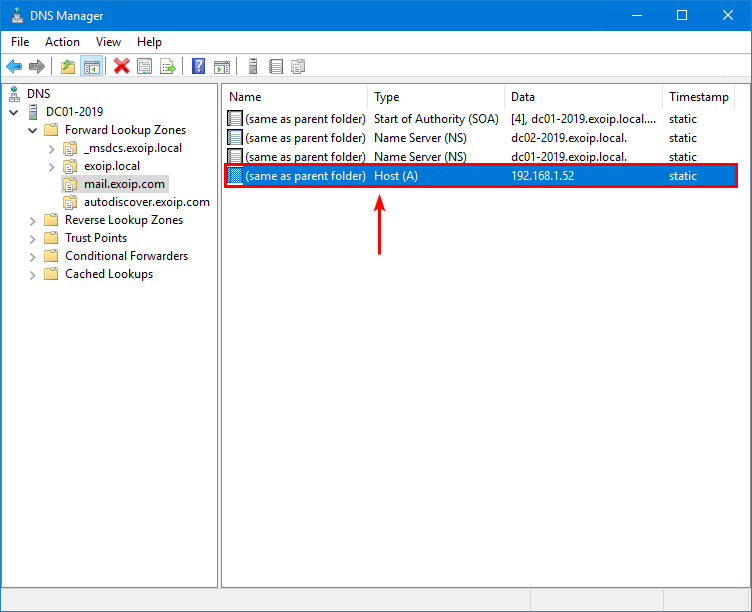
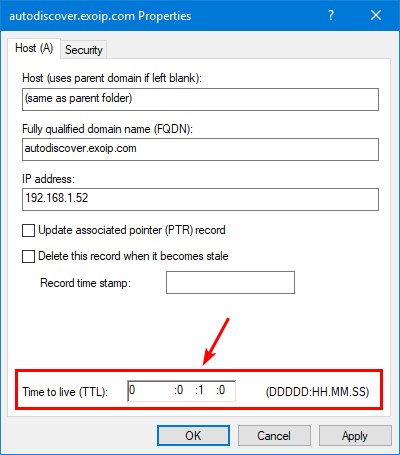
4. Double-click on the DNS record.
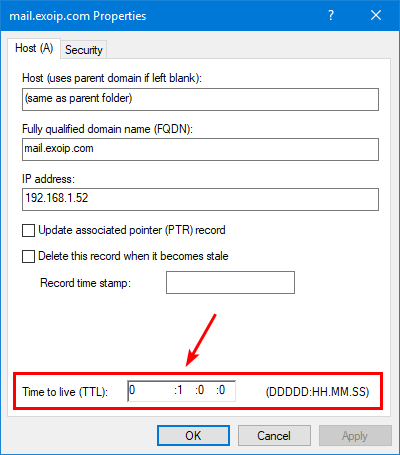
5. The default TTL value for a DNS record is 1 hour.
6. Change the TTL value to 1 minute.
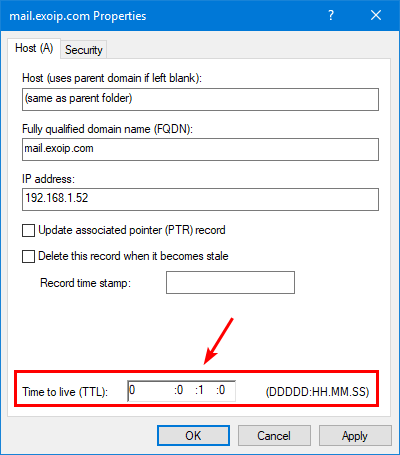
7. Do this for other DNS records too.
That’s it!
Read more: Configure external DNS for Exchange »
Conclusion
You learned how to change the TTL for DNS record in Windows Server. First, start DNS Manager and ensure to enable advanced view. Next, open the record properties, and change the TTL value to a low value so the cache will expire quickly. Those TTL changes should be made at least several days before you do the cutover.
Did you enjoy this article? You may also like Configure internal DNS for Exchange. Don’t forget to follow us and share this article.
What Others Are Reading

This Post Has 0 Comments